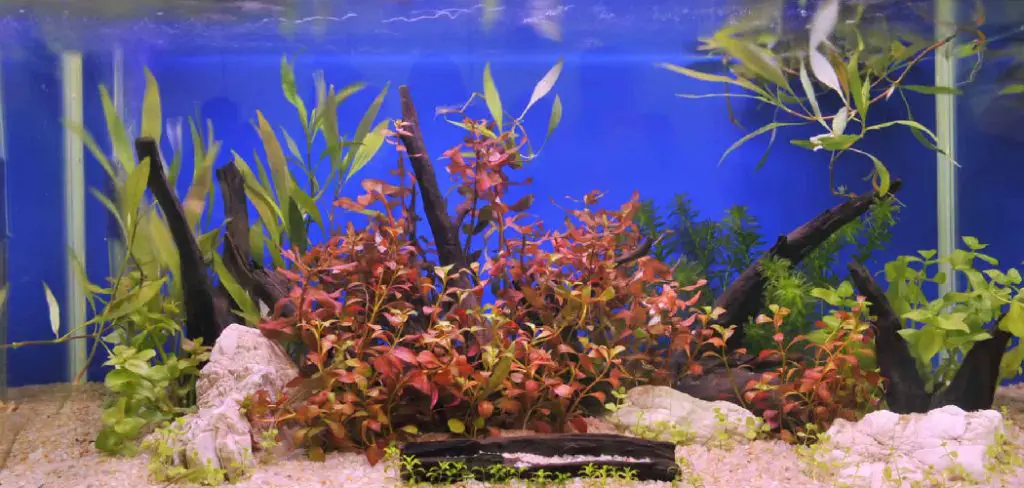
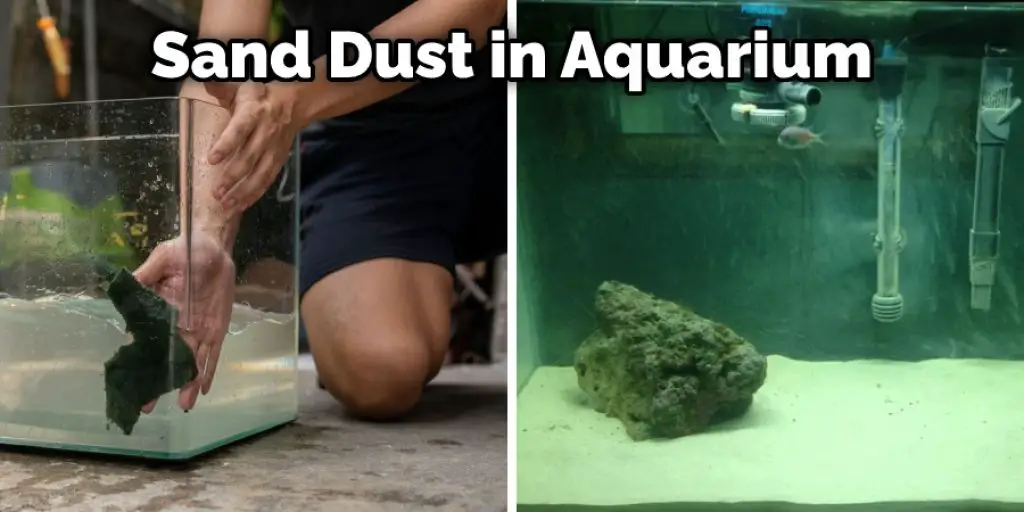
Sand dust is a common problem for aquarium owners. Sand, Soil, and silt can be introduced into your tank from the substrate of the tank. These particles will not only look unsightly but will also create an unpleasant smell that might make it difficult to enjoy your aquarium or live in the same house as the fish tanks. You can remove sand dust from your aquarium by using a syphon. This will remove the water and all the particles in it.
This blog post teaches you how to get rid of sand dust in aquariums without spending too much time and money on expensive products while maintaining a healthy environment for your fish! The best way to get rid of sand dust in aquariums is by using an air pump.
Step to Follow on How to Get Rid of Sand Dust in Aquarium
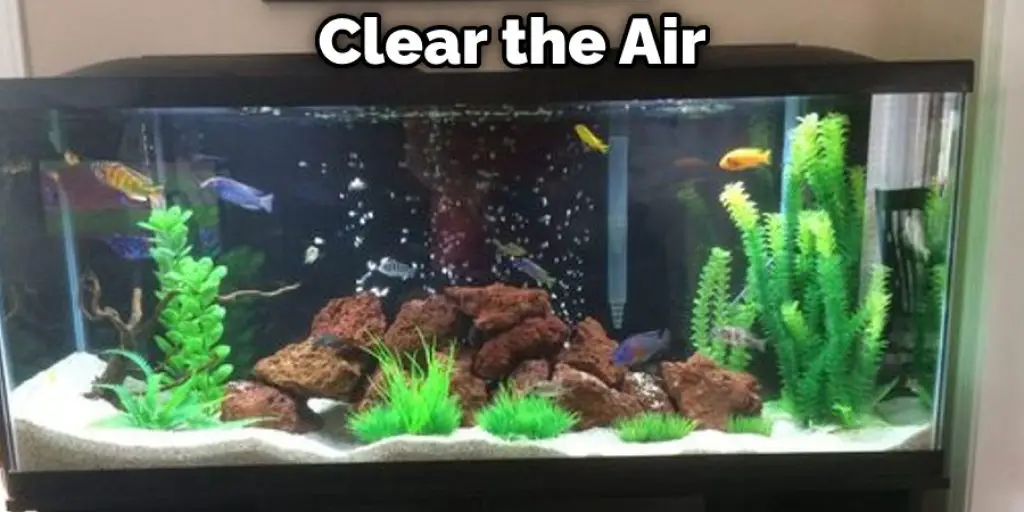
Step One: Clear the Air
After a week of daily maintenance, you will start to notice that your aquarium’s filter current is stirring up tiny particles of sand. If this happens, it’s essential to siphon off the particles before they become airborne. This will help keep the water column open for oxygen and prevent toxic gases from building up in your aquarium. When your aquarium is first set up, you will need to do a water change every day for the first week. After that, you can start doing weekly water changes.
Then, you will need to pick up your powerheads and lay them on their sides. This will help stop the stirring of sand particles while still maintaining a continuous flow of moving water. This method will stop these particles from becoming airborne and stirring up onto your glass, but it is important to use caution when picking up your powerheads. The next thing you will need to do is start moving sand around with your hands. Once the sand has started to move, you will want to gently scoop it up and place it into the bucket.
Step Two: Get Rid of the Sand
Now that you have stopped stirring those extra particles from getting into the water column, it is time to siphon out the excess sand in your substrate. If you have a gravel vacuum, it’s best to use this for this job. Make sure that you place your aquarium in a safe location where the water current creates no extra particles. You can also use an external pump and a siphon tube if you do not have a gravel vacuum.
Once the tank is situated, attach your gravel vacuum and let it run for about 10 minutes. If you do not have a gravel vacuum, use your siphon to suck up as many of those particles as possible. Make sure that you get the right amount of water flowing on both sides of this process so that you can keep track of everything going on in your tank. It is recommended that you use a drop-off siphon method so that you can avoid disturbing the gravel too much.
Step Three: Rinse and Repeat
After siphoning off the excess sand particles, it’s time to rinse and repeat. This time, get a bucket that is large enough to hold your filtered aquarium water. You will need about half of the water from your tank in this bucket for this next process.
Make sure that you siphon out as many particles as possible and get all of the sand out of your substrate. Then, fill up your aquarium halfway with water from your new bucket. Now it’s time to add some fresh saltwater into your tank! You will need about one cup for every gallon that is in your tank.
Step Four: Add Saltwater
Use a hydrometer, refractometer, or salinity calculator to choose the correct salinity for your tank. Make sure that you check out our aquarium water parameters page for more information on what these numbers mean and how they impact your aquarium inhabitants!
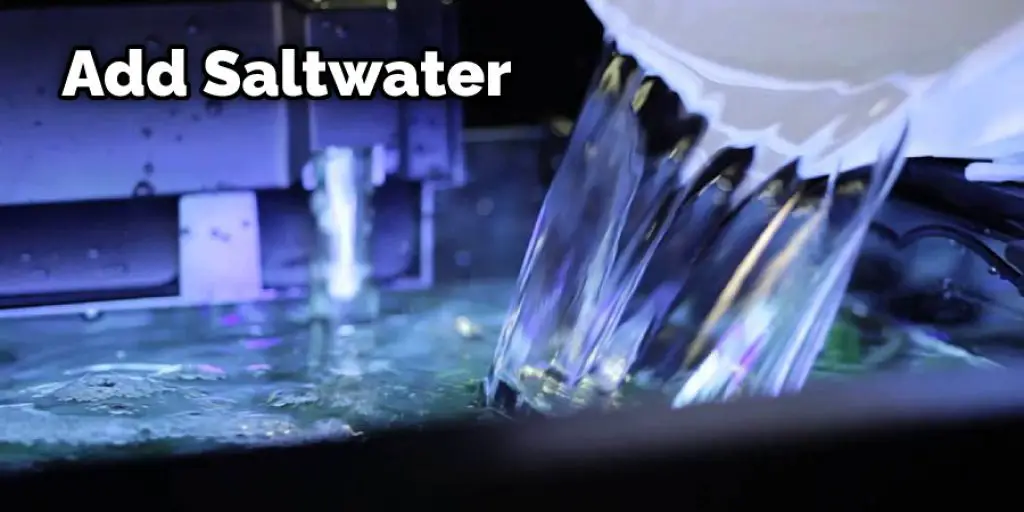
Now, pour the newly mixed saltwater into your tank slowly through your top-off method of choice. If you choose to drip, make sure that you do this steadily and that the saltwater meets or goes under your aquarium water level. If you choose to use a cup, make sure that this saltwater is added evenly across the surface of your aquarium.
Step Five: Add Sand
Once all of the new water has been mixed into your tank, it’s time to put your sand back into place. Place your powerheads back where they need to be and shake up the sand inside of your substrate. Then, siphon out all of the excess water particles that were created by the shaking process.
Finally, it’s time to add your substrate back into the aquarium. Make sure that you have enough sand for every inch of your aquarium and that there is a uniform spread throughout your tank. Once this has been done, turn on all of your pumps and powerheads, and then check out our page on getting rid of cloudy aquarium water!
Step Six: Test Your Water
Once you have your substrate and filters back into place, it’s time to check and make sure that everything is running properly. Use a water testing kit to check your pH, salinity, and ammonia levels to ensure that everything is where it should be. Also, please take a second to look at our article on what to do when you have cloudy aquarium water!
Make sure that you run all of your filters and pumps for 24-48 hours to get the tank back into a stable environment. Also, remember that it is possible to stir up some of the sand in your substrate with regular use and maintenance! This will help in how to get rid of sand dust in aquarium.
You can check it to Use a Shop Vac for Drywall Dust
Step Seven: Enjoy
Once you have run your filters and pumps for 48 hours, it’s time to enjoy your new tank! It might take up to a month for the sand particles to clear out of your water column, but that is nothing compared with all of the work that you’ve done. So please sit back, relax, and take a look at our aquarium water quality page.
Also, remember that it is possible to stir up some of the sand in your substrate with regular use and maintenance! Be sure to vacuum out any excess particles at least once every two weeks. Take a look at our other helpful articles if you want to know what to do when you have cloudy aquarium water or what to do about an algae problem in your tank!
Frequently Asked Question
Why Is My Aquarium Sand Floating?
The most common cause of floating aquarium sand is a lack of water circulation. To fix this, try running an air pump on your tank for a few minutes to circulate the water and mix the sand back into it.
Can I Add Fish to Cloudy Sand Water?
Adding fish to cloudy sand water is not recommended because the cloudiness of the sand would inhibit their growth. Cloudy sand water also inhibits bacterial growth and is not recommended for tanks with live plants.
Is Substrate Dust Bad for Fish?
No, it is not. There are many benefits of using substrate dust in fish tanks as opposed to traditional aquarium gravel.
One benefit is that the use of substrate dust makes the water clearer because it does not settle on the bottom of the tank and obstruct light penetration. Another benefit is that it helps prevent bacterial and algae growth in your tank, leading to problems like poor water quality, cloudy water, and unsightly slimy buildup on your fish.
Does Sand Hurt Fish?
Sand does not hurt fish. However, it is recommended that you rinse the sand off your fish before returning them to the water.
As for saltwater tanks, it is important to ensure that there are no chemicals or other pollutants in the tank because they can be toxic to both humans and animals living in the tank.
Conclusion
The sand dust in the aquarium should be cleaned up as soon as possible to prevent it from clogging and harming your fish. You can use a wet/dry vacuum, siphon, or another suction device to remove any loose particles of sand that make their way into the tank.
Be sure not to suck up any water with the debris! If you’re noticing an accumulation of dirt on top of rocks or gravel around your tank, take out those items and scrub them thoroughly before returning them back inside. We hope you enjoyed this article on how to get rid of sand dust in aquarium.
You may read also: How to Add Calcium to Freshwater Aquarium


