You’ve just finished building the bookshelf you’re going to put in your living room, and now it’s time for you to decide whether or not you want to add a coat of paint. You start by measuring the shelves and choosing how many coats of paint you need.
You then grab your brush and head over to the paint section at Home Depot while feeling confident about your decision. Once there, however, you start to second guess yourself and question whether or not you should have used glue rather than paint.
You begin reading about the different types of glue and how people use them when they build their shelves and cabinets. You then find out which glue is best for adding wood pieces to drywall. In this blog post, we will go over how to glue wood to drywall.
Step to Follow on How to Glue Wood to Drywall
Step One : Determine
First, you will need to determine each piece of wood required for the project. Then, if you are building a large part, measure all angles and seams to balance in size. Make sure to read through any step entirely before starting it, so there are no questions left unanswered.
If you are looking to cover a small area, such as a bookcase or table, you can measure the site, and purchase wood cut down to size. However, if you need to make it yourself, take the measurements of the desired space and add them together.
That resulting number is the length and width of the wood pieces you will be buying. Suppose the number is not a whole number; round it up to the nearest inch. This will ensure that your wood is the correct size and does not need to be cut down on-site, which can be difficult and time-consuming.
Step Two : Prepare the Area

Before you can start gluing the wood to the drywall, you need to prepare the area. This means that you need to ensure that the surface is clean and free of any dust or debris. If there are any bumps or indentations on the surface, use sandpaper to smooth it out.
Once the surface is clean, wipe it down with a damp cloth to ensure no dirt on the wall. Make sure you allow ample time for the surface to dry before continuing with gluing wood to drywall. If it is still wet, you will not apply the glue, and the project will fail.
It is also essential to note that you should not use this method to attach wood to a painted surface. If the paint is still wet, the glue will not adhere to the wall, failing the project. In this case, it is best to wait until the paint has completely dried before attaching the wood.
Step Three : Apply Wood Glue
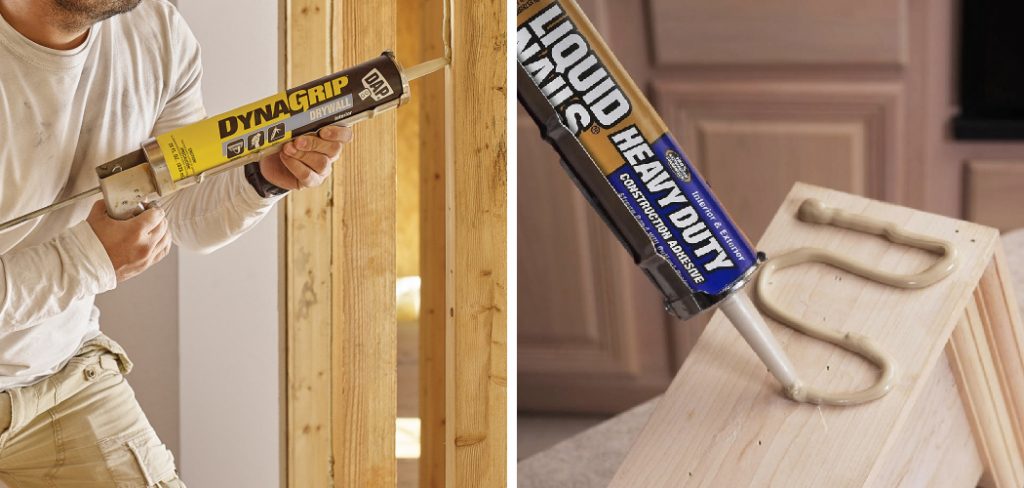
Before you can start applying the glue, make your way to the area where you will attach the wood. Open up both tubes of wood glue and insert them into a caulking gun. If you do not have a caulking gun, feel free to use whatever tool is most comfortable for you.
Insert one end of the glue into the gun and use your finger to apply pressure on the other end. This will help to release the glue from the tube. Once you have the glue in the caulking gun, start applying it to the back of the wood piece. You want to make sure that you are using an even coat of glue to stick to the wall.
If you are attaching wood to a large surface, it is best to start from the top and work your way down. If you are attaching wood to a small surface, such as a table, start in the corners and work your way out. This will help in how to glue wood to drywall.
Step Four : Attach Wood to Drywall
Once you have applied wood glue to the back of the piece attaching to the wall, press it into place. You want to make sure that you center each piece before sticking it to the wall. To ensure that it is in the correct spot, use a level to help you get it straight.
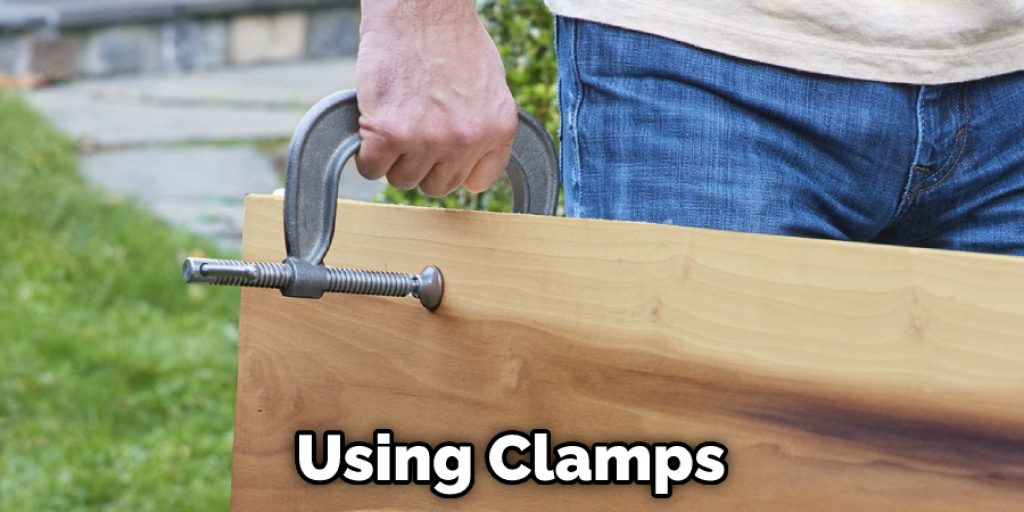
If you are using clamps, place them on either side of the wood and tighten them until they are secure. If you are not using clamps, make sure to use a hammer and nails to secure the wood in place. You want to make sure that each nail is evenly spaced out, so the wood does not warp or bend.
Once the wood is attached, allow it to dry for 24 hours. Do not move or disturb the wood during this time. After 24 hours, you can safely remove the clamps or nails. If you do not want to wait, you can use a damp cloth to clean up any excess glue on the surface.
Step Five : Finishing Touches
If you are attaching wood to a piece of furniture, you might want to consider staining or painting it. This will help the piece match your current décor and give it an overall finished look. However, if you are looking to attach wood for decoration purposes, leave it as is.
Wood can be used in many different areas of your home. It looks great when attached to drywall, making any room feel more rustic and inviting. If you are trying to decide whether or not this is the correct method for you, be sure to weigh the pros and cons.
The pros are that it is an affordable and easy way to add some extra decoration to your home. The cons are that it can be a bit messy and time-consuming. But if you are up for the challenge, this is a great way to add some personality to your space.
Step Six : Maintain
After you have attached wood to your drywall, you want to maintain it regularly. Check the area daily for any signs of damage or warping. If you notice something that looks unusual or out of place, removes the wood immediately and reattach it with clamps or nails.
This will ensure that the piece stays in the correct spot and helps to prevent any more damage from occurring. If you follow these steps regularly, your wood should stay attached to drywall for years to come. Make sure that you have adequately dealt with any excess glue before it has a chance to dry or harden.
If this happens, you will need to scrape it off the wall, which can cause damage. Also, make sure you are very careful when removing any excess glue or putty. All of this information will help you learn how to glue wood to drywall.
You can check it to Extend Wooden Fence Post Height
How Do You Attach Wood to Drywall Without Studs?
The simplest way to attach wood to drywall without studs is by using construction adhesive. First, apply a thin layer of glue to the back of the wood and then press it firmly against the drywall. Be sure to use a level to ensure that the wood is straight.
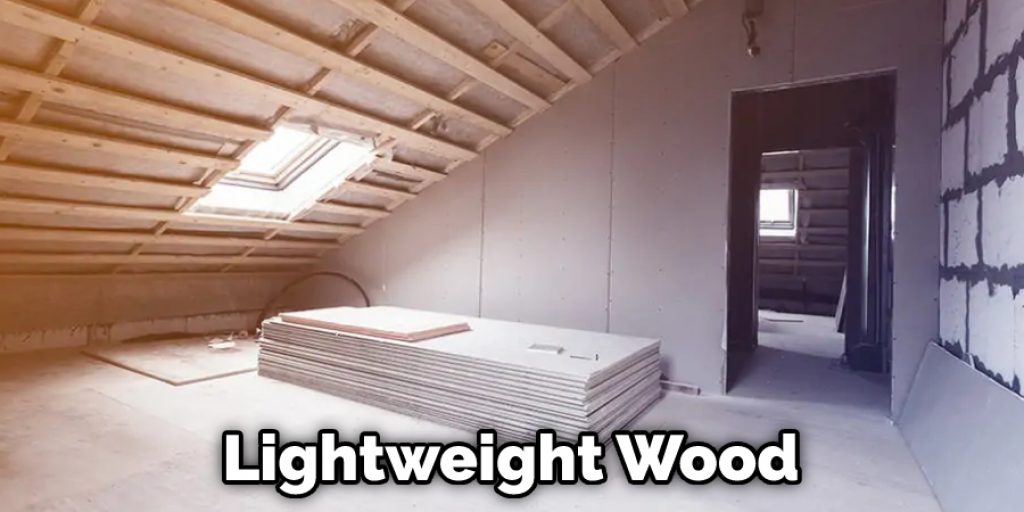
You can also use nails or screws to secure the wood to the drywall, but make sure that you predrill the holes first to avoid splitting the wood. Using lightweight wood like pine, you can use a construction adhesive and nails or screws to secure it to the drywall.
Conclusion
The blog post concludes with a summary of the content, citing specific examples or points made. It is essential to summarize what was discussed for readers to understand the information and remember it.
There are many ways to glue wood pieces together when working on drywall projects, and each has its own set of pros and cons. The conclusion paragraph is informative and provides information on how to glue wood to drywall.
You may read it also – How to Remove Stain From Wood Fence


