Most people know that fluorescent lights can be dangerous and should never be touched when they are on. This is because fluorescent light fixtures don’t carry any electricity or power of their own; they simply hold a tube up so it can emit light from an electric current flowing through it.
To ground the fixture, there needs to be a metal object touching both the institution and the floor, such as a metal plate under your desk. So, this article is for you. You will learn how to ground a fluorescent light fixture with just one simple trick!
10 Steps to Follow on How to Ground a Fluorescent Light Fixture
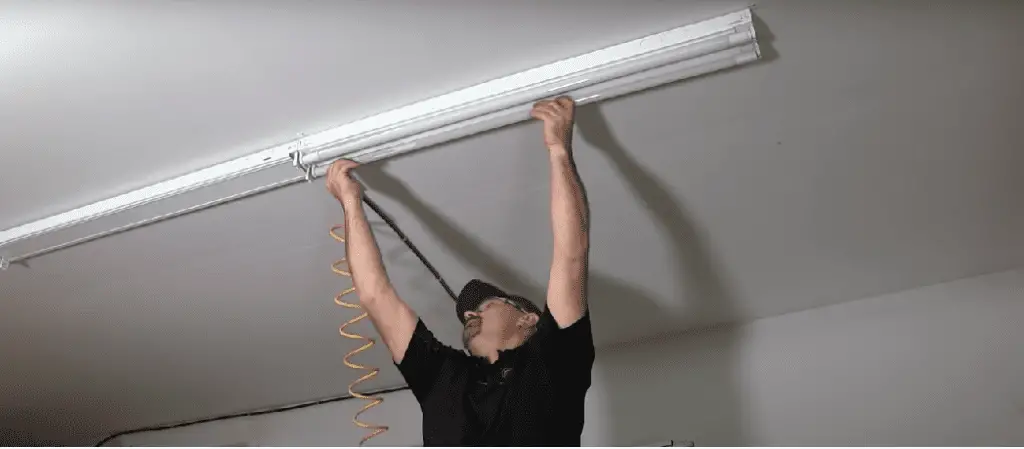
Step One: Find the Right Equipment.
Find the two main screw-on connectors for your fluorescent light fixture, which are usually located on either end of the tube. Each connector should be a circular metal piece with a number of metal threads that you can remove using an Allen wrench or Philips head screwdriver.
If there are not two connections available to unscrew, make sure you do not grab the power cord and unscrew the circular piece on the other side. The top screw connector should be labeled as “Line,” This should also have a bare metal wire connected to it, which runs directly into your wall box.
Step Two: Unscrew the Load Connection Screw.
Unscrew the bottom screw on each light fixture that leads directly into the power connection of your fluorescent light, the part that plugs into an outlet. You should see some exposed metal threads. Although it is not necessary to cut any wires, you may choose to do this if you wish to splice a wire from the bare metal wire from your wall box.
Step Three: Screw Your Grounding Screw Into the Load Connection.
After you have unscrewed the load connection, take your grounding screw and screw it into one of the exposed metal threads so that it is connected to both parts of the circuit. Usually, the flat head side of the screw will fit nicely into the metal threads. Once you have screwed in your grounding screw, make sure it overlaps with the bare metal wires from both ends of your light fixture.
Step Four: Connect Your Grounding Wire to the Grounding Screw.
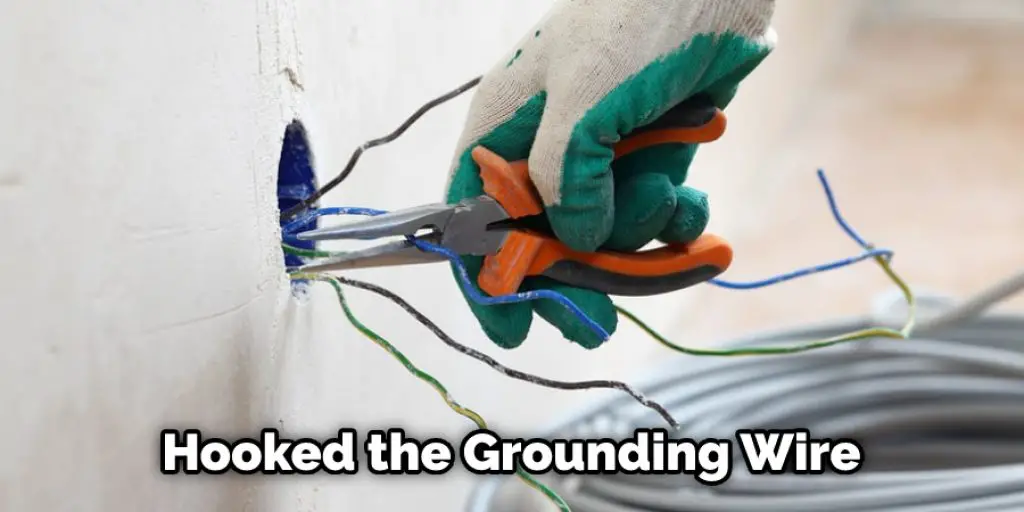
Use a Phillips head screwdriver to unscrew one of the four metal screws in your wall box, and there should be a bare metal wire located inside. If you cannot find this wire with the wall box open, look for a white cable with black tape wrapped around it; usually, about an inch of black wire is visible.
Grab onto the black wire with pliers and pull outwards until it pops out of its position – the wire may be wrapped around another cable. Connect this wire to your grounding screw, which should be labeled Ground or have a picture of a house on it.
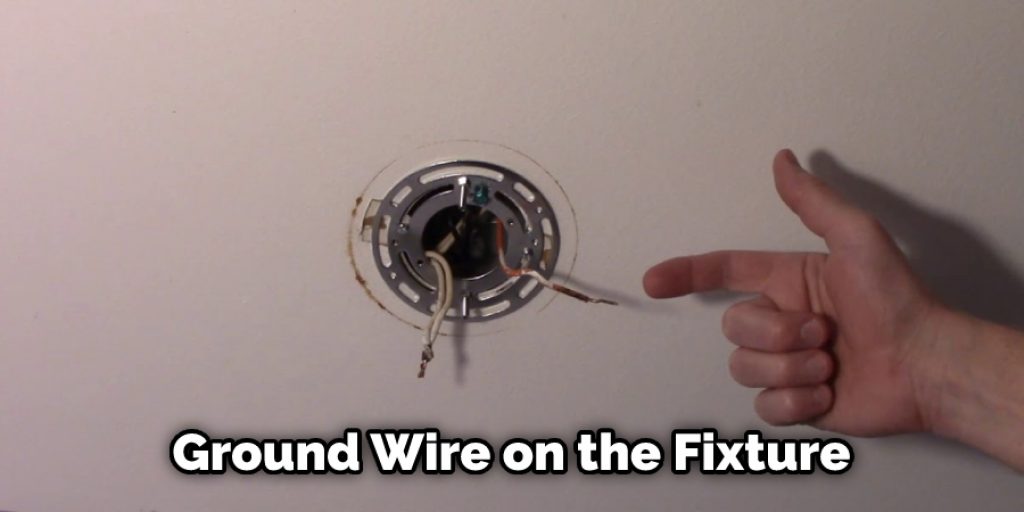
Step Five: Twist Together Bare Metal Wires.
Once you have hooked the grounding wire into the screw, twist all three bare metal wires tightly together – your bare metal wire from the wall box, the grounding screw, and the bare metal wire from your fluorescent light fixture.
Step Six: Cover Exposed Connections With Insulating Tape.
Cover your joint connections with electrical tape or insulating tape, and make sure it is tightly wrapped around the joints so that they are no longer exposed.
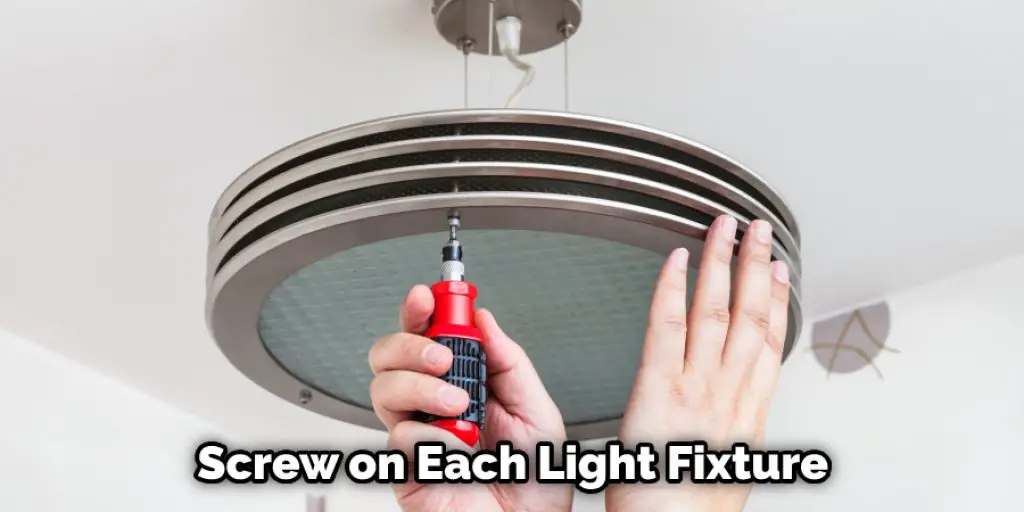
Step Seven: Screw on the Line Connection Connector.
Replace the screw on each of your light fixture’s two main connectors the top and bottom screws) and tighten them down until they no longer move. Do not over tighten and strip the metal screws.
Step Eight: Test the Light.
Plug your fluorescent light fixture back into an outlet, and if everything is connected properly, it should be working within a few seconds.
Step Nine: Close Up the Wall Box, Then Test Your Connections Once More With a Voltage Tester.
Close up the wall box, then test your connections with a voltage tester to ensure that you did not create any loose wires before replacing the wall plate.
It would help if you never touched exposed wires on an electrical device without first turning off its power source. If this is not done correctly, there is a risk of shock or injury. If you use the steps outlined above for how to ground a fluorescent light fixture, you can do it yourself.
Do Fluorescent Lights Need a Ground?
Fluorescent lights do not need a ground wire to work or operate correctly, but there are certain benefits to grounding your lamp. The ground wire works as an emergency shut-off if something should happen, reducing shock hazards and preventing electrical fires.
Grounding also increases safety for anyone working on the fixture. It’s important to note that you will not receive legal code-compliant ground unless you meet the minimum requirements like every other light fixture in your home.

Do Fluorescent Light Have Polarity?
Fluorescent light fixtures are made up of two main parts: the ballast and the bulb. The light bulb is the part that actually creates the light, whereas the ballast is what regulates how much power goes into powering it. Every fluorescent light fixture has one or more lamps that work with an electrical ballast. Fluorescent lights usually contain two or more bulbs in one institution.
Their ‘twist-lock sockets can identify fluorescent lights. So if you look at the back of the tube, and it has a twist-lock fitting like that pictured here on the right, then it is a fluorescent light.
Frequently Asked Question
Does a Fluorescent Light Fixture Need to Be Grounded?
No, Fluorescent Light Fixtures do not need to be grounded. However, the manufacturer may have their own instructions on how to properly ground a fluorescent light fixture.
Do You Have to Connect the Ground Wire on a Light Fixture?
It is not mandatory to connect the ground wire to a light fixture. However, it is always recommended because it prevents shock from damaging your wiring and/or other components in the system.
How Do You Tell if a Light Fixture Is Grounded?
To tell if a light fixture is grounded, you will need to check the screws on the bottom of the fixture. There should be three screws holding the metal frame together. If there are three screws, then it is grounded.
However, if there are only two screws or no screws at all, then it is not grounded and needs to be replaced with a grounded light fixture.
How Do You Install a Ground Wire on a Light Fixture?
The first step is to locate the ground wire on the fixture. You can find this by looking for a bare copper wire that has black or green insulation covering it. Once you have found the ground wire, you need to remove the cover from it and attach it to your ground screw which will be located in your junction box.
There are many other ways that could be used to connect the two wires, but these are some of the most common methods.
Conclusion
Fluorescent lights are a great source of light, but they can be problematic for installation. Unlike incandescent bulbs, fluorescent fixtures require a good amount of clearance from the ground and any other objects around them to work correctly.
This is because these fixtures produce an electrical charge that needs room to dissipate into the surrounding air. When you install your fixture too closely or improperly grounded, this discharge could end up being unsafe for anyone who touches it later on down the line.
Fortunately, there are some easy ways to protect against this issue without having to worry about re-installing your entire lighting system again! The conclusion paragraph is informative and provides information on how to ground a fluorescent light fixture.
Check it out also – How to Protect Your Light in Masonry .


