Introduction
Metal fences are trendy because they offer security and privacy that other types of fencing can’t. Metal fences are also durable, low maintenance, easy to install, affordable, and come in various styles. One thing to keep in mind is that metal fence posts will eventually rust over time if not properly maintained, which will cause the metal to break or crumble away from the center. One way you can protect your investment is by painting them with a coat of paint every year before winter sets in. This should help prevent any further damage due to weather conditions. In this article, I will discuss how to hide metal fence posts. So let us get started.
A Detailed Stepwsie Guide on How to Hide Metal Fence Posts
Step One:
Before you start this project, get several bags of topsoil or organic material to level the area where the fence will be. Ensure you have enough room for your posts to stand upright after they are covered by soil and deep enough that there won’t be a noticeable bulge once the topsoil settles over time. You can also rent an auger if necessary, but shovels work pretty well too. Be careful not to damage any sprinkler lines while digging.
Step Two:
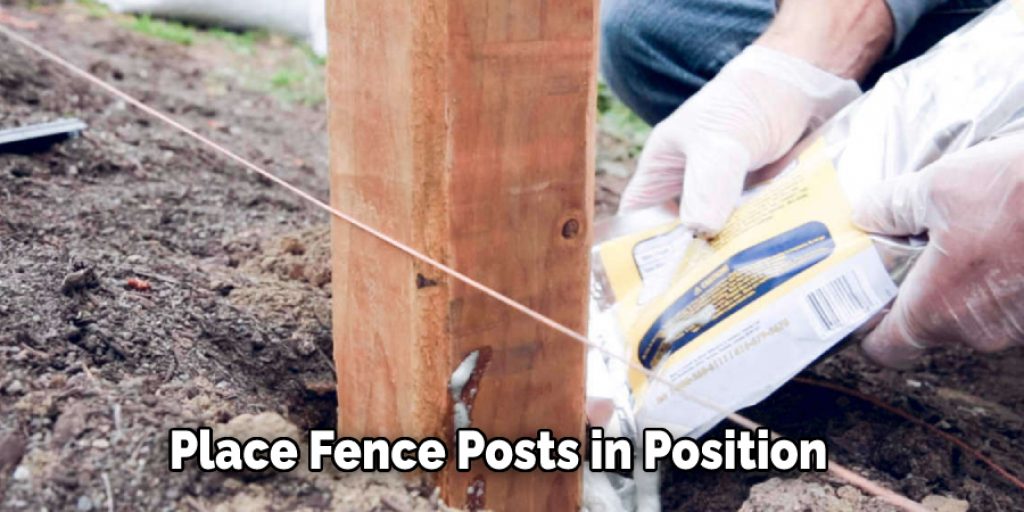
Place Fence Posts in Position Once dugout, set your posts in place according to how tall you want them above ground level. You can buy matching metal or wood stakes to stand them up. If you want them completely flush with the soil, use a thicker stake as a footing before you put your posts in place.
Step Three:
Cover Posts With Liner Once your posts are set where you want them, cover the upper portions with a 2-inch thick high-density rubber liner. This will prevent the soil from seeping through and prevent water from reaching the roots of your plants. It also prevents weeds from sprouting around your fence post.
The best material for this is a rubber pond liner (sold at places like Home Depot or Lowes), cut into large sheets to overlap by about 8 inches on each side. Wrap it around the post starting at ground level, and overlap the wrapped material with back an 8-inch strip. Line the rest of the base up to where you want it, and staple or nail it in place at several intersections.
Step Four:
Fill With Soil Once your posts are neatly covered by rubber liner, fill them gently but firmly with topsoil, making sure not to shift the position of your posts.
Cover with soil Step Five: Pat Down Topsoil After filling up all your pots with soil, pat down the top layer with a rake so that it is flat and even. You can also cover this layer with shredded wood mulch if you want before you plant any plants around the fence. However, if you plan on planting vegetation along with your wall, be sure to wait until the plants establish themselves fully before you lay mulch or move on to another step.
You Can Check It Out to Electrify a Chain Link Fence
Step Five:
Plant! When planting around your fence posts, always start with the shortest vegetation that will benefit from sunlight first and then surround them with taller vegetation in subsequent layers. This way, short vegetation won’t block out the much-needed sun for more extensive vegetation behind it.
Using this method, you can make your metal fence look like a lush natural barrier without having to cover it up with vines or other kinds of plant life. If you are patient enough for this project, though, once finished, the foliage around your fence post will grow together naturally over time due to root growth underneath. It’s great to get green fencing without using poison ivy, kudzu, or other plants that grow like wildfire. You can also use this method to hide utility poles in your yard if the city allows it.
Important Tips ON Hiding Metal Fence Posts
1. Hire Fence Installation Service Provider:
Hiring a professional and experienced service provider, especially when it comes to hiding metal fence posts, will ensure that your job gets done in the best possible way.
2. Surround Metal Fencing Panels with Plantings:
Another secret to hide metal fence posts is by surrounding them with the lush green foliage of plants and shrubs around these structures to add height and depth.
3. Give Hidden Posts the Illusion of Being Grounded Into the Ground:
Make sure that when you install these hidden posts, they appear as if they were planted into the ground or have been there for a long time, so the trick works in getting rid of unsightly views without compromising on security. If required, use landscaping fabric between posts and soil further to reduce the visual impact of a metal fence post.
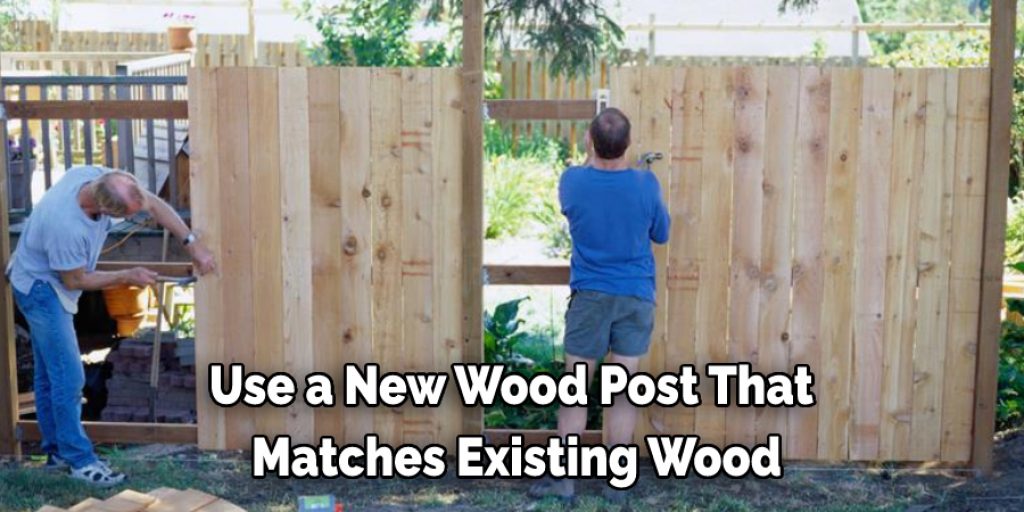
4. Use a New Wood Post that Matches Existing Wood:
Another great way to hide these unsightly objects is by using a new wood post that corresponds with existing wooden fencing materials on the property. This tip will work best for those who have wooden fencing around their property as they can replace some old concrete fence posts or brick walls with newer ones made of wood which blends in perfectly with the surroundings.
In addition, this trick also helps get rid of those rusty, unsafe-looking junctions between pieces of old metal fencing and new ones from the same company from which you originally purchased the first set of metal panels. As a result, your home looks more unified and pleasing to the eye.
5. Let a Fence Post Cut Into the Lawn:
Another great way to hide metal posts is by keeping your grass as low as possible so that these posts lie close enough to the ground surface, which gives them an appearance of being planted in the soil rather than being fixed on top of it. Another tip for those who have newly laid turf around their property or those planning to lay a new lawn is to let a metal post break up and cut into the greenery first, then fill in gaps with soil and plant grass over these hidden fences posts. This will also help lay borders along fences because you can line up post bases around perimeter slabs around such structures and later cover them with dirt.
6. Use of Fence Caps or Fascia Boards:
Another trick to hide metal fence posts is by using caps available in the market to hide these unsightly objects. These can be fixed on top of each post to look smooth and even from both sides, thereby preventing any injuries or accidents that might happen if one missed seeing bits sticking out while moving around the property. These posts prevent people from getting injured and enhance the appearance of given structures with rounded tops instead of sharp points, which are typically found in old metallic fences.
Conclusion
I hope this article has been beneficial for learning how to hide metal fence posts. Thank you and have a nice day!
You may also raed it: How to Build a Wood Frame Stucco Fence


