There are many benefits to installing an electric ceiling fan. The most obvious benefit is the cooling effect it provides. One of the biggest reasons for this is less airflow through the room, so more heat stays inside and gets trapped. Another reason is that they circulate cool air from outside into your home.
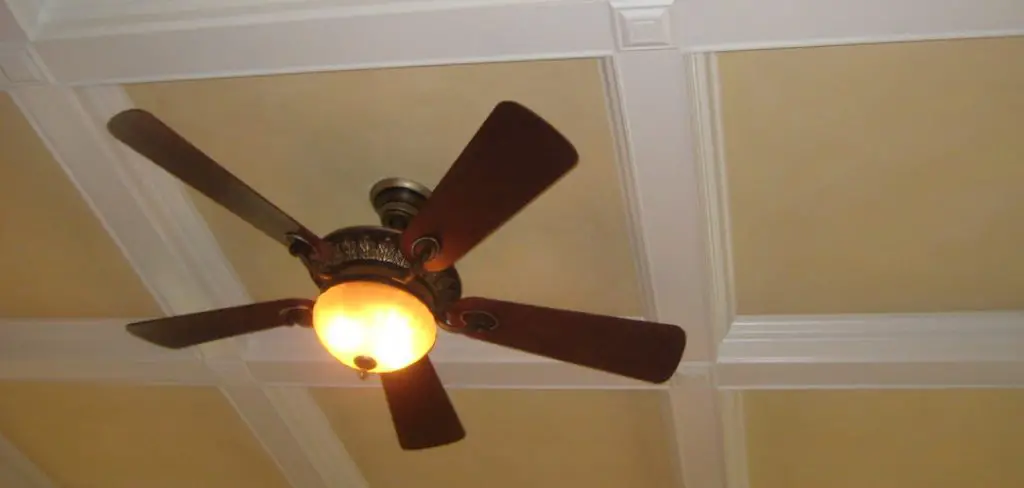
Installing a new one can save money on your energy bill while keeping you comfortable! To install a new electric ceiling fan, you need some tools and basic knowledge about electricity. It will take about two hours or less from start to finish if done correctly with no interruptions along the way! This blog post will go over how to install a ceiling fan in a drop ceiling.
Step to Follow on How to Install a Ceiling Fan in a Drop Ceiling
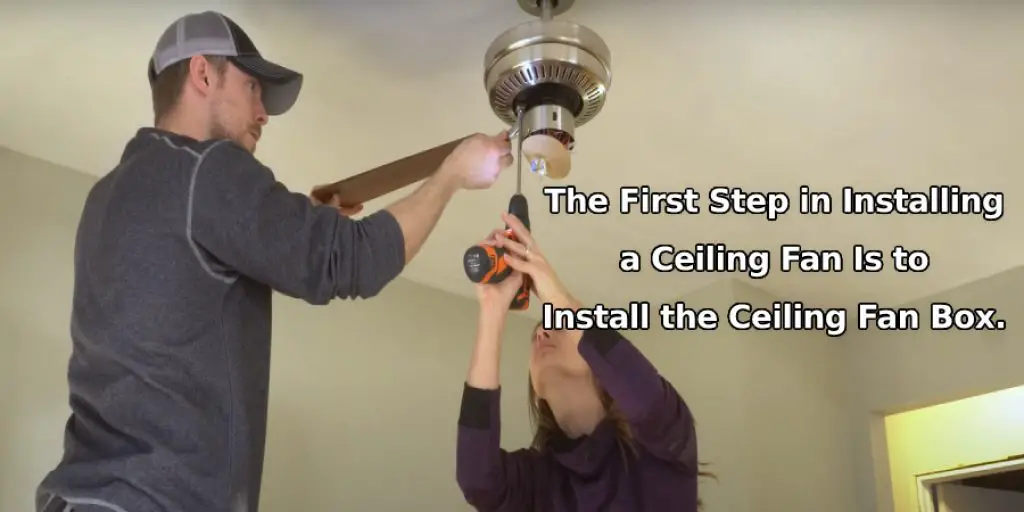
Step One: Installing the Ceiling Fan Box
The first step in installing a ceiling fan is to install the ceiling fan box. You can usually find the location of your fan box by looking up where you currently have track lighting installed. If there isn’t a box, go to your local hardware store and buy one that matches your existing light fixtures and ceiling box.
Make sure the box is UL listed for use with your ceiling fan. Before removing anything, make sure to turn off the power to the room at your circuit breaker. This will ensure no shocks are present when you work on replacing or installing your new ceiling fan box.
Once you have determined that it is safe to remove any existing light fixtures, take down the old lightbox and remove it from the ceiling. This will allow you to install the new box. Then, follow the instructions that come with your ceiling fan/lightbox, and attach it into place.
Step Two: Installing the Ceiling Fan and Light
After installing your new ceiling fan box, it is time to move on to installing the actual ceiling fan. Most ceiling fans have detailed instructions on how to do this properly, so we will not get into too much detail here. However, we recommend that if you are wiring up more than one light fixture, wire up the ceiling fan first.
This is because once you have the fan installed, it will be in your way when you try wiring up the second light fixture. So you should attach the ground wire to the box first. After that, connect up your black wires, white wires, and any other connections depending on what type of wiring you are doing i.e.
Suppose you are using a three-way switch with two switches controlling the fan/light. At this point, make sure everything is working (turn on the power at your circuit breaker) before continuing. If everything is working, you can move on to the next step.
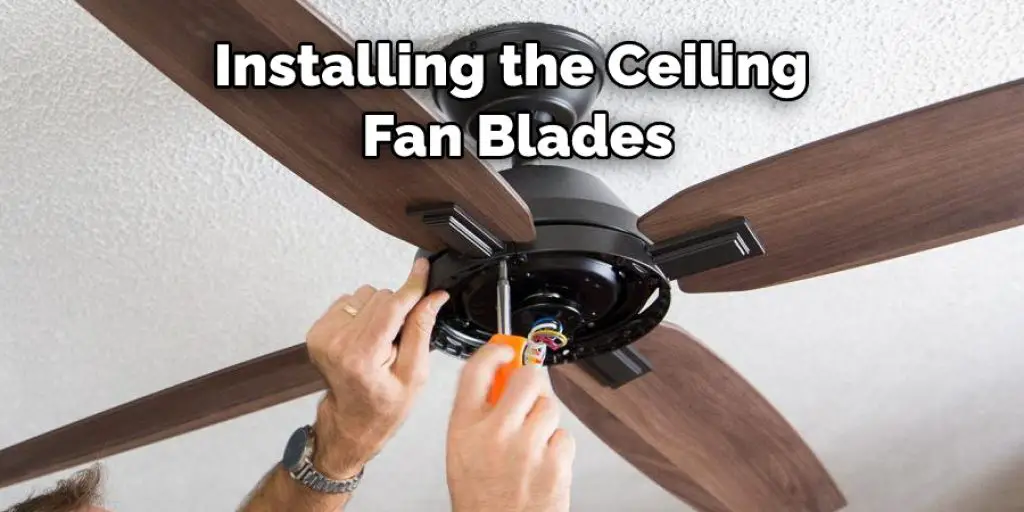
Step Three: Installing the Ceiling Fan Blades
After you have wired up to your ceiling fan, it is time to install the blades. The first thing you need to do for this part of the installation is to find out how many blades you will need. Most fans come with at least three blades, but some can have more depending on what type of look you are going for.
You should find out which way the blades will be spaced, how far they are from each other, and how far down on the blade you need to attach them using a level. Once this is done, use your small Phillips screwdriver to attach the blades to your ceiling fan. Make sure you don’t overtighten these screws, as this could damage the blades.
After attaching the center blade, you can measure and find out how far apart each blade should be from the center one before attaching them to your fan. It is recommended that you mark where they need to go before trying to attach them with screws. You can now turn on your ceiling fan’s power, and you should have a fully functioning ceiling fan.
You Can Check It Out to Wash a Ceiling Without a Ladder
Step Four: Installing the Ceiling Fan Remote Control Box
If your ceiling fan includes a remote control, there will likely be additional steps to attaching it to the actual fan itself. First, you usually need to attach this piece somewhere on the top of your ceiling fan. It is usually attached using double-sided tape or Velcro, so it will be easy to attach.
You should make sure that the location you are attaching to this piece is within range of your actual remote control. Once it is attached, turn on your power for one minute to ensure that all connections are working properly before shutting off the power again, you should be ready to use your new ceiling fan!
Please note that these instructions are not exhaustive, and there are many different types of ceiling fans. Please be sure to follow the manual that comes with your ceiling fan/lightbox for more information on installing them properly. We hope you enjoyed this article on how to install a ceiling fan in a drop ceiling.
Step Five: Enjoy Your New Ceiling Fan
Now that you have finished installing your new ceiling fan in a drop ceiling, you can sit back and enjoy it. However, you will likely need to make some adjustments to the height of your fan using the pull chains on it.
After this is done, please turn off the light switch at the circuit breaker for about one minute before flipping it back on. This will ensure that the light and fan are both on the same circuit, so one won’t turn off when you turn on the other. You can now sit back, relax, and enjoy your new ceiling fan!
Frequently Asked Questions
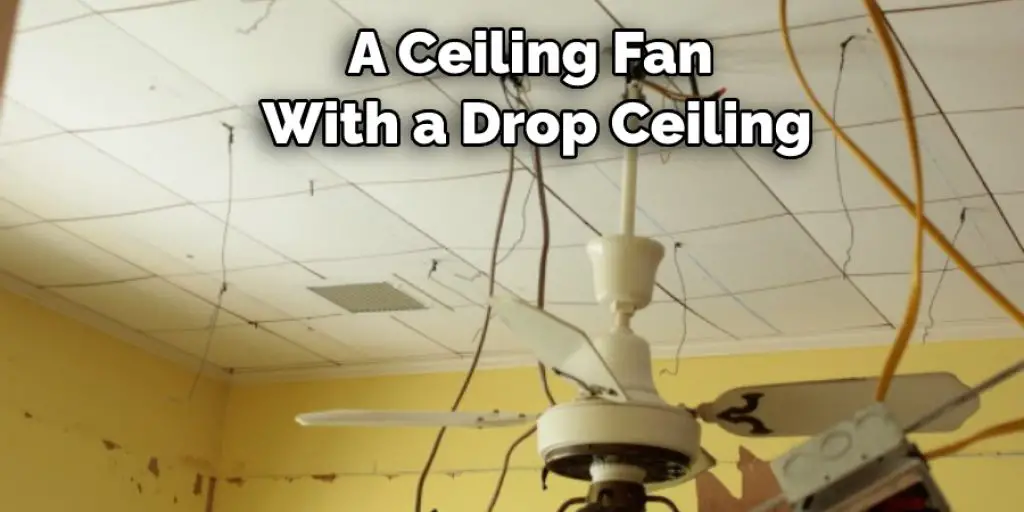
Can You Have a Ceiling Fan with A Drop Ceiling?
Yes, you can have a ceiling fan with a drop ceiling. However, it is important to note that there are some things that will need to be taken into consideration before installation.
The first thing you should do is check the clearance between the fan and the ceiling. You can do this by standing on your tiptoes or measuring from the top of your head down to the floor where the blades will be installed.
Next, make sure that you get an electrician for help because if not, then there may be wires hanging down from above which could cause accidents during installation.
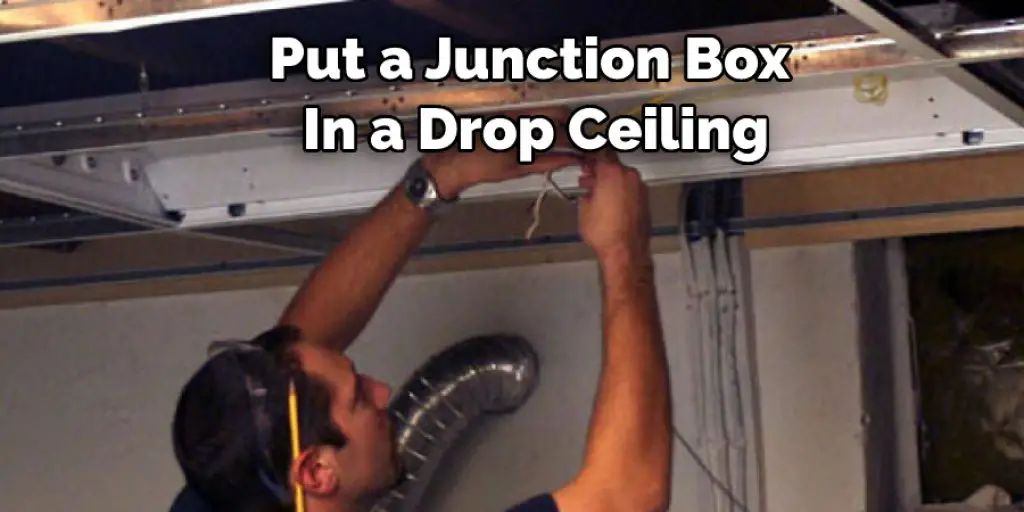
Can You Put a Junction Box in A Drop Ceiling?
Yes, you can put a junction box in a drop ceiling. A drop ceiling is typically an unfinished interior wall of the building that has been removed to expose the building’s structural framing and insulation. Drop ceilings are often used for aesthetic purposes or as a means of creating an “open” feeling in a room by visually connecting floors, walls, and ceilings.
Can You Put a Flush Mount Ceiling Fan on A Slanted Ceiling?
A flush mount ceiling fan is a type of ceiling fan that mounts flush with the ceiling. It may be mounted on an angled or slanted ceiling and can also be installed with a light kit.
The most common reason for installing a flush mount ceiling fan is when there is no room to install another type of fan, such as a pull chain, which may not fit in the space available.
One must always make sure that they are installing the right type of flush mount ceiling fan for their needs because it will determine how well it will function and what kind of sound level it will create.
A slanted ceiling does not mean that you cannot install a flush mount if your goal is to have an unobstructed view from one side of the room to the other. The first step would be to figure out where you want your lines in relation to the power source and whether or not there is enough clearance between them and the switch box so that you can still use both hands when operating the controls on top.
Can You Install a Flush Mount Ceiling Fan on A Sloped Ceiling?
Flush mount ceiling fans are installed with the motor unit at the bottom of the fan, while most other types of ceiling fans have a motor on top. The installation process is similar for both types of fans.
Conclusion
The ceiling fan installation process might seem complicated, but it doesn’t have to be. Remember your safety first and take care not to cut through the electrical wires in the ceiling when cutting holes for the mounting bracket. You can also use a drop-ceiling hanger kit which makes installing this type of fixture much easier because you won’t need any special tools or know-how.
With our help, we hope that anyone who is looking into getting a new ceiling fan will feel confident enough with their ability to install one themselves! The conclusion paragraph is informative and provides information on how to install a ceiling fan in a drop ceiling.
Check it also – How to Oil a Ceiling Fan Without Taking It Down


