If you are in the market for a sliding gate opener, this blog post is for you. If you have ever searched online before looking at all of the different models and prices out there, then I can understand how daunting it can feel to figure out which one is best for your needs.
There are so many choices available that it’s hard to know what features are important or not without doing extensive research on each model. This blog post will give an overview of some of the most popular brands regarding Sliding Gate Openers and what they offer in terms of features and pricing.
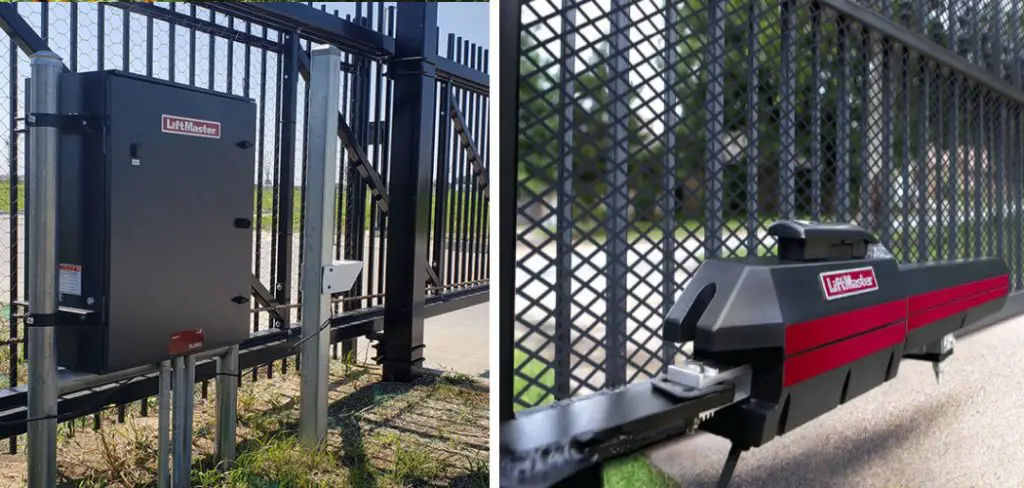
Hopefully, this information will help make your decision easier! So, this article is for you. You will learn how to install a Liftmaster sliding gate opener with just one simple trick!
Step to Follow on How to Install a Liftmaster Sliding Gate Opener
Step One: Determining Spacing
As with any DIY project, the first step is determining how much of a job you are looking at. For this project, especially since it will involve some research, I suggest getting your tools and materials together before beginning. The height of the gate needs to be determined for you to put the new opener on properly.
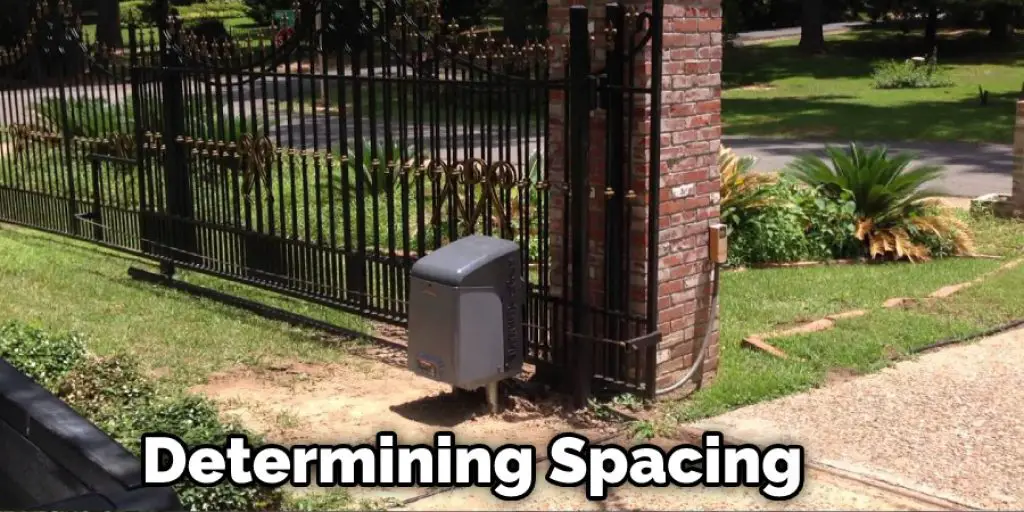
The first step is to measure the current height of the gate; you will need this number later. Next, you will need to get the lowest height of travel for your opener. This number is usually listed on the box. It’s best to measure this while the gate is partially open or closed since you can’t know how it moves when fully opened or closed.
Once you have both measurements, it’s time to head to your local supply store and get the listed chain that matches your requirements. It is important to remember that if you are looking at a gate over seven feet tall, you will need to get a gate opener with the highest weight capacities.
Step Two: Installing the Chain
If you bought a kit that came with instructions, then this step will be very easy. If not, it’s fairly simple to get started. First, determine where on your gate you want the new opener to be positioned. Once you have that finished, installation is as simple as attaching the one end of the chain to your gate using a steel link.
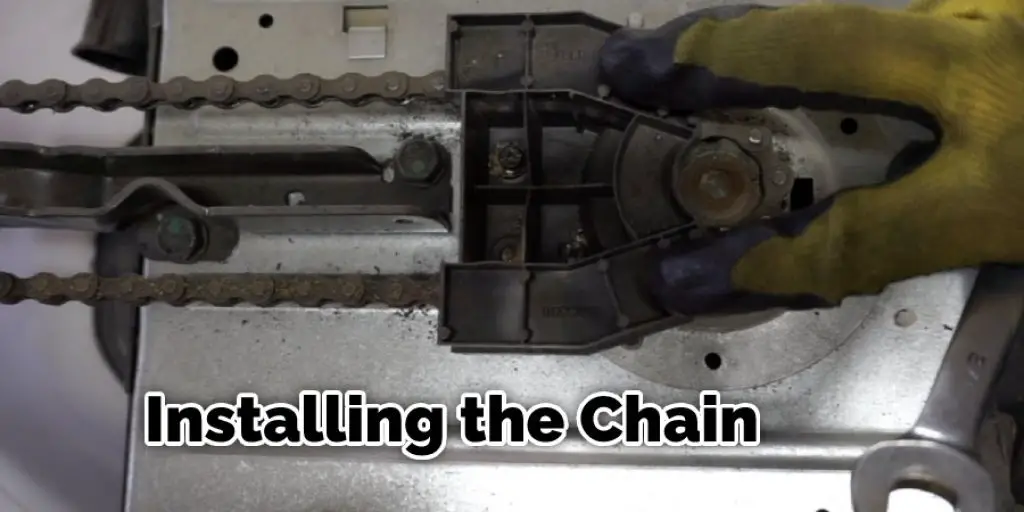
The other end can be attached using any clip or fastener suited for your needs. Once the new opener is attached, it’s time to calibrate it with the motor unit, making sure they both work together as designed. Once you have your opener calibrated, you will need to test it out by opening and closing the gate.
The odds are that the opener’s arm is too long, or you need to adjust it slightly. This should be an easy adjustment to make, and after a few adjustments, your gate will open and close like it never had any issues in the first place.
Step Three: Installing the Motor Unit
If you are replacing an older opener, the chances are that Liftmaster did not make it. If this is your case, you will need to get the correct model number of the motor unit used by your old opener so you can buy a new one with comparable specs.
It’s best to go to where you originally bought your opener to make sure you get the right unit. The unit should be mounted using four bolts. The height of the bolts should be equal to or less than the height of your gate so you can adjust it accordingly.
The distance between the bolts should almost equal the total width of your gate, allowing a small enough gap for the arm to travel in. Once you have set up the new motor unit, attach its wires to your power source and then connect the control box to your old opener. This will help in how to install a Liftmaster sliding gate opener.
Step Four: Calibrating Your Gate
After you have installed the motor unit, it will need to be calibrated. The process is fairly simple and can usually be done in a few minutes by following instructions from your user manual. However, it’s best to wait until at least two hours after the gate was last opened or closed to calibrate it.
This ensures that the opener has enough time to recalibrate itself since it will have been moved while you installed it. If the gate is being opened manually with a controller, it’s best to position this closer to your new opener so it can be hooked up easier.
Once your opener is calibrated, you can test it out to make sure it works as intended. If your opener does not open or close the gate at all, there is likely a problem with recalibration or installation. It’s best to go back and ensure that everything was correctly installed before using your new system to avoid any unnecessary complications.
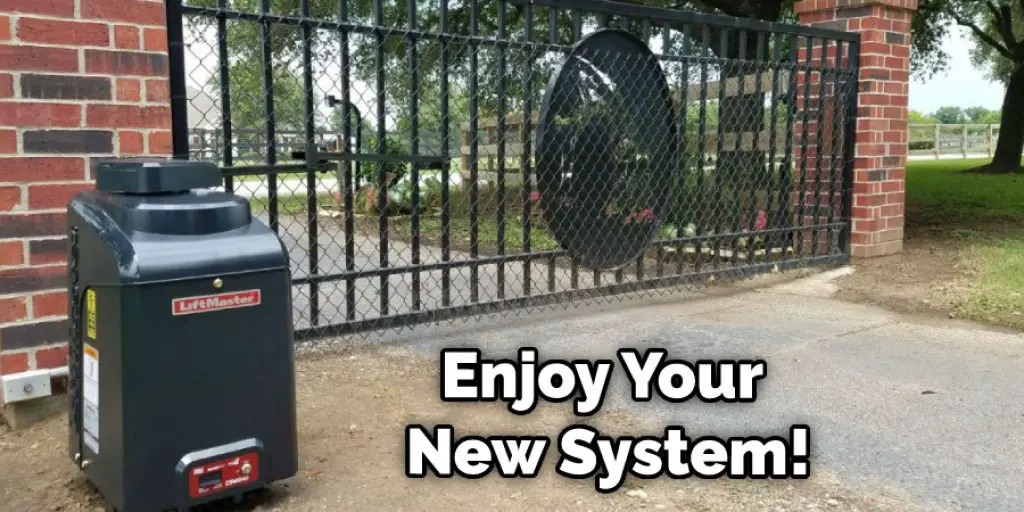
Step Five: Enjoy Your New System
Once your gate opener has been recalibrated, you can use it regularly to ensure that everything works as intended. If the system was appropriately installed and calibrated correctly, there should be no issues with opening or closing your gate whenever needed.
While this is a fairly simple process, there are still some precautions that need to be taken. You should never open or close your gate manually if your motor unit is not working as it should; doing so could cause serious injury to you and others around you.
Frequently Asked Questions
How Does an Edge Sensor Work?
An edge sensor is a sensor that measures the distance between itself and an object.
It works by using the reflection of light off of a surface to measure the distance from the sensor to the object. It has a large range, so it can detect objects with surfaces that are not parallel to its sensing axis.
Do Electric Gates Need Safety Edges?
Electric gates are designed to keep people and pets safe. The safety edges that come with the gate are a part of the design.
They are also important because they prevent people from being injured by the electric current if they touch it while walking past the gate.
The safety edges help protect your home and family members from any accidental contact with an electrical current, which could be fatal.
What Is a Resistive Safety Edge?
A resistive safety edge is a material that helps to prevent people from coming into contact with high voltage or electrical current. The materials are usually made of copper, aluminum, steel, and carbon-impregnated rubber. These materials have been used in various applications like fences, railings, electrical cabinets, and control panels.
Does My Liftmaster Have a Battery?
Yes, your Liftmaster garage door opener typically has a 9-volt battery. This battery is used to run the motor and keep the opener working. If the battery starts to lose power, it will not open your garage door. You can check the battery’s level by pressing the “Batteries” button on your Liftmaster remote control and looking for the number that indicates how much power is left in the battery.
Why Does My Liftmaster Keeps Beeping?
There are a few potential reasons why your Liftmaster may be beeping – some of which may require a technician visit. To determine the source of the problem, you can try the following methods:
1. Check to see if there is anything blocking the sensor – If the beeping is coming from the motor area, you may need to clear something out of the way (usually debris) so that the sensor can properly detect motion.
2. Check for power – Make sure that there is power to both the motor and sensor by checking for a green light on either device. If there is an issue with either one, it may result in the beeping noise.
3. Check for obstructions – If there are any obstructions in front of or behind the motor, they may cause interference and trigger the lift’s safety system. In this case, a technician may need to clear out the obstruction before service can be provided.
What Kind of Battery Does Liftmaster Garage Door Opener Take?
The Liftmaster garage door opener is powered by a 4-channel lithium ion battery. This type of battery is typically good for around 5 years before it needs to be replaced.
Conclusion
I hope this blog post has been as helpful to you as it was for me. Install a sliding gate opener is not difficult but requires some mechanical knowledge and the right tools. It’s also essential that your new gate opener matches up with what you had before; otherwise, there could be compatibility issues down the road.
If you’re considering installing a new motorized gate operator on your property, consider these tips when deciding! In addition, this blog post has given helpful advice on how to install a Liftmaster sliding gate opener.
You may also read-How to Build a Metal Gate for Driveway


