Installing a mirror in your home can be an easy way to update the look of any room. A standard mirror is mounted with two brackets, one on each side that is screwed. Before making this purchase, you will need to take measurements so the mirror fits snugly against the wall.
The J-channel is an excellent option for hanging mirrors if you want something more decorative than necessary brackets. This type of installation requires no screws or nails and works best when at least 4″ of space between the top edge of the frame and ceiling line. But, first, you need to know how to install a mirror using j-channel.
Tools You Need
- Tape Measure
- Pencil
- Level
- Drill
Step to Follow on How to Install a Mirror Using J-channel
Step One: Determine Clearance and J-channel Size
The first step in installing a mirror using a j-channel is to figure out the clearance you need. You will need this for cutting your j-channel. The size of your j-channel should be twice the length of the side of the mirror it is covering, plus a few inches extra on each end for fastening.
J-channel size will depend on the size of your mirror. For example, if you have a mirror that is 16″ on each side, then your J-channel would need to be 36″ long. Depending on how wall mounted it will be, it would help if you planned for the j-channel to overlap on one or both sides of your mirror. That means if you decide your mirror needs a 36″ wide j-channel, you should purchase a 48″ wide j-channel.
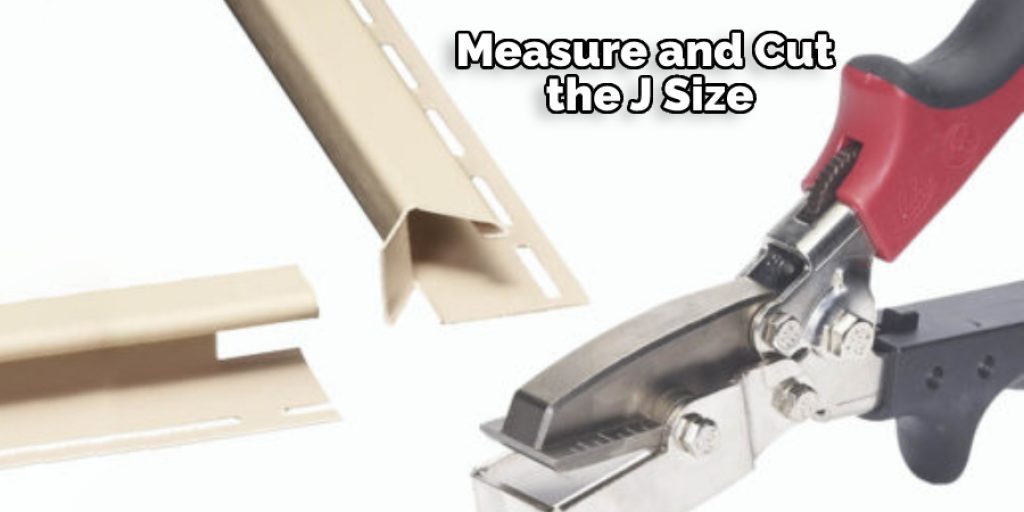
Step Two: Cut the J-channel to Size
Once you have your j-channel, measure and cut it down to size with a utility knife or tin snips, be sure to wear gloves for this step. Once you have your J-channel cut, please test it out on your mirror. You should fold it in half lengthwise and slide it onto the mirror to determine if any modifications are needed.
Once you have determined your J-channel is long enough, mark where you need to bend it so that the ends overlap once mounted. You can do this with a pair of pliers for smaller mirrors, and for more giant mirrors, you may want to use a rubber mallet. Once you mark it with a pencil, take your j-channel and bend it over the edge of a table or other sturdy surface until the ends overlap by about one inch.
Step Three: Affix J-channel to the Mirror
Once your j-channel is bent to the correct shape, it’s time to affix it. You can do this by using a hot glue gun or a staple gun loaded with 1/4″ staples. If you use staples, get them right into your j-channel, and don’t leave any sticking up from your mirror.
If you use a glue gun, take your time applying it to the j-channel and mirror. Make sure your j-channel is neatly pressed into the glue before applying it. Otherwise, you may have a messy-looking setup when you’re done.
Step Four: Trim the J-channel to Fit
The final step in installing a J-channel mirror is to cut off any sticking-up j-channel you don’t want. Then, carefully slice away any excess j-channel that isn’t glued down or stapled down using your utility knife. You want to get it right down to the edge of your mirror so that when you hang it, no j-channel is exposed.
So just a few steps, you have a mirror installed using the j-channel. Just remember that depending on your mirror size, you may need to purchase a larger J-channel than required for installing it. So measure twice before buying your J-channel to match your mirror correctly.
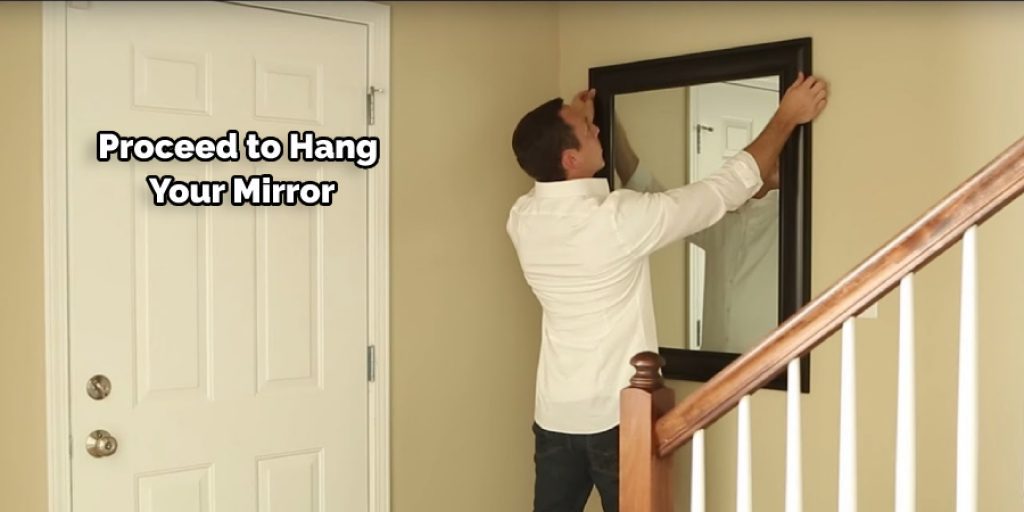
Step Five: Proceed to Hang Your Mirror
Now that you have your j-channel securely in place, it’s time to hang the mirror. Do this by using two screw-in D-rings for hanging on drywall or studs. Make sure that they are anchored into studs and level before you put the hook into them. Once mounted, your D-rings should be level with the bottom of your mirror.
If you need to, trim them down to flush or below your mirror’s edge before putting in hooks for hanging. Depending on how long it has been since your last hang job, you may need to put in new drywall anchors when installing your D-rings.
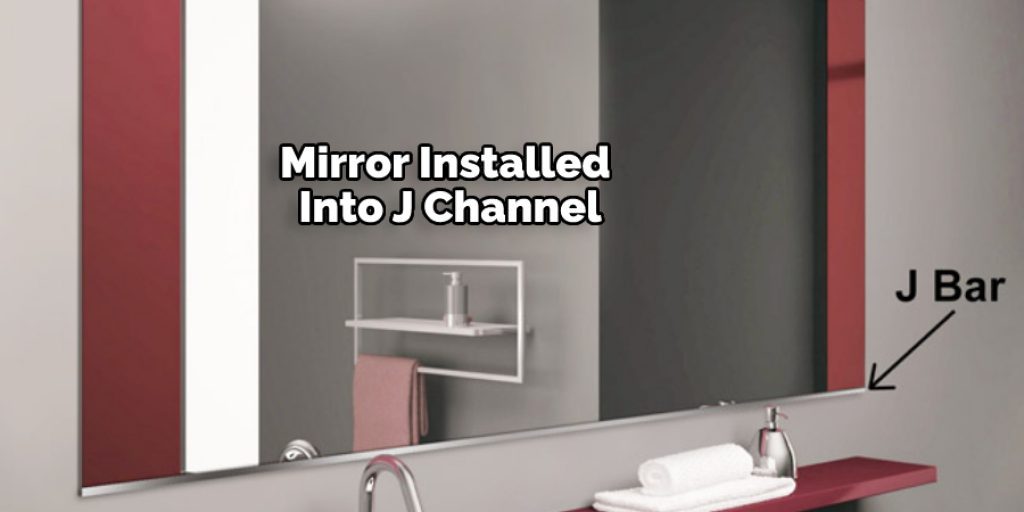
Step Six: Install the Mirror
Once your D-rings are in place, carefully lift your mirror and slide it onto them. Make sure not to drop the mirror or bump it while doing so. Once you have successfully slid the mirror onto the D-rings, check to ensure that all of your fastenings are done correctly.
If everything looks good, do a final check by sliding the mirror around to ensure that there isn’t any j-channel stitching visible. Once it’s done, you can admire your handiwork and enjoy your new mirror. Now that you know how to install a mirror using j-channel.
Step Six: Maintain Your Mirror
Your mirror is now hung securely. It should stay in place for years with no problems. However, it’s time to call a glass company if you notice that it needs maintenance or repair. They will help you with any issues that come up and can even hang your mirror for you so that it looks good and doesn’t need maintenance again for a while.
Conclusion
Now that you know the ins and outs of how to install a mirror using a j-channel, get started today. Check out your local hardware store for supplies or find one online. Safety is key when installing any home improvement project, so make sure not to rush it and take proper precautions, such as using gloves and goggles during installation.
And don’t forget to measure twice before cutting! Once installed, enjoy the new light in your space that will reflect off of this reflective surface, making everything around it brighter while also adding some extra classiness. Your bathroom may never be the same again!
Check it out- 5 Useful Tips for Home Improvement on a Budget


