The installation of a return air vent is a crucial step in installing a new heating system. Without this vent, it can be challenging to balance your home’s temperature and humidity levels. A poorly installed return air vent will lead to uncomfortable living conditions for you and your family.
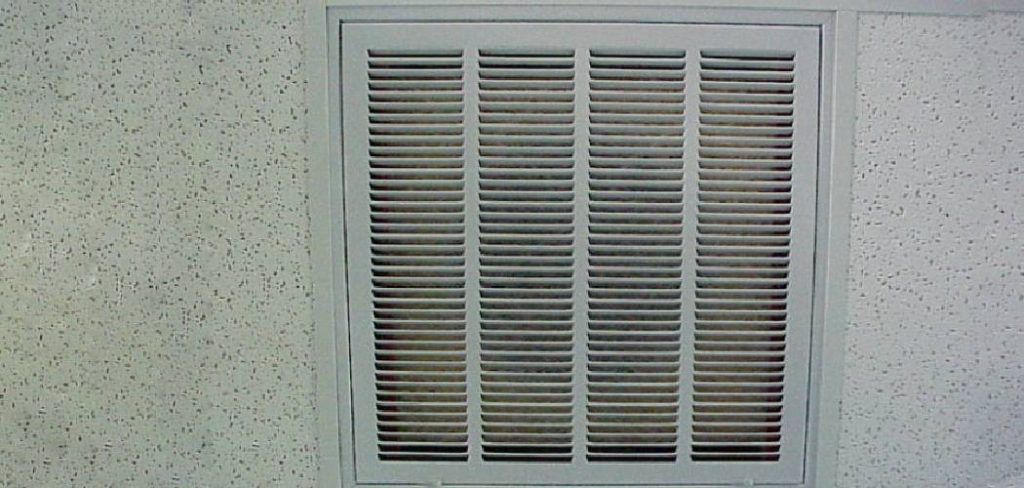
In order to install an effective return air vent, several steps need to be taken beforehand. These include measuring the distance from the furnace or boiler room door opening, as well as checking for any obstructions that may block access to the area where you’ll be drilling into the wall. Once those two things have been checked off, read on for more details about how to install a return air vent in wall!
Steps to Follow on How to Install a Return Air Vent in Wall
Steps One: Make Sure the Space is Available
First, measure to see if there’s space in your wall for a return air vent. It should be about six inches wide by six inches tall, and it should have at least four inches of clearance above it so that hot or cool air doesn’t get trapped inside when you close off the register.
The best place to put a return air vent is near the floor. Don’t place it directly beneath an exterior door or in a high traffic area since you’ll find yourself kicking up dust and debris while you walk by. The inside of the wall should be smooth, clean, and dry.
Steps Two: Make Sure the Wall is Solid
You’ll need a stud finder to make sure that you’re installing your return air vent in a place where there’s a solid wall behind it. Push lightly on different spots in the walls until you find a section that’s steady and doesn’t budge when you push on it. Avoid putting return air vents in walls that are hollow or can be broken through, even if there’s no visible gap.
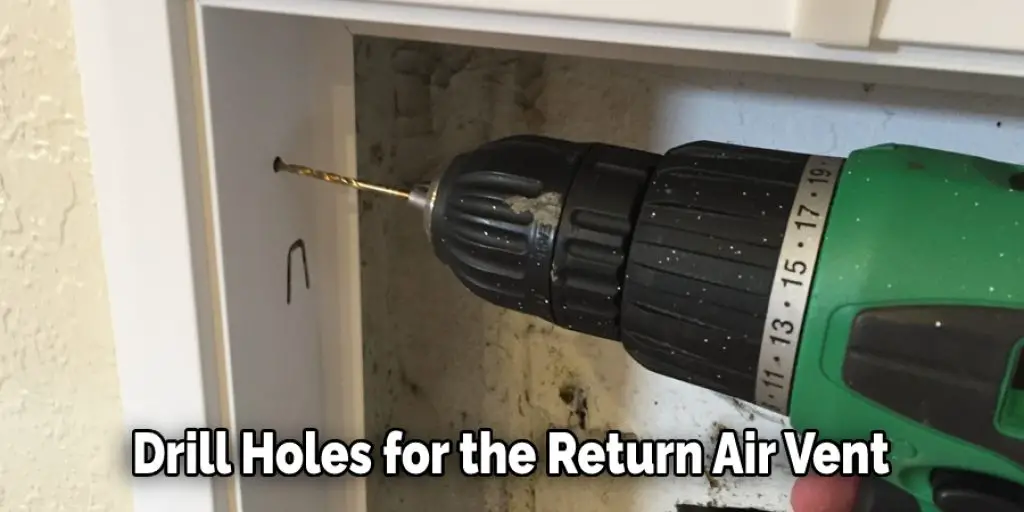
Step Three: Drill Holes for the Return Air Vent
Drill holes into the wall using a drill and drill bit to fit your vent size. You want to go at least a quarter of an inch into the studs so that there’s support for your vent. Then, drill four holes at the top and bottom, making sure they’re a good foot apart from one another.
Step Four: Connect the Vent to the Holes
Insert a piece of flexible, semi-rigid metal vent pipe into the holes you drilled and twist it so that it’s at a 90-degree angle. You want one piece coming in from each corner. The ends should overlap slightly and connect to form a rectangle. Use drywall screws to secure them together. You can also use spray foam to secure the pieces if you want an extra layer of protection and insulation.
Step Five: Connect the Cover Plate
Once your vent pipes are secure, screw a cover plate onto the top of them and make sure it’s level. You may need to adjust each piece until they’re even with one another; this is an essential step since you won’t be able to close off your vent registers if they’re not all the same height.
Step Six: Connect the Vent Assembly to the Register Box
Measure out the width of your vent assembly and cut a hole into your register box that’s big enough for it to fit through. You want this to be at least six inches wide and six inches tall. If you’re having trouble, try taking a wire coat hanger apart and using it to pry the pieces further apart to make them easier to fit into position.
Step Seven: Secure the Vent
Keep your vent assembly secure with screws, but ensure you’re not over-tightening them to avoid stripping the thin metal. Once it’s fastened tightly in place, punch out any extra holes in the vent using a screwdriver or drill. It would help if you had an airtight seal that keeps dust and other particles from passing through.
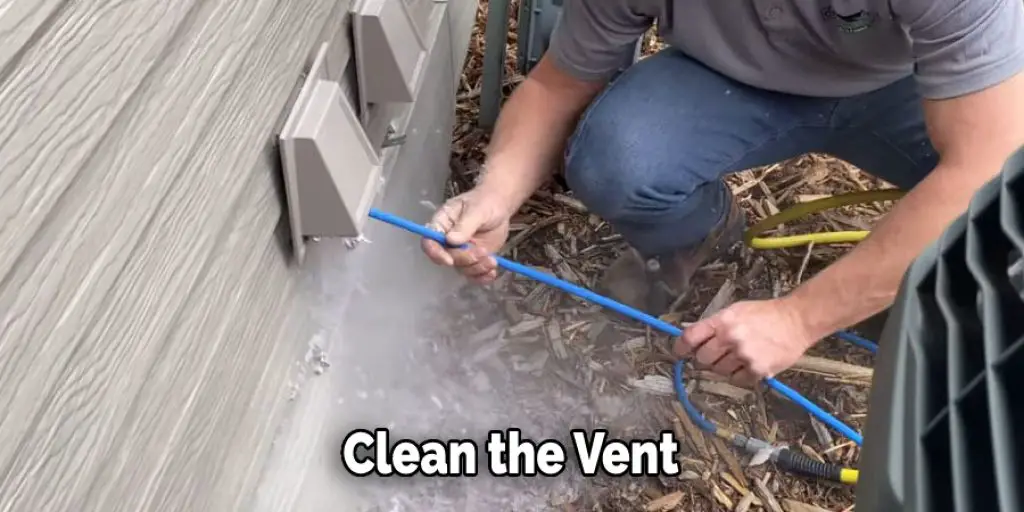
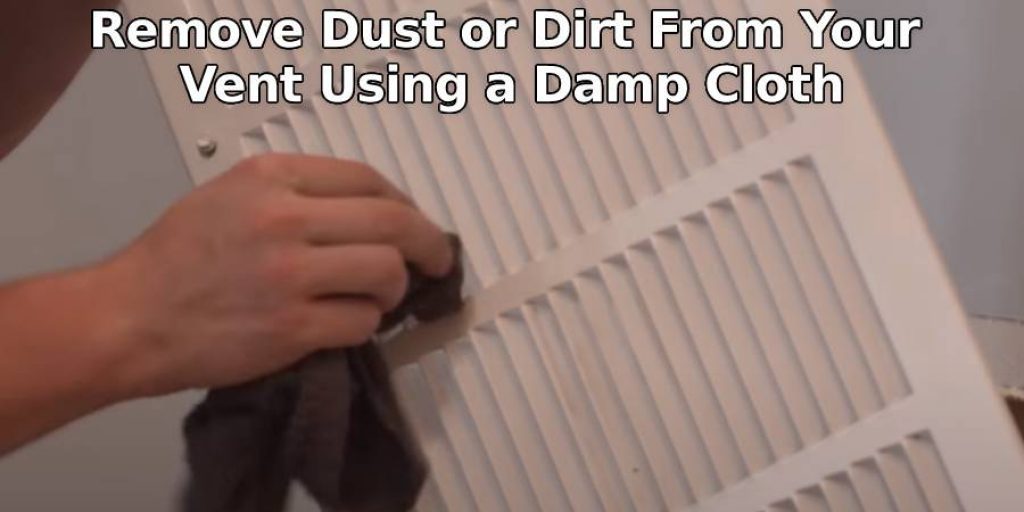
Steps Eight: Clean the Vent
Remove dust or dirt from your vent using a damp cloth, making sure that it’s scorched before you close it. Some vents have removable covers for easy cleaning; others are designed with slats so that air can still get through if they’re dirty. If you use the steps outlined above for how to install a return air vent in wall, you can do it yourself.
Where Should a Return Air Vent Be Located in the Room?
As a general rule, it’s usually best to place vents across from each other. However, if you are taking measurements for multiple rooms in your home, keep in mind that heat rises. For example, rooms on the second floor tend to stay colder than rooms on the first floor because cool air sinks while warm air increases.
You can follow the same basic rule of thumb for floor vents. For example, suppose you live in a three-story home with one vent on each floor. In that case, it’s best to place them across from each other that is, the first floor should have its registers on opposite walls east and west, while the second floor should have theirs on opposing walls (north and south) and the third floor’s vents should be located in east-west pairs with one vent at either end of the room.
Frequently Asked Questions
Should Return Vents Be High or Low?
This is a question that often comes up during home improvement projects. While there are pros and cons to both high and low-return vents, the most common approach is to install them at a base level of around 45 degrees. This will allow airflow throughout the entire installation while reducing condensation problems.
Does Every Room Need a Return Vent?
Yes, every room in your home needs a return vent. While it is not mandatory to install a return vent in every room, it is highly recommended because they can help to improve the air quality in your home, reduce wear and tear on your heating and cooling systems, and keep pests and insects at bay. Here are some more reasons why you should install a return vent:
1. Air quality – One of the biggest benefits of installing a return vent is that it can improve the air quality in your home. This is because the vent will allow fresh air to enter your home while stale air is vented out. This will help to reduce the levels of pollution and allergens in your home, making it healthier for you and your family.
2. Heating and cooling costs – A return vent can also help to reduce the costs of heating and cooling your home. By allowing air to flow freely throughout your home, you will be able to better control the temperature in all areas, which will save you money on energy bills.
3. Pest control – By keeping pests and insects out of your home, a return vent can play an important role in keeping your property clean and free from pests. In addition to this, a return vent can also help increase the value of your home because it adds character and style.
What Happens if There Is Not Enough Return Air?
When there is not enough return air, the furnace will work harder to bring in enough fresh air to compensate. This can result in higher energy bills and reduced efficiency. In extreme cases, you may experience a fire since the heat from the furnace will cause combustible materials to ignite. If this happens, please call 9-1-1 immediately!
Conclusion
Installing a return air vent in your wall can be a daunting project. However, by following the steps listed below and making sure to use the suitable materials for your installation, you should have this job completed with relative ease.
In order to install a return air vent in any wall structure, it is important that you follow these steps exactly as they are written out here, or else there may be complications when trying to complete the task at hand.
The first step would be determining where on the exterior of the house or other building needs an opening cut into it so that we can get access inside and remove some of its interior material. At this point, you should feel confident that you know how to install a return air vent in wall.
You may also read- How to soundproof an above-door air vent


