Drywall is a popular material for home construction because it is strong, lightweight, and easy to install. While it is not as fire-resistant as other materials, such as concrete or masonry, drywall can be used to create an effective fire separation between different areas of a home. This article will show you how to install an air vent in drywall. We will also provide tips on choosing the right air vent for your needs. Keep reading to learn more!
w
Many people don’t realize that air vents and drywall can go together. However, if you want to install an air vent in a wall or ceiling cavity in your home, there is no reason why you can’t!
Installing an air vent in drywall is simple and only requires a few tools and materials. There are many styles of air vents available for purchase on the market, so you must read the product information before making a purchasing decision.
Required Tools and Materials
- Nail gun & compressor (or hammer and finishing nails)
- Router with 1/4 inch bit (if the vent is more comprehensive than 4 inches)
- Vent to fit the space you’re covering. Generally, the size of the conduit should be about an inch larger than the opening to ensure a snug fit.
- Tape measure.
- Pry bar or scoring tool.
- Circular saw or drywall saw (for cutting additional framing).
- Drywall screws and drywall compound.
A Detailed Guide on How to Install an Air Vent in Drywall
Step 1: Measure the Existing Air Vent
If replacing an existing vent, remove the old one to measure the covered hole. If you install a new vent, ensure there isn’t one already! Next, determine what size vent you need. A rule of thumb is that your drywall opening should be 1 inch wider and taller than your air duct or return-air opening.
Do this for both the top and bottom of the wall cavity. Also, take note of any obstacles near where you plan on putting in your new grille, leaving room for movement if needed. The image below shows how to take measurements before removing obstructions or cutting out sections of drywall.
Step 2: Convert the Measurements Into Pieces of Drywall
Use the measurements you took of your drywall opening to draw on a section of drywall. First, ensure it’s an inch wider and taller than your opening.
Then, use a circular or drywall saw to cut out the area for your new grille, making sure to follow any necessary auxiliary framing. If you’re working with metal studs, it may be required to use some pry bars or scoring tools to get a smooth cut edge on your drywall.
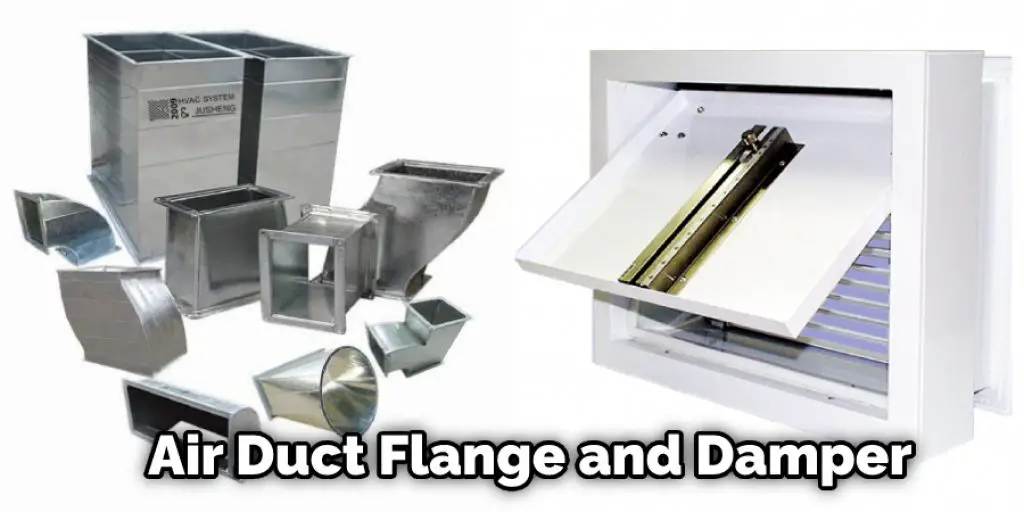
Step 3: Cut Out Space for Air Duct Flange and Damper
If there is wood blocking around where your air duct flange will go, it may be necessary to remove that before cutting out space for the damper assembly. A circular saw, or drywall saw can be used to remove obstructions.
In order to install a new vent, you first need to determine the size of the damper assembly and cut out a space that is accordingly. For example, if the new vent is 6 inches in diameter, you will need an opening that is 9 inches wide for the air duct flange and another three or so inches on each side for the damper mechanism.
Step 4: Route Air Duct Flange Into Place
Once your hole is cut and all wood obstructions have been removed, push the air duct flange into place and use a few screws to secure it through the holes near the grille’s outer rim.
Next, use drywall screws and compound to create a flush edge with your wall, filling any gaps between where the drywall meets the air duct flange.
Step 5: Cut Space for Dryer Vent Filter Outlet and Damper Assembly
Cut a hole in your drywall, about a half-inch more minor than the outlet of your dryer vent filter. You can use either a router with a 1/4-inch bit or a circular saw. Try to make it as smooth an edge as possible around the circumference of the box.
When you’re finished, push down on one end of your damper assembly and route it into place through the grille’s metal frame by pushing outwards from inside the enclosure.
Secure in place with screws provided with your new vent grill if necessary. If you notice any gaps between where the drywall meets the metal frame of your new vent, apply a small amount of drywall compound and smooth it out to create a seamless appearance.
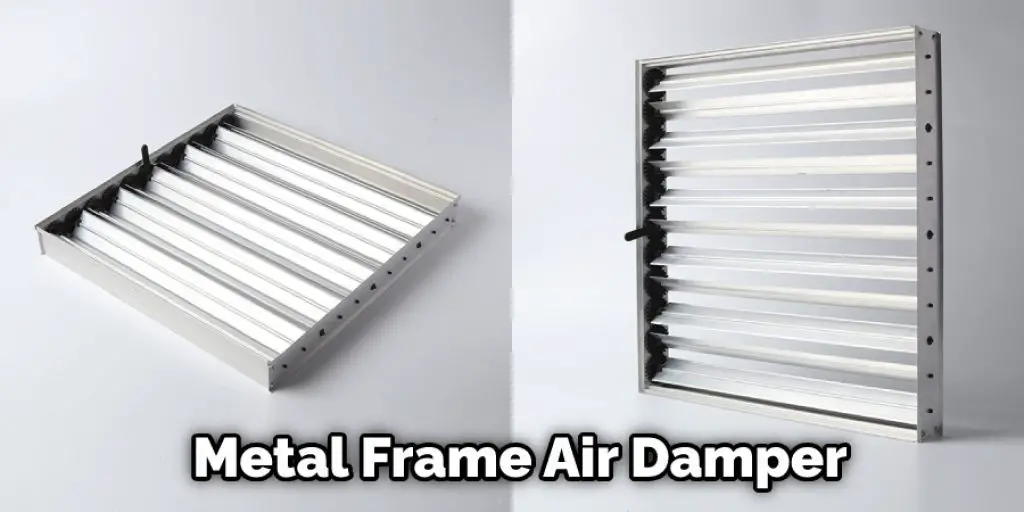
Step 6: Connect Metal Frame to Damper Assembly
Attach the metal frame to the damper assembly with screws provided with your new vent grill. Secure in place by flipping over your ventilation enclosure and identifying predrilled holes on the bottom rim of the dryer vent cover.
Screws should be included with your purchase; thread them through these holes and tighten them into place. The result should look like this.
Step 7: Cut Out Auxiliary Framing
If you’re working around obstructions like lights or other obstacles, cut out pieces of framing for them so that they can be sealed in place once your drywall is finally finished.
You can use the tools you’ve already used to cut out sections for your vent frame to do this, but it’s probably more accessible with a reciprocating or even a circular saw. This is a crucial step in installing an air vent in drywall.
Step 8: Fill Cracks Around Auxiliary Framing and Where New Sections Meet Old Ones
Once all auxiliary framing has been removed and replaced with new pieces, fill gaps between where the old section meets the new one with drywall compound. Apply it sparingly so that your grille will fit smoothly when pushed back into focus.
Once all these tiny holes have been filled in, cover them entirely with a final application of compound, mixing in some paint if necessary to suit the surrounding paint color. Let dry for a few hours to set the combination thoroughly.
Step 9: Reattach Auxiliary Framing and Finish Drywall Application
Once you’re happy with the look of your new vent grill, screw any additional framing around it. Use a reciprocating saw to trim away any obstructions remaining around where your vent cover will go. Then dry fit it into place and see if there’s enough space between it and other objects (like other vents).
If necessary, add additional wood blocking to create space before permanently attaching the grille to the wall with screws provided. Paint over these if they won’t be visible from below once your new vent is in place.
Step 10: Finish Drywall Installation
Once additional framing has been installed, dry fit your vent enclosure into place and apply a generous amount of paint to any exposed metal around where it goes so that the area looks more finished. Once you’re satisfied with how it looks, attach to your wall using drywall screws provided with your new vent grill.
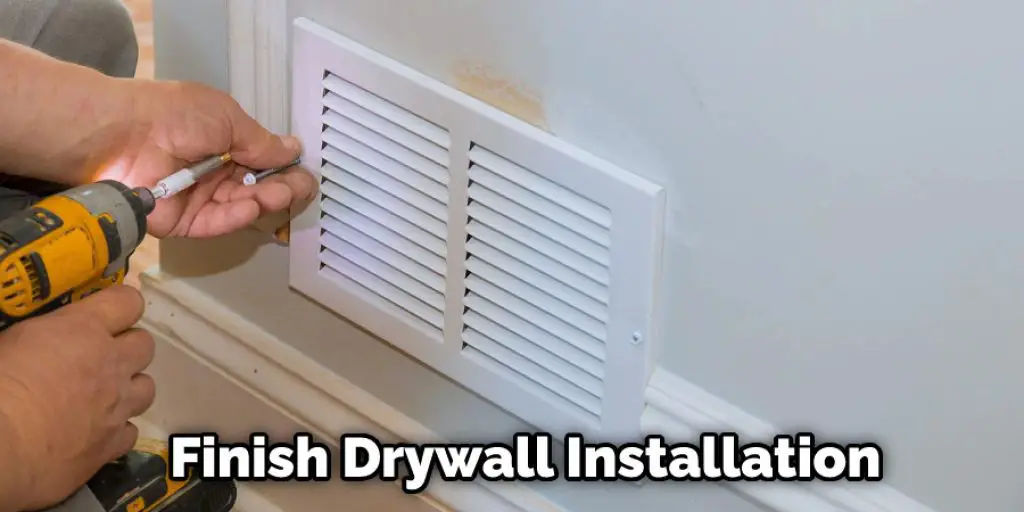
This will also involve cutting holes through your wall for screws to go into if they aren’t already there–follow the same process as you did when you cut out pieces for the metal frame.
Paint over these small holes as well, or cover them up entirely by reattaching any surrounding obstructions like other vents or light fixtures to create a more uniform appearance once your vent is in place. These steps will help in how to install an air vent in drywall.
Tips and Warnings
Tips:
- Use a piece of 1/8 wood as a spacer for the drywall. The staff should not be wider than the hole you are about to cut.
- When cutting a hole in the drywall, be sure that you have a solid base to cut against. If your staff is too long or not stable enough, it will cause your drywall to crack and splinter during the cut.
- Marking measurements for where you want your air vent is essential before making any cuts.
- Do not continue placement until all studs are marked and measured for location. Also, make sure the view of the vent from inside and outside is visible from an angle.
- When installing an air vent into drywall, be sure to follow all manufacturer’s directions. This usually includes expanding foam insulation, duct tape, and screws.
Warnings:
- Expanding foam insulation should not come in contact with any electrical devices.
- Duct tape is only to seal the vent flap from outside elements and should not be used as a structural component of the vent.
- When applying screws, tighten them into the studs only. This will help keep your new drywall air breezes free from any squeaks or rattles!
- Read the manufacturer’s directions thoroughly before installation.
- If you are not confident in your abilities to install an air vent in drywall, call a professional for assistance.
Frequently Asked Questions
Is It Necessary to Have Air Vents in Walls?
Probably not. While air vents may be useful for regulating the humidity levels in a room, they are generally not necessary to keep your home or office cool. In fact, if you have an attic or basement that is unused and could potentially serve as a cold storage area, it might be best to seal it up rather than installing air venting. This will help to maintain better temperature control in all parts of your home or office without costing you any extra money.
Where Do You Put Return Air Vents?
When it comes to air vents, some homeowners prefer to place them on the exterior of the house, while others opt for placement inside. There are pros and cons to both choices, and the best way to determine where to put your return air vents will depend on a variety of factors, including your home’s layout and size, climate, and ventilation needs.
If you’re placing your vents on the exterior of your home, keep in mind that they will require regular maintenance in order to prevent moisture and decay from affecting the vent’s seals. Additionally, you’ll need to make sure that the vent is positioned so that it doesn’t obstruct sunlight or contact with rain or snow.
If you’re opting for an interior installation, keep in mind that this type of vent can be less visually intrusive than an exterior installation. Additionally, interior vents may be easier to access if you want to install additional ventilation systems in other parts of your home. However, interior placement may also require more care when it comes to seal maintenance and weather protection.
Does Every Room Need a Return Vent?
While it’s always a good idea to have room ventilation, not every room needs one. In fact, depending on the type of ceiling and wall finishes in your home, you may not need a return vent at all. If you do decide that you need one, be sure to consult with an HVAC contractor or engineer so that they can identify the specific requirements for your particular situation.
A return vent is also important for two reasons: first, it helps eliminate moisture from the indoor air by sending moist air outdoors; second, it allows conditioned airflow back into the house during warm weather conditions (i.e., when windows are opened).
Should Return Vents Be High or Low?
Here are a few general rules of thumb to help you make an informed decision:
1. Vent high if the unit is designed to vent outdoors – In areas where outdoor air is unconditioned or dry, a high vent will allow more air to escape and help reduce moisture accumulation.
2. Vent low if the unit is designed to vent indoors – In areas where indoor air is moist or contains contaminants, a low vent will help keep the interior of the unit moist and free from contaminants.
3. Use the guidelines provided by the manufacturer – Always consult the manufacturer’s guidelines when deciding on a vent configuration, as they may vary slightly from model to model.
What Does a Return Vent Look Like?
While it’s always a good idea to have room ventilation, not every room needs one. In fact, depending on the type of ceiling and wall finishes in your home, you may not need a return vent at all. If you do decide that you need one, be sure to consult with an HVAC contractor or engineer so that they can identify the specific requirements for your particular situation.
A return vent is also important for two reasons: first, it helps eliminate moisture from the indoor air by sending moist air outdoors; second, it allows conditioned airflow back into the house during warm weather conditions (i.e., when windows are opened).
Conclusion
If you’re struggling with how to install an air vent in drywall, don’t worry! We’ve compiled a step-by-step guide that will make it easy for anyone. Of course, you’ll need the right tools and materials – luckily, we have everything listed on our website. Follow these directions carefully, and soon enough, your new air vent should be installed easily!


