Many people have a hard time installing chain link fences on a slope. First, it is essential to ensure that the posts are set into the ground at an angle. Then you will need to follow through with some special considerations for top-heavy sections of your fence and make sure you install it at the proper height so as not to impede access or visibility from within your property.

It can be tough to install a chain link fence on a slope, but it’s possible with the right tools and equipment. This article will discuss how to install chain link fence on a slope!
Tools and Materials
- Shovel
- String Line
- Level
- Tape Measure
- Hammer
- Stakes
- Chain Link Fence Fabric and Posts
A Detailed Guide on How to Install Chain Link Fence on a Slope
Chain link fencing is an excellent choice for security and privacy. It can be installed on a slope, but it will require additional steps. Here’s How to Do It :
Step 1 : Determine the Types of Slope
There are four typical types of slopes; flat, level, steep and very steep. A flat surface means the difference between the high and low points is not more than three feet. This type of slope can typically be handled by a person attempting to install these fences themselves. A level surface means it has no high or low spots, but this often isn’t true in reality.
By using a string line, you should still be able to determine if it’s level or not. If you have a reasonably even surface that won’t need any cutting, then this will also typically be reasonably simple to install the fencing on your own. Steeply sloped surfaces are those where there is less than 1 foot of horizontal distance for each foot of vertical height.
This is where it becomes difficult to install the fence yourself, and you may need assistance. Finally, surfaces classified as very steep have a slope of less than 1/2 foot horizontal distance for each foot of vertical height. If your surface falls into this category, you should not try to install the fence on your own and seek professional assistance.
Step 2 : Preparing the Area
Once you have determined the type of slope you’re dealing with, it’s time to start preparing the area. First, you’ll need to remove any sod or vegetation and then dig down to create a level base. How deep you’ll need to go will depend on the type of slope you have. For a flat or level surface, you’ll only need to dig down a few inches. For a steep slope, you’ll need to go down at least 12 inches, and for a very steep slope, you may need to go down as much as 24 inches.
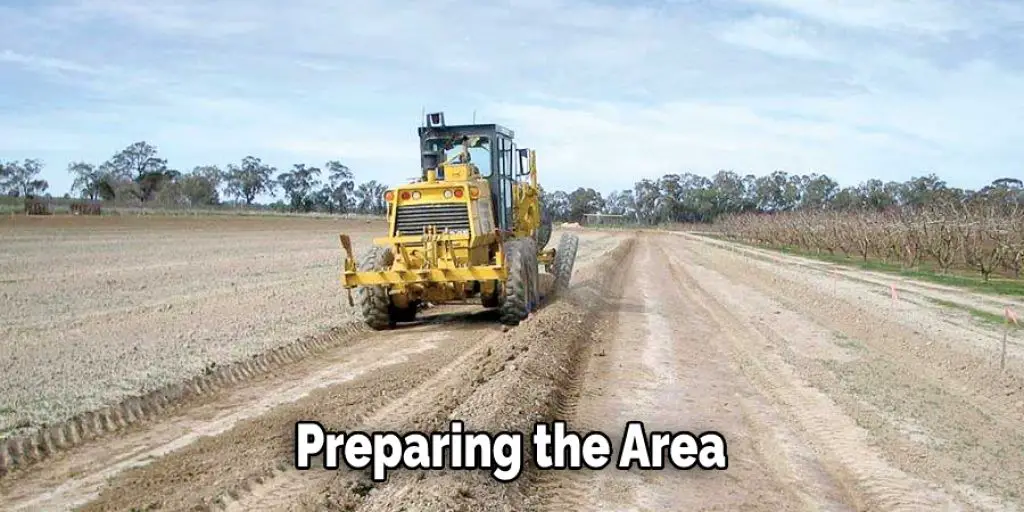
Once you’ve dug down to the desired level, use a tamper or other tool to compact the soil, so it’s firm before continuing.
Step 3 : Erecting the Fence Posts
The next step is to erect the fence posts. How far apart you’ll need to space them will depend on the type of slope you have. They can be spaced anywhere from 6 to 12 feet apart for a flat or level surface. If your surface is steep, it’ll need to be spaced every 4 feet and spaced every 2 feet for very steep surfaces. How you set the posts in place depends on whether it’s a flat or level surface.
You can use posthole diggers to dig holes for a flat or level surface and then backfill with dirt after setting the posts in place. If your slope is not one of those types, then you’ll need to rely on concrete to hold them in place. A shovel can remove any dirt from inside the posthole before adding the concrete mixture and filling it with water.
Step 4 : Stringing Line
Using a string line, determine where each row of fencing will go and locate its center position using a tape measure. Next, use stakes and masonry cord (also known as mason’s line) to mark out the position of each post hole.
How far apart you space the stakes along the length of mason’s cord will depend on your slope. They can be anywhere from 6 to 12 feet apart for a level or flat surface. If it is steep, they’ll need to be spaced every 4 feet and spaced every 2 feet for very steep surfaces. This step is crucial in how to install chain link fence on a slope.
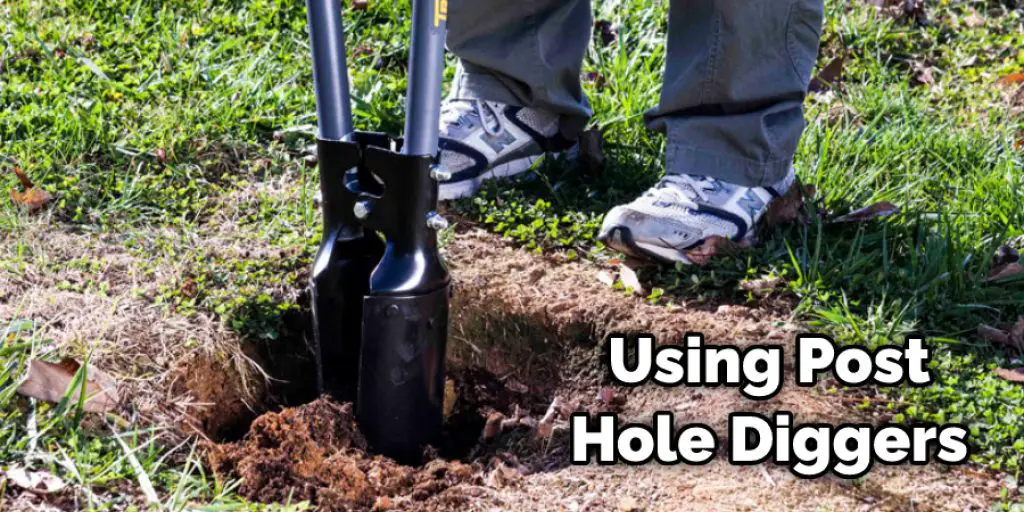
Step 5 : Digging Holes
Use a post hole digger or spade to create holes about 3ft deep and just slightly larger than the width of your fence posts. For each hole, add a little bit of water before going ahead and setting in your posts with concrete. Once the hole has been put in place, pour more concrete in so it’s about 2 inches deep and tamp it down.
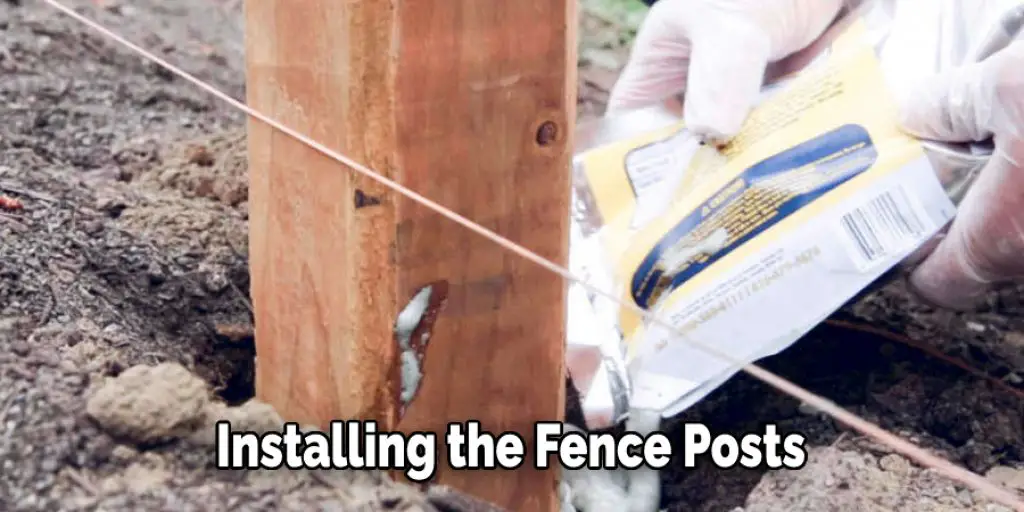
Step 6 : Installing the Fence Posts
Once you’ve marked out each post hole, it’s time to install the posts. Your slope type will depend on how deep you’ll need to dig for each post. They can be installed anywhere from 6 to 12 inches down for a level or flat surface. If your surface is steep, it’ll need to be dug every 4 inches and 2 inches for very steep surfaces. For this step, you can use either an auger or post-hole digger, depending on how deep you’ll need to go.
Using an auger for steeper slopes (heavier soil) usually works better than a manual pickax, as it typically allows you to drill through more compacted soil with ease. Be sure to use a level as you’re drilling to ensure the fence post is straight. Once the hole is dug, set the post in place and backfill with soil, using a tamper to compact it.
You can use a post hole digger for flatter surfaces to dig the hole and then set the post in place. You can then use a shovel to remove any dirt inside the hole before adding a concrete mixture and filling it with water. Let the definite cure for 24 hours before continuing.
Step 7 : Attaching the Fence Rails
Now that all the posts are in place, it’s time to attach the fence rails. This can be done by either nailing or screwing them into place. How many nails or screws you’ll need will depend on the length of each rail and the size and structure of each post. For a level or flat surface, 2 to 3 fence rails can be attached per post at roughly 4-foot intervals depending on how high you want your fence to be. How you connect them should also consider whether it’s flatter or steeper surface as this will determine how tightly they fit together.
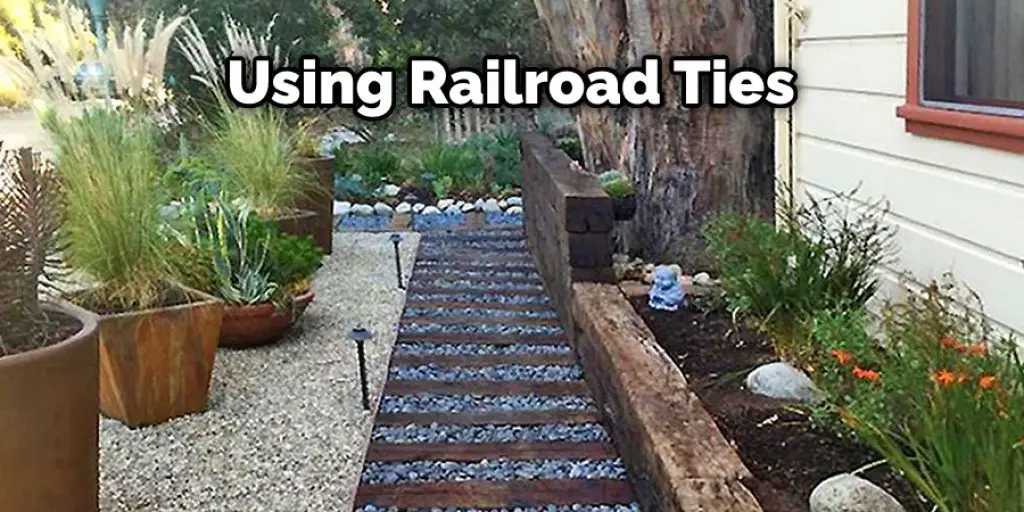
For attaching the rails for flatter surfaces (less slope), it is best to use railroad ties where they touch one another and the bottom rail. This method ensures that all three pieces are tightly connected and won’t move when pressure is applied above (such as by children leaning against it).
Step 8 : Attaching the Fence
If you’re working with a level surface, you can now start attaching the fence to the posts. Begin by threading one end of the fencing through the post hole and then using pliers to twist it around the post. Make sure to do this tightly so that there is no chance for the fencing to come loose over time. Once all of the posts have been attached, cut off any excess fencing and then use a hammer to drive in some nails along the top of the fence to keep it from moving. If you’re working with a slope, then you’ll need to wait until the concrete has been set before continuing.
Step 9 : Finishing Up
Once the concrete has been set, it’s time to finish up. If you’re working with a slope, make sure to attach the fence to the posts at a diagonal to be more secure. Next, you can use wire fencing staples or nails to keep it in place. Finally, use a sealant or paint to protect your fence from the elements.
Now that you know how to install chain link fence on a slope, you can go ahead and get started on your project! Remember to consider the type of slope you have before beginning so that you can prepare accordingly. With a little bit of hard work, you’ll be able to have a sturdy fence that’s perfect for your home or property.

You can check it to Drill a Hole in a Fence Post
Frequently Asked Questions
Should Chain Link Fence Touch the Ground?
It comes down to personal preference. Some people believe that chain link fence should touch the ground because it provides a more solid foundation, while others think that it’s unnecessary and adds extra costs. Ultimately, it’s up to the owner of the property to decide if they feel that it’s necessary or not.
How Far Apart Are Chain Link Posts?
A chain link fence is made up of links that are connected by a wire mesh. The distance between the links is typically about 3/4 inches, but it can be as small as 1/2 inch or as large as 4 inches.
Be aware that if you want to post a sign or security gate on either side of your property using chain link fencing, the posts must be at least 2 feet apart.
Can You Install a Chain Link Fence on a Slope?
Yes, you can install a chain link fence on a slope. The key is to make sure that the fence is installed at an angle so that it will be less likely to sag or buckle over time. You may also need to add reinforcement materials like wire mesh or bars along the top of the fence if it will be in contact with people or animals.
How Deep Do Chain Link Fence Posts Need to Be in the Ground?
Depends on a variety of factors, including the type of fence post, soil conditions, and your intended use for the fence. Generally speaking, though, chain link fence posts need to be at least 2 inches deep in order to provide adequate protection against theft and other dangers.
In more challenging soils or locations where erosion may be an issue, you may want to go deeper than this. And if you’re installing chainlink fences as part of a security system, it’s important to make sure that all posts are positioned properly so that they form an effective barrier. Also, keep in mind that taller fencing will require deeper posts in order to support its weight.
Conclusion
This article shows how to install chain link fence on a slope. First, make sure the posts are placed at a 45-degree angle and secure them with stakes. Next, the fence can be attached to these posts using a twisted wire, bent over the top of the post, then hooked down into one or both holes on either side of said post.
You should use as much wire as possible, so it has enough tension for stability purposes. Suppose you want an even sturdier structure than this. In that case, we recommend adding diagonal bracing ties every two feet along each line to provide more support for your fence’s integrity against gravity, pulling it away from its intended direction.
Check it out also – How to Attach Hardware Cloth to Fence


