I recently moved into a new home and wanted to add some shelves to the bathroom. I didn’t want to drill directly into the studs, so I decided to try floating shelves. Unfortunately, nothing seemed to work after hours of trying everything from anchors, screws, nails, etc.
I had no idea what I was doing wrong until my friend told me about these nifty little plastic plugs specifically designed for this purpose. Now that I have finally figured out how easy installing them on plaster walls is, you can bet that they’ll be all over my house!
The nails I was using were too short to go through the entire plug, so they just popped right out. However, the screws that came with the pins are what finally got them to stick! So, this article is for you. You will learn how to install floating shelves on plaster walls with just one simple trick!
7 Steps to Follow on How to Install Floating Shelves on Plaster Walls
Step One: Determine
First, you need to determine if your room is an appropriate place for floating shelves. The most important thing to remember is that you must follow the structural integrity of your home and not rely on just your plaster walls to support all of the weight of the items you plan on putting on the shelf.

Look inside surrounding rooms for studs and wall supports, then measure the distance to find where you can attach the floating shelf brackets without interfering with any of the studs or beams in surrounding rooms. Remember to stick anything you place on the shelf to the brackets, so put only lightweight items there.
If you find a stud within the vicinity of where you would like to put your shelf, make sure it can support the weight. Frequently these walls are load-bearing walls, and you need to leave at least 12 inches from the edge of the wall for joists or beams to maintain proper structural integrity.
Step Two: Mark the location
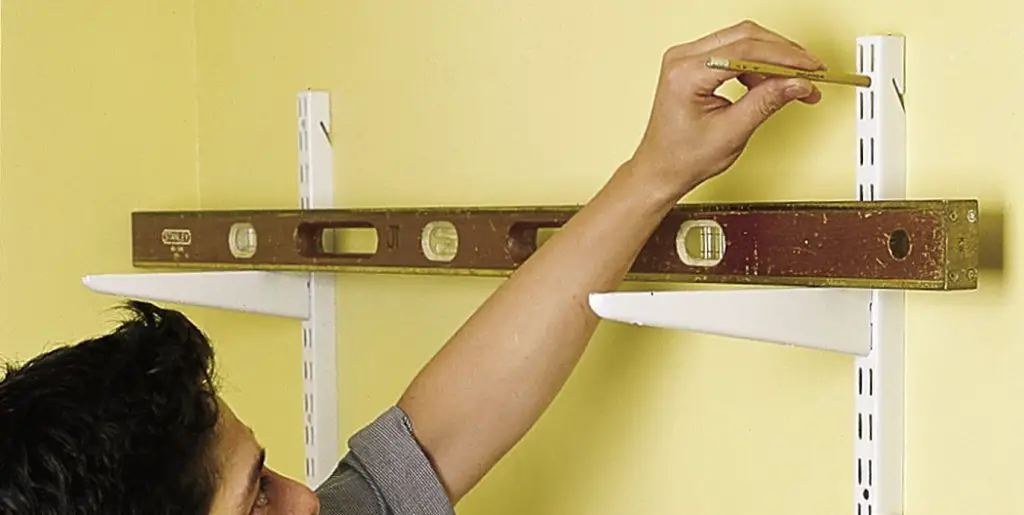
Once you have found a suitable place for your shelf in your room and determined its structural compatibility with an interior wall, use a pencil to mark where you need to drill holes. Remember that newer homes have studs at 16-inch intervals, while older homes might have them at 24-inch intervals, so measure before drilling!
Using a level, mark a horizontal line at the midpoint of your wall to use as a guide for both drill holes. This will allow you to easily find each hole once you have found them on the other side of the wall. Do not drill holes too close to the edge of your nails that may crack when you try to hammer them into place, so stay at least an inch away from the wall’s edge.
Make sure that you use a level for this step and check it frequently against the marked guideline on the other side of the wall while you drill. This will help in how to install floating shelves on plaster walls.
Step Three: Drill holes
Once you have your guideline, use a drill to make holes in each corner of the shelf’s proposed location. Make sure you are drilling at least two inches away from the wall’s outer edge since this is where you will hammer in the nail. Using a drill bit with a diameter of about 2 inches, drill holes at each corner point or nailing points to support your shelf.
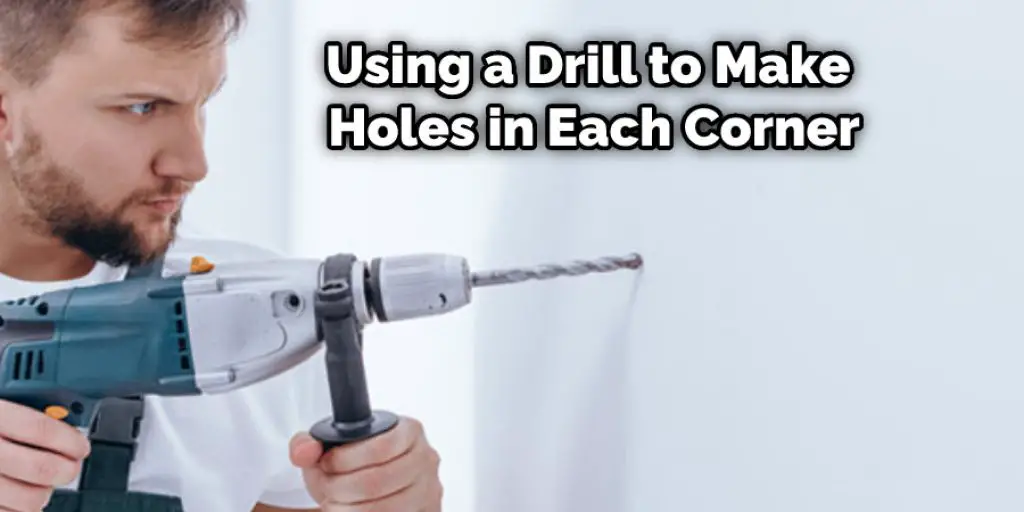
If you have a stud in the vicinity of your shelf, you can use it to hammer in nails for added support with no need for extra anchors. However, in most cases, if there is only drywall on the wall and not a stud behind it, you will also need to use an anchor and screw to hold your shelf in place while keeping everything level.
Use a drill bit that is two inches in diameter to drill a hole on the side of your wall about one inch from the edge, making sure to keep away from the corner points for now. This will allow you to use a screw to hold your bracket in place when you are finished with installation without having to remove or disturb any shelf items.
Step Four: Prepare
The next step is to prepare for the installation of your shelf. First, check each hole to see any defects or debris that could affect your shelves fitting together or looking uniform, then remove them with a wire brush attachment on your drill if necessary.
Be sure that you have all of the tools and materials needed for installing your shelf before you begin. You will need a drill, a screwdriver, a level, anchors and screws of the same diameter as your holes or nails for drywall, a pencil or chalk to mark your measurements on the wall so you can keep everything level, and of course, one floating shelf board set which will come with instructions about installation.
Please leave a little room between each piece of your shelf, as you want it to be strong and sturdy and for there to be enough room around the details, so they aren’t too close together. These steps should help you in learning how to install floating shelves on plaster walls.
Step Five: Install
Now that you have your holes drilled and shelf pieces apart, it’s time to hang the shelf on the wall. First, look at where each hole is located about its matching hole on the other side of the wall, then slide a bracket onto the screw until it rests against your drywall at one corner point from both sides.
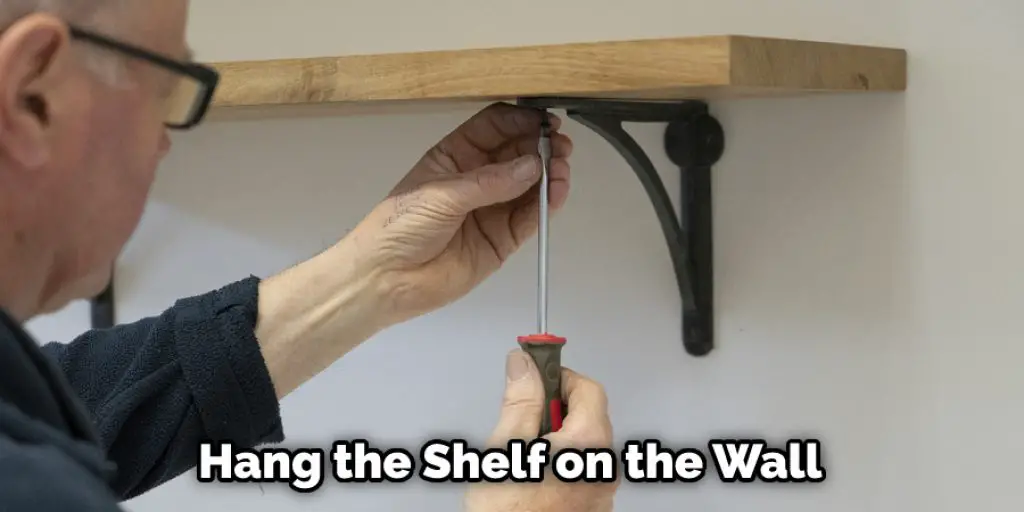
Once you have the bracket in place, it should be unmarked on the outside of your wall. Put a level against it to check if it is level or not. If the bracket is not level, change its position until it is. You can also move one shelf piece at a time back and forth on each screw to compare them for equality before tightening both screws with your screwdriver.
Once everything is level and in the proper position, you can attach each shelf piece to each bracket on both sides of the wall with a screw and anchor for drywall. Attach one side of your shelf to the brackets first, tighten it down with a screw and an anchor, and then do the same on the other side.
Step Six: Finishing
Now that you have your shelf installed, you can do some finishing touches to make it look even better. For example, you can round off each corner of the shelf with sandpaper if they are too sharp, or use paint or stain over the wood to protect it and bring out its natural color.
Keep in mind that by making any changes on your shelf, you are altering its overall size. Once you have it exactly how you want it, measure the width of the shelf from end to end and use that measurement when choosing hooks or baskets to place inside of your shelf for storage.
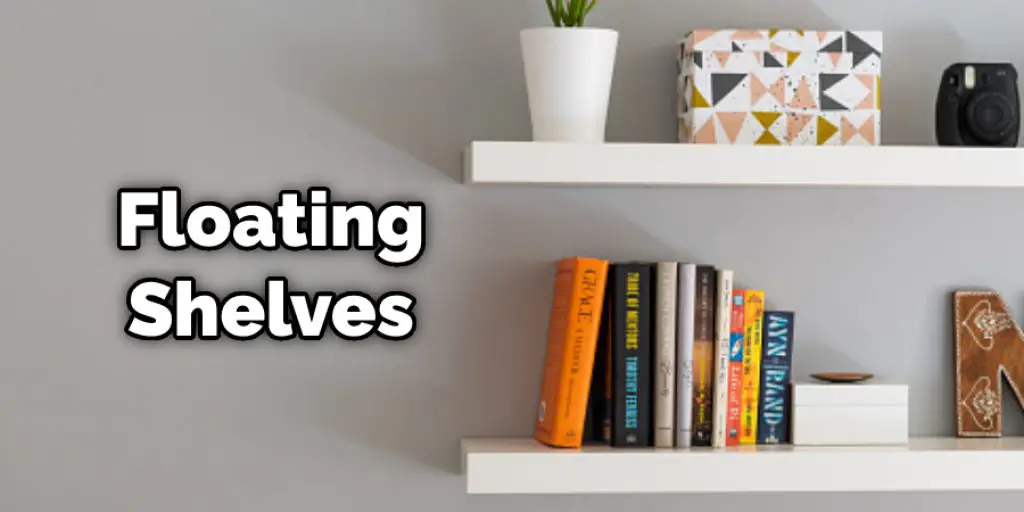
Different types of floating shelves can be used in the home, including glass, metal, solid wood, and other materials. I hope these steps I have shared with you help to provide a solution on how to install floating shelves on plaster walls.
Step Seven: Maintain
Floating shelves are not hard to maintain. All you have to do is dust them with a dry cloth or rag or clean them with water if they are dirty. We recommend that you keep your floating shelves looking aesthetically pleasing by getting rid of any dried messes right away and keeping all essential items on the shelf, so it doesn’t look messy.
A tutorial on how to install a floating shelf will help you complete any project related to your home improvement needs, from hanging plates and decor pieces on the wall to organizing knick-knacks in different rooms of your house or apartment. It’s easy, and it starts with a little research.
Once upon a time, there was a person who had a dream. He was an inventor, but he couldn’t figure out how to make his idea work. So even though he wasn’t sure what the outcome would be, he worked very hard until one day it all came together, and his invention brought him fame and fortune beyond measure.
The moral of this story is that you should never stop trying to make your dreams come true, even if it seems like they can’t be achieved. You never know what tomorrow will bring, so always work hard and give the best of yourself every day!
You can check it to Remove a Floating Mantel.
Ending
The most important thing to remember when installing floating shelves is that the weight of your equipment will need to be considered. Therefore, it’s a good idea to have someone help you install them so they can hold up your tv or other heavy items while you put in screws and anchors.
When putting together, use two brackets for every shelf space, one on each side of the shelf board. This ensures it stays securely in place no matter how much stuff you load onto it! While you can use heavy tools and equipment on a floating shelf, it may be safer to avoid putting anything too heavy onto them.
By following these simple instructions, you should install a floating shelf that works for your needs in a short amount of time. The conclusion paragraph is informative and provides information on how to install floating shelves on plaster walls.
Check it out also – How to Remove Peeling Paint From Plaster Walls.


