Installing lag bolts on a deck is not a complicated task. It can be done with a few tools and some materials that you may already have in your house or garage. However, you will need to make sure you inspect the wood for any cracks, knots, or splits before beginning the installation process.
If this is your first time installing lag bolts on a deck, it would be wise to practice on scrap pieces of lumber until you are confident that you know what you’re doing. Then, once you’ve completed these steps, go ahead and install your new lag bolts on your deck.
The first thing you will need to do is drill the pilot hole. This should be done using a drill bit that is slightly larger than the lag bolt head. This blog post will show you how to install lag bolts on a deck.
Step To Follow on How to Install Lag Bolts on a Deck
Step One: Measuring and Layout
Measure and lay out the location of your deck’s ledger board. Your local home improvement store should be able to cut 2x lumber for you at a nominal cost, so it will save you money to take the proper measurements with you when getting your materials.
If possible, get the exact size lumber needed as marked by the manufacturer. If you can, some home improvement stores will cut the lumber for you, so it is worth a try to call ahead and ask. If not, always be sure the ledger boards are straight and cut them to size yourself.
Step Two: Installing the Sealant
On clean, dry surfaces, begin brushing a coat of sealer onto one side of the ledger and ends and allow it to soak in for approximately five minutes. Next, turn over the ledger board and brush on another coat to the other side until it too has soaked in.
This step should be repeated if you are using an exterior-grade sealer. First, wipe off any excess sealer with a clean cloth. If you are using a water-based sealer, allow it to dry completely before proceeding to the next step. If using an oil-based sealer, apply a second coat after waiting approximately one hour.
Step Three: Drilling the Lag Bolts
Drill two holes through your ledger board, one at each end. Each hole should be wide enough to accommodate the threaded shaft of a lag bolt. Make sure there are no cracks or gaps between your ledger board and the house. This will allow you to insert the lag bolts flush with the surface of both, which is necessary for proper weight distribution for your deck.
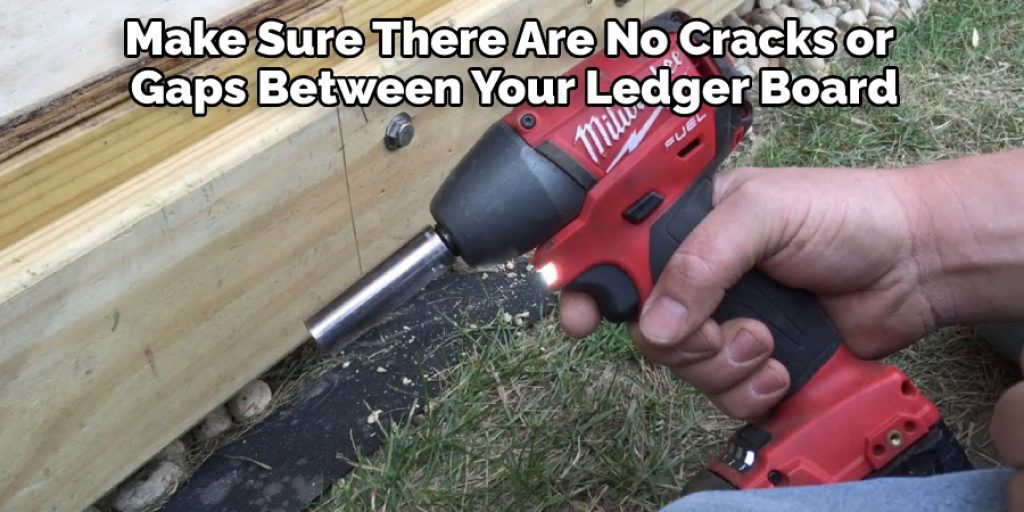
Make sure there are no cracks or gaps between your ledger board and the house. This will allow you to insert the lag bolts flush with the surface of both, which is necessary for proper weight distribution for your deck.
Step Four: Installing the Lag Bolts
Insert the lag bolts into the holes you have drilled. At this point, it may be necessary to tap them in gently with a hammer if they are not flush with your ledger board. When tapping the lag bolt in, make sure you are only hitting the bolt’s head and not the threads, as this can cause damage to your deck.
When tapping the lag bolt in, make sure you are only hitting the bolt’s head and not the threads, as this can cause damage to your deck. Once flush with your ledger board, place the nut on over one of the lag bolts at each end until it is flush against the ledger board.
Step Tive: Tightening the Lag Bolts
Use a wrench to tighten both nuts onto each lag bolt until they are tight and cannot be turned further. You can use a socket wrench for this purpose if it has a head that fits over the nut on your lag bolts. Be careful not to overtighten, as this can damage your nuts or even crack the ledger board.
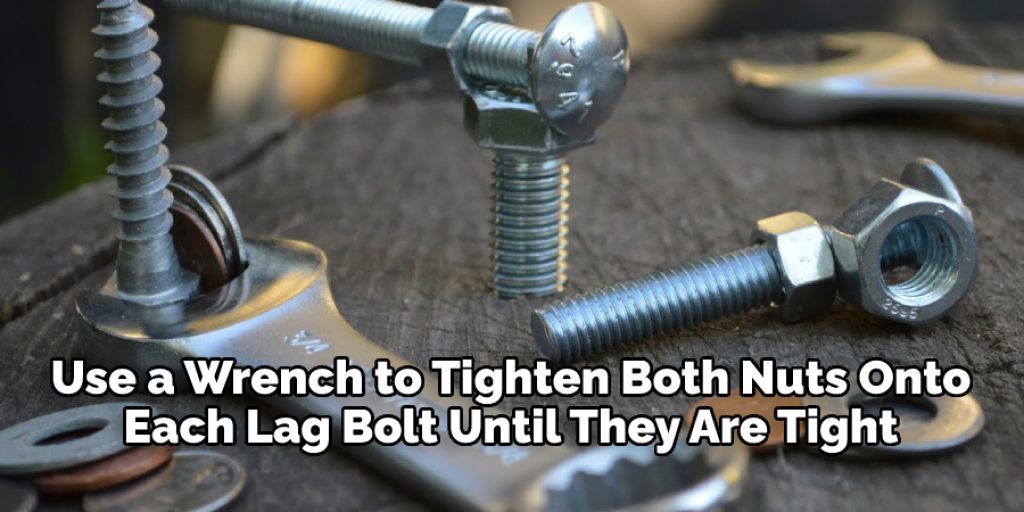
Be careful not to overtighten, as this can damage your nuts or even crack the ledger board. Next, remove any excess caulking that has squeezed out, then wipe the deck clean with a damp cloth. At this point, you can install one or two joists and begin installing deck boards.
Step Six: Cleaning Up
Remove any excess caulking that has squeezed out, then wipe the deck clean with a damp cloth. At this point, you can install one or two joists and begin installing deck boards. A final step would be to stain or paint your deck. This will protect it from the elements and make the boards look beautiful.
If you desire a more natural color for your timbers, refer to our previous blog post on how to bleach wood timbers. This will protect it from the elements and make the boards look beautiful. If you desire a more natural color for your timbers, refer to our previous blog post on how to bleach wood timbers. In this article, you will read how to install lag bolts on a deck.
Step Seven: Enjoy Your New Deck
A final step would be to stain or paint your deck. This will protect it from the elements and make the boards look beautiful. If you desire a more natural color for your timbers, refer to our previous blog post on how to bleach wood timbers.

Once the deck is complete, set out some patio furniture and barbecues or invite some friends over. Sit back, admire your hard work, and enjoy the splendor of your new deck. Sit back, admire your hard work, and enjoy the splendor of your new deck.
Frequently Asked Questions
Do You Need to Pre-Drill for Lag Bolts?
No, you do not need to pre-drill for lag bolts. We need to understand what a lag bolt is and how it works to answer this question. A lag bolt is a type of fastener that uses two holes drilled into the material being fastened to secure it. The first hole is called the pilot hole and is smaller than the diameter of the head or threaded portion of the lag bolt. This allows the threads of the bolt to slide inside and be tightened against the surface without damaging either side.
The second hole is called the mating or drilling hole, which should be larger than both an inch or so larger than your desired thread size on your screws.
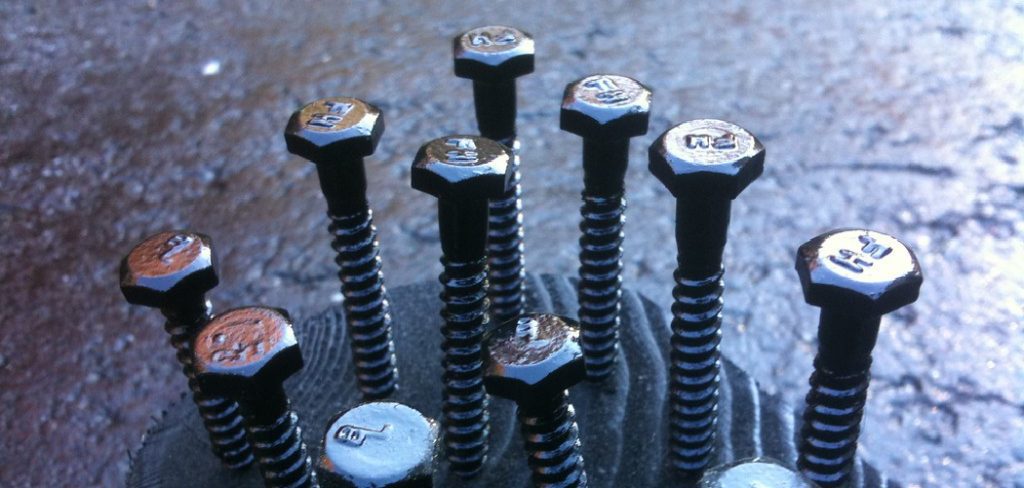
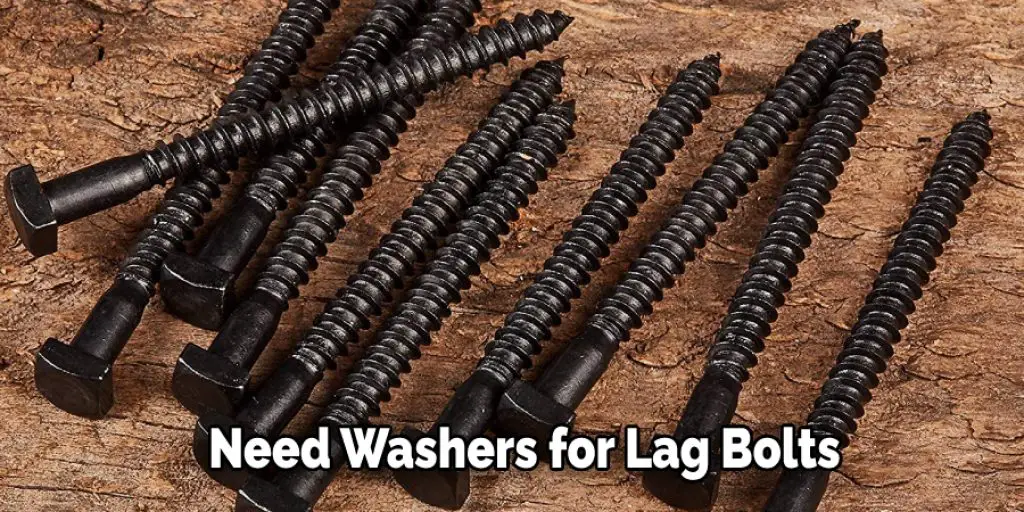
Do I Need Washers for Lag Bolts?
Lag bolts are used to attach the roofing material to the rafters. Lag bolts are screwed into wood, metal, or concrete beams and then inserted through a hole in the roofing material. You will need washers for lag bolts if you want to install them in wood.
What Size Drill Bit Do You Use for Lag Bolts?
The size of the drill bit you use for lag bolts depends on the diameter of the bolt. To determine the size, you can use a tape measure to find out the width and circumference of the bolt. If it is a 1/2 inch diameter, your best option would be a 3/8 inch drill bit.
Are Lag Bolts Good for Wood?
Lag bolts are typically used to attach the roof decking of a building to the roof framing. They can also be used as decorative elements in other applications.
It is usually recommended that lag bolts are not used on wood structures, as they may cause some minor damage to the wood if driven into it too deeply. However, these bolts are not harmful to wood and will not break or tear it apart if driven into a surface without damaging it.
Conclusion
You don’t need to be an expert carpenter or contractor to install lag bolts on your deck. I’ve created this blog post to help you, our customer, get started by providing some basic information about the types of nails used for building decks and how these are attached.
You can even find more details about what type of wood is best suited for outdoor use if that interests you! If it does not interest you, then feel free to skip ahead to my end paragraph, which will tell you where we have written content related to carpentry projects.
We hope that at least one section helps answer any questions or concerns that might arise while installing a new deck today. In this blog, we’ve laid out a few tips on how to install lag bolts on a deck.
You may also like- 5 Useful Tips for Home Improvement on a Budget


