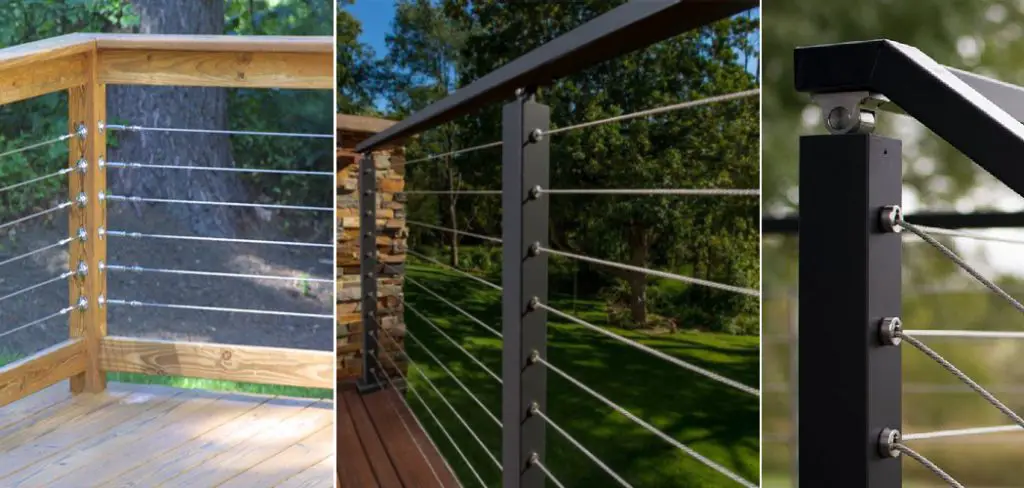
A cable railing is a type of railing that is typically used on the side of staircases. Cable rails are attached to the wall at one end, usually near the bottom of the stairs, and then run down either on top or underneath it to support it. Murata offers cable railings for residential use as well as commercial applications.
Read more about how to install Muzata cable railing here. Murata’s cable railing system has been designed with your safety in mind. It provides an elegant appearance that will complement any style of home you have while ensuring your family’s continued safety when using stairs in their homes.
6 Steps to Follow on How to Install Muzata Cable Railing
Step One: Planning and Budgeting
Muzica Cable Railing is a product for people who want a railing without the clutter of spindles in their deck or balcony. The best part about these rails is that they are low-cost and rust-proof. They also have a sleek look, which makes them perfect for modern homes.
It’s recommended for adults only, so it’s not suitable for children. It would be difficult for a child to climb it. You should also be aware that cable rails are not stable enough for older adults with mobility problems, such as arthritis or balance problems. In addition, cable rails can’t support much weight since they’re made of hollow metal tubes and solid steel cables.
Step Two: Measure
There are two ways to install Muzata Cable Railing: inside the stairs or outside the stairs. If you choose to have it outside of the stair, measure from where you want your first cable rail to be and how long you need them to be so they’ll touch your deck floor.
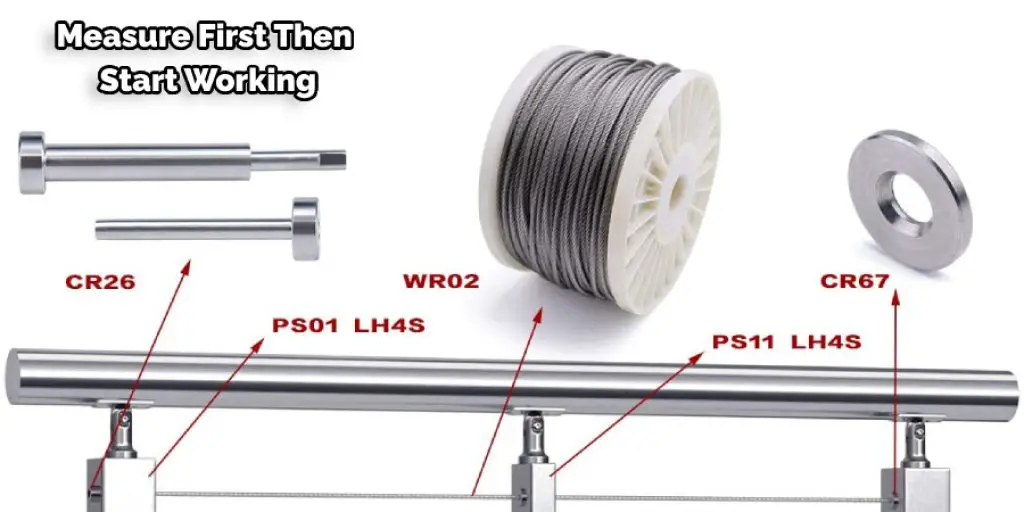
If you want a bigger gap in between the stairs and the deck, add an inch or two. It is recommended to have a small gap between the stairs’ floor and the Muzata Cable Railing to appear visually appealing and prevent slipping accidents.
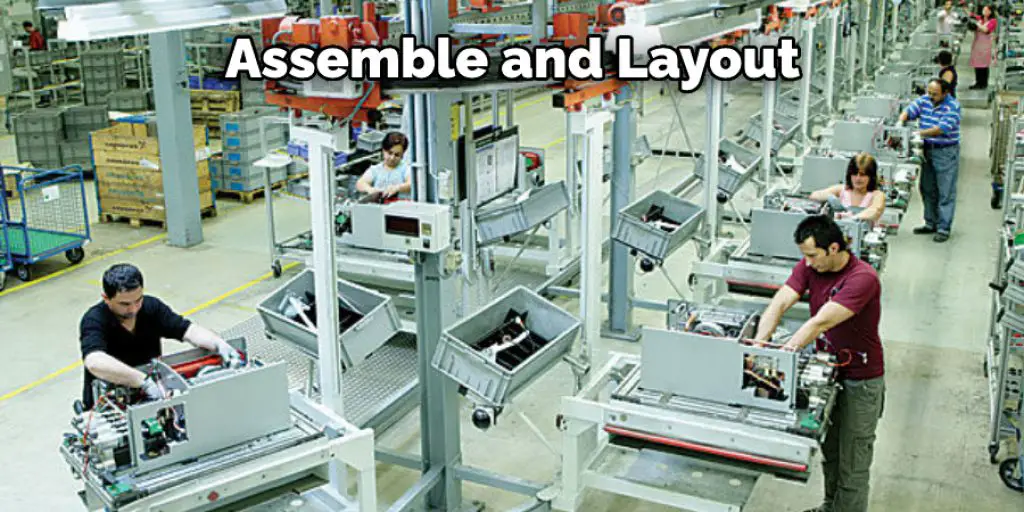
Step Three: Assemble and Layout
Assemble all the parts and lay them out on the ground. Identify every part and check if they’re complete or missing an important part. For example, the bolts are essential parts of the components for the Cable Railing system.
Make sure that these bolts are available before you start assembling everything. The Muzata Cable Railing comes with an Allen wrench, so you don’t have to worry about buying one. Make sure that the Allen wrench is included before you start putting it all together.
Step Four: Installation
Once you have everything together, measure the railing system and begin the installation. You can do this yourself or have a professional install it for you. If you opt to do it yourself, use a level and a screw gun with a Phillips head bit to keep everything in place while attaching the parts using fasteners such as nuts and bolts.
Another method is to use cable clips that tighten the cables at the top of the railing system. These clips are strong and come in different colors, allowing you to choose the one that matches your preference.
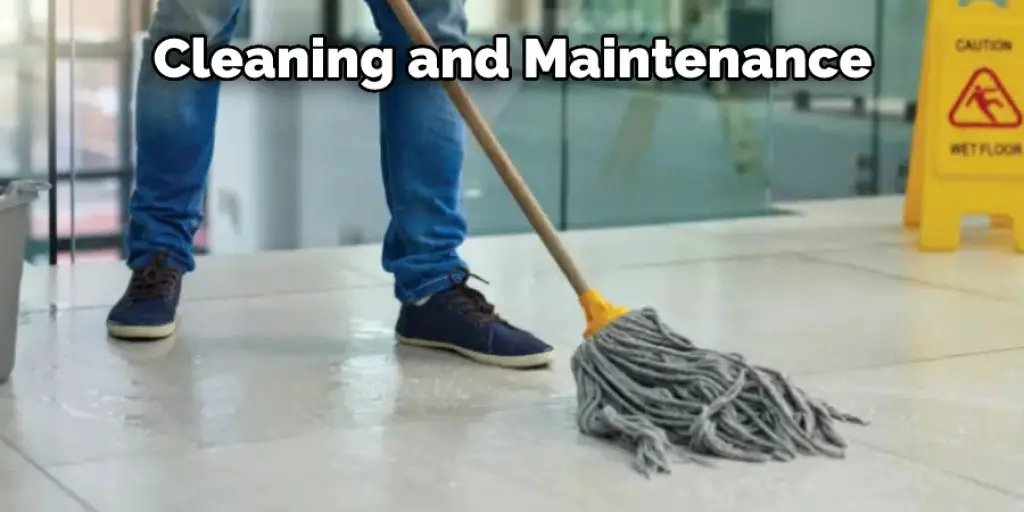
Step Five: Cleaning and Maintenance
To ensure that your railing system will last for years, you should do regular cleaning and maintenance by removing dirt or stains using a damp cloth. If there are rust spots in the railing system, wipe them off with vinegar to prevent further damage.
Make sure that you don’t use anything harsh like bleach or detergent when cleaning the system. These chemicals can damage the rails and make them weak or brittle. It would help if you also oiled or waxed your railing once in a while to keep it looking shiny and new for years.
Step Six: Enjoying Your New Cable Railing
Once you’re done with the installation, enjoy your new Muzata Cable Railing. You don’t have to worry about the railing system sliding off because it’s designed to be stable and won’t move once you’ve installed them correctly.
Now that you know how to install Muzata Cable Railing, you can plan your installation and prepare needed materials. Make sure to clean and maintain them regularly so they’ll always look shiny. Now go out there and start installing!
Is It Necessary to Use an Electric Drill?
Yes, an electric drill is a must-have tool for cable railing installation. An electric drill is useful to match the cable railing with its post and balusters. If you use a new template or change the existing one, it’s better to use an electric drill.
However, a standard drill is enough for this task if you do not want to buy or rent an electric drill and still need to make minor adjustments to the already installed cable railing system. It is not advisable to use an electric drill on the pre-installed cable railing system.
In any case, it is better to drill a few test holes first before drilling all the required holes. Then, you can use a center punch to mark these holes and accurately place the hole using a standard drill. This will help you avoid damage to the existing cable railing system.
It is important to note that none of the cable railing systems require any additional screws or nails for installation. So, you don’t need to buy them separately. The only accessory that will be needed is a drill bit that matches the type of railings you are installing.
Frequently Asked Questions
How Much Does It Cost to Install Cable Railing?
The cost of installing a cable railing varies depending on the size and complexity of the project. A small, simple job may only cost $500 or less, while a large and complex job could easily be in excess of $20,000.
One estimate for a small cable railing installation is around $500 for materials and labor. For a medium-sized installation that includes stairs, it can range from $1,000 to $3,000. For larger projects with complex installations like multiple floors or features such as stair rails or handrails, the costs can easily reach six figures.
How Do You Install Cable Deck Railing in This Old House?
There are many ways to install a cable deck railing. However, one of the most common methods is to use a special device called a rail clamp.
The first step is to drill holes into the joists in order to attach the clamps. Then you will need to feed through all of your cables and fasten them securely with screws. After that, it’s time for installation by using brackets and lag bolts that are provided with the product. Finally, your job is done!
Are Cable Railings More Expensive?
Cable railings are more expensive than regular railing because they have to be installed professionally. They also need to be constructed from heavy-duty metal, which is why they are so pricey.
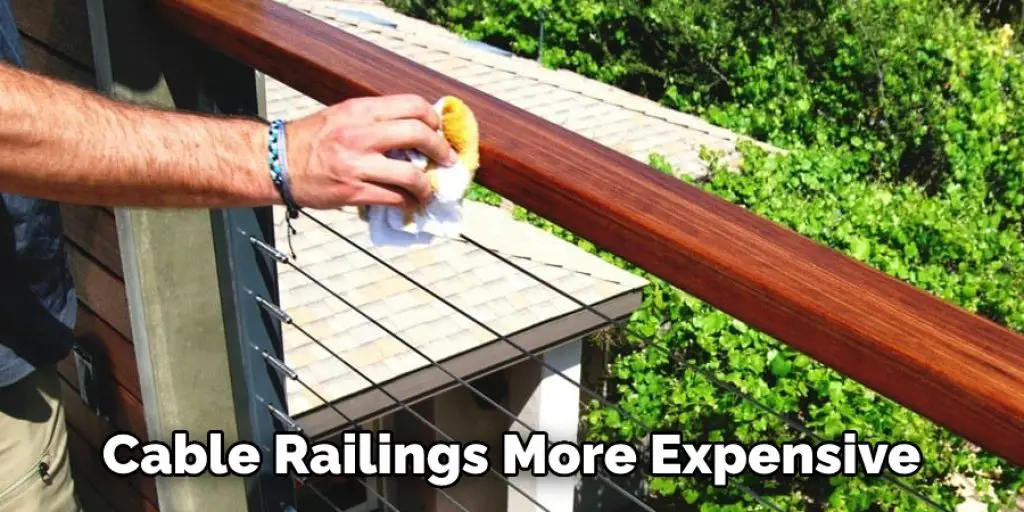
If you have the skills and tools needed to install them yourself, it will not cost much.
What Is Code for Cable Railing?
A cable railing is a type of outdoor handrail installed over the top of a fence or other low-level barrier. It may be made from steel, aluminum, or plastic.
The cable can be formed into a shape such as an I-beam, H-beam, or U-beam to help prevent people from falling off the railings.
Are Cable Railings Safe?
Cable railings are safe to use if they are installed by a professional. Cable railing systems must be certified and inspected annually. This ensures that the cable railing system is safe for use, meets local building codes, and complies with industry standards.
There Are Many Benefits of Using Cable Railings, Such as :
- They prevent accidents from happening while people walk or stand on them.
- They provide a stable base when little or no footing is available.
- They help prevent injuries by preventing falls on slippery surfaces like porches, patios, and balconies.
- They protect children from wandering off into traffic or unsafe areas where they might get hurt.
Conclusion
To install a Muzata cable railing, you’ll need to measure the length of your railing and cut it with a hacksaw. The pieces should be long enough to overlap by 2 inches on each end when installed.
When cutting the bars, it’s important not to make any cuts across the width of the bar or too close to an edge since this could weaken them in some way. Once all of your rails are cut down, start attaching one side at a time from the bottom up using screws and brackets provided in package instructions.
Finally, attach the top piece using a bracket for a final attachment point and fasteners included in a box set. Once both sides are attached, go ahead and attach the handrail and your cable railing installation is complete. The article has been a good guide on how to install Muzata cable railing.
Check it out to learn to- How to Stiffen a Deck Railing


