Polycarbonate roofing is a durable and long-lasting material that can protect your home from natural disasters. This article will guide you through the process of installing polycarbonate roofing on your home. Polycarbonate roofing comes in many different shapes, sizes, and colors to suit any design needs.
In addition, it has a low maintenance cost and is resistant to fire and hail damage. There are few downsides to this type of roof, including increased heat absorption during the summer months and an inability to withstand high winds over 150 mph.
Polycarbonate roofs also cannot be installed if there is a slope greater than 10%. If you need help with installing polycarbonate roofing for your property or would like a quote for a new roof, contact a professional contractor. It is essential to know how to install polycarbonate roofing.
What You’ll Need
- Safety Goggles
- Rubber Gloves
- Utility Knife/Utility Scissors
- Measuring Tape
- Polycarbonate Roofing
- Acetone Cleaner
- Rags/Towel
- Drill with
15 Steps to Follow on How to Install Polycarbonate Roofing
Step One: Marking Out
Polycarbonate roof sheets are usually slightly larger than the hole that they have to be fitted into. Measure the pane’s height with a tape measure or ruler, then add 10mm extra to allow for clearance at the top and bottom of the sheet. Remove all dirt and debris from the installation area with a stiff brush or hand-held vacuum cleaner. If the surface is uneven, hold your tape measure on edge and use it as a straight edge for marking out. Use a spirit level to ensure that the polycarbonate is installed at the correct pitch or angle.
Step Two: Cutting Out
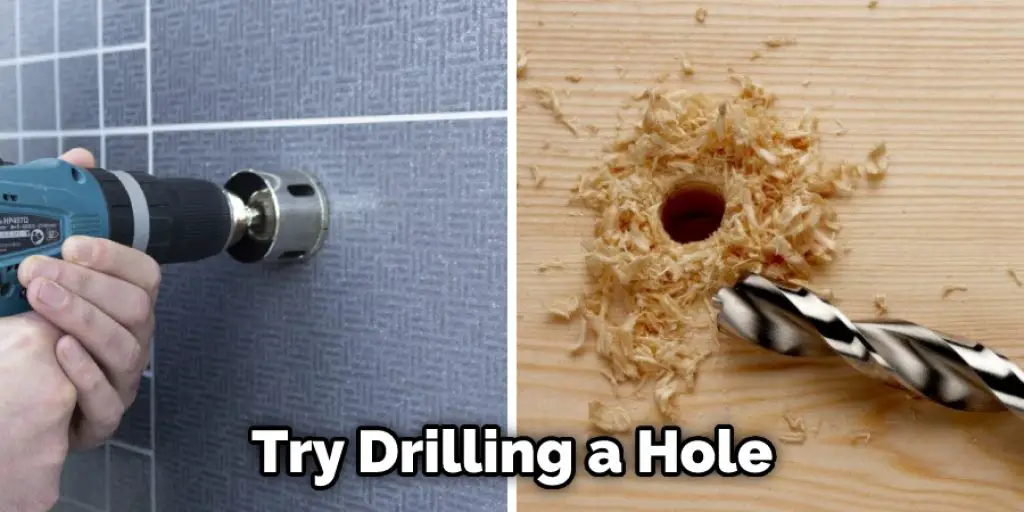
Place the marked sheet over the opening and use either tin snips or shears to cut out your installation hole. Take care when cutting, as this is difficult if you are working in an awkward location. If using a small hacksaw or fret saw, try drilling a hole through the polycarbonate to help the blade cut all the way through. Be sure to wear goggles, gloves and use a dust mask during this process.
Step Three: Preparing and Attaching Flashing
Once you have the opening cut out, use a file to remove any rough edges. Next, clean the area around the installation hole with soap and water and then dry it. Next, apply a layer of primer to the bottom lip of the flashing, making sure not to get any on paint or other surface areas.
Attach the flashing to the wall with nails or screws. The goal is to create a seal between the flashing and the side of the building so water can’t seep in behind your new window. Next, apply caulk over all seams along with roofing and siding, both under and on top of flashing. Make sure all seams are seated correctly and will be watertight.
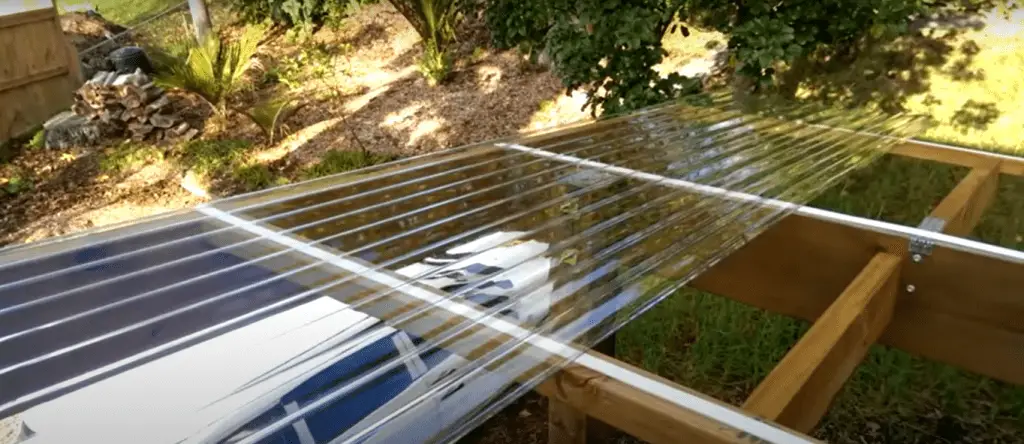
Step Four: Installing the Polycarbonate Sheets
Lay your first polycarbonate sheet over the opening and attach it to the flashing using screws or pop rivets. You can use framing nails, but these will rust if they get wet, damaging the roofing and polycarbonate materials you are using.
Attach the other side of the sheet to the building with more screws or rivets. Be sure the sheets are flush with one another, and you have a watertight seal all around the installation hole.
Step Five: Venting
Venting is an essential step when installing polycarbonate. These sheets will warp and buckle if the humidity level inside your home exceeds 75%. Because of this, it is best to have an intake vent on one side and an outtake vent on the other side.
The intake should face into your house, while the outtake should face away from your home. Use a drill with a hole saw bit to cut the holes. Drill a starter hole first, and then make the actual vent holes slightly smaller than the intake and outtake tubes you are going for.
Attach both vents to either side of your polycarbonate sheets, caulking around all seams as you go.
Step Six: Finishing the Installation
Make sure all your vent tubes are facing away from home and attached securely to the polycarbonate sheets. Attach them with screws or rivets, but be careful not to hit any exposed nails or sharp edges on installation with your drill when attaching them.
When you have successfully installed all of your venting tubes, you can attach the final piece of polycarbonate over your opening. Again, you might want to add trim or a covering for aesthetic purposes. You can also cut away part of the sheet in order to create an operable window that opens and closes if desired. In addition, you will need to decide whether you’re going to have a traditional roof or a sloped one.
Step Seven: Finishing Touches
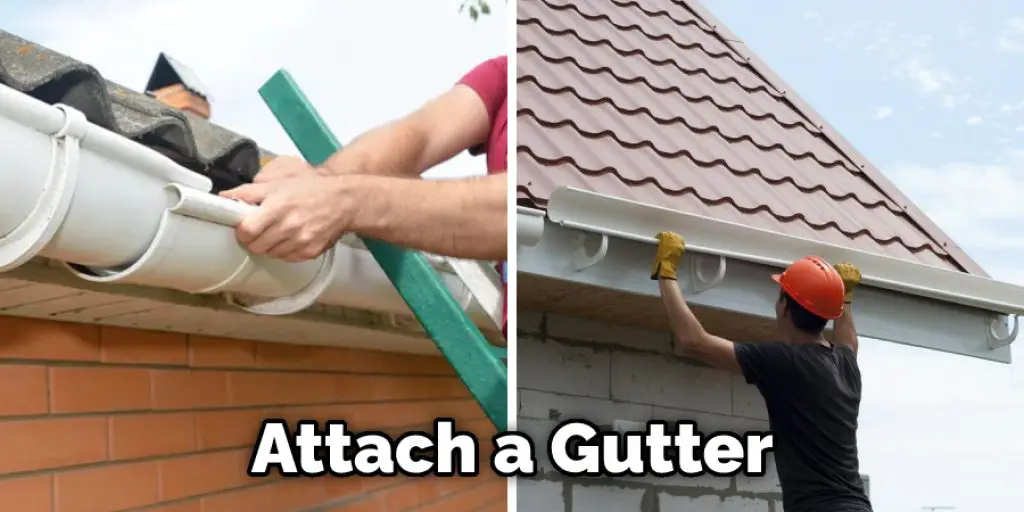
If you want to paint your vent tubes or outside covering, choose a product that will dry quickly and be unaffected by humidity. Apply several coats of the paint around your tubes, as well as on any screws or rivets, for a final finishing touch. You can also attach a gutter if desired unless this is going to be an indoor window.
In just a few easy steps, you have customized your home and made it better than ever before! Please note that this article is not an instruction manual. It is just meant to provide some insight into what polycarbonate roofing installation entails. This will help in how to install polycarbonate roofing.
Can You Walk on Polycarbonate Roofing?
You can walk on polycarbonate roofing, but only if the materials are strong enough to support your weight. The thickness of the material is what determines its ability to support the weight. Polycarbonate generally comes in three different thicknesses, 1mm, 2mm, and 3mm. Thicker panels are more durable and can support more weight, which means you can walk on them.
If the panels are too thin, they could puncture; if this happens, water will seep into your greenhouse. Each panel is labeled with its thickness and other information that you need to know about. You should find this information by looking at the back of the panel under a light source.
Can I Use Skylights in a Polycarbonate Roof?
Polycarbonate roofing is popular because it lets natural light into the house, making it possible to use skylights without causing problems with leaks. There is sIn addition, they’re designed skylights fit into the roofing space, which means less heat transfer and insulation value loss. Because the skylight is just a hole in the roof, there is less privacy, and it may not be as safe. Thanks for reading about how to install polycarbonate roofing.
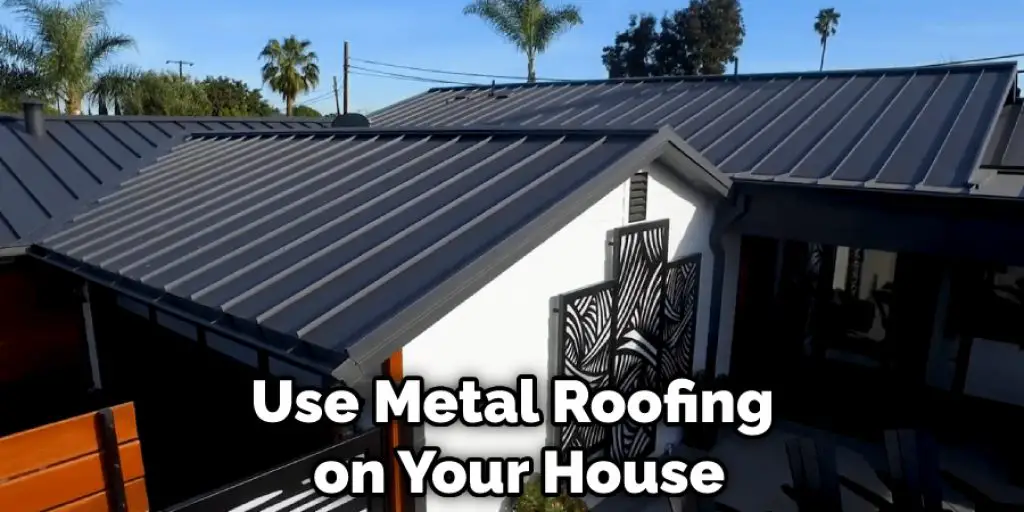
Can I Use Polycarbonate Roofing Under Metal Roofing?
Just because you want to use metal roofing on your house doesn’t mean you have to give up polycarbonate panels for your roof. Some companies make metal roofs with interlocking seams that are explicitly designed to be used over polycarbonate, which keeps the light in and the heat out. On the other hand, you can permanently remove your polycarbonate panels and replace them with metal ones if you want to upgrade.
You Can Check It Out to: What Will Top Roof Replacement Contractors in Cedar Rapids Tell You?
Frequently Asked Question
What Is the Spacing for Polycarbonate Roofing?
The spacing for polycarbonate roofing is different depending on the type of product.
For example, if you are looking at a 12 oz. Polycarbonate sheet, will have a spacing of 3/8 inch and the total thickness is 5/16 inch.
The most common type of polycarbonate roofing is ClearCurve which has a spacing of 1/4 inch with a total thickness of 7/16 inch.
Do I Need Closure Strips for Polycarbonate Roofing?
No, it is not necessary to use closure strips for polycarbonate roofing. The most important thing that you need to remember is that the ends of the sealant should be dry before you install your roof.
To get a clean seal, use a brush and remove any dirt or debris from the ends of the sealant before applying it.
How Do You Walk on a Polycarbonate Roof?
First, you should be wearing a suitable pair of boots. They should be able to provide enough grip for the surface.
Next, you need to use something that is non-slip and can provide good traction on the roof. This can be a long pole or even a broomstick. After that, you need to find some point where your weight will not cause the roof to sag too much and hold onto it tightly so as not to slip off.
What Screws to Use on Polycarbonate Sheets?
There are many types of screws that can be used on polycarbonate sheets. Some examples include hex head screws, pan head screws, slotted screws, and square head screws.
The type of screw that you should use depends on the size of the material being fastened to the polycarbonate sheet. For example, if you are using a hex head screw for wood applications, then it is not recommended to use a slotted screw for plastic applications.
Conclusion
If you consider polycarbonate roofing installation, this blog post will help you understand how the process works. You’ll learn about all of the different materials used to install a new roof and what each material offers in terms of durability or look.
This information should make your decision easier when it comes time for choosing between metal roofs, concrete shingle roofs, clay tile roofs, cement fiberglass composite roofs (CFC), plywood sheathing with asphalt; felt paper underlayment on top ̶ not to mention more options! The conclusion paragraph is informative and provides information on how to install polycarbonate roofing.
Check it out also – How to Repair Nail Holes in Metal Roof .


