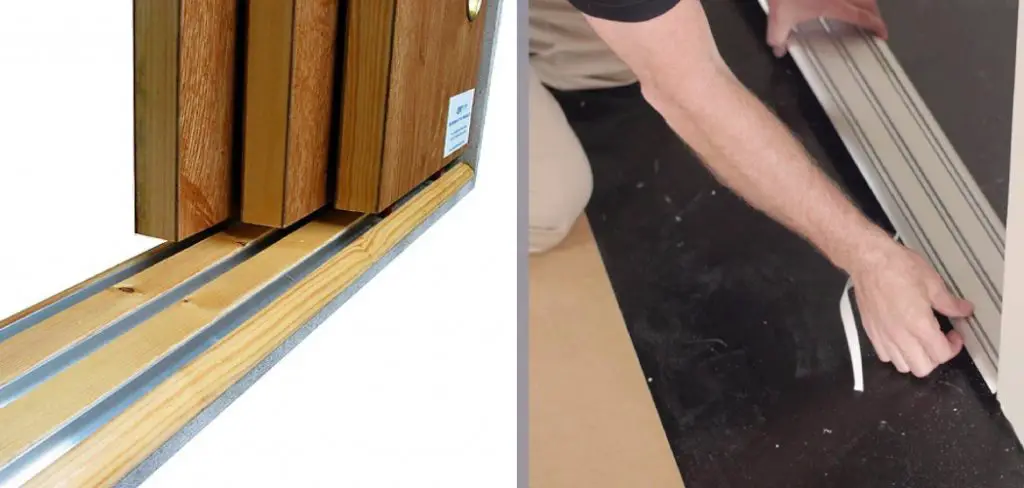
The purpose of this blog is to provide you with instructions on how to install sliding closet door bottom guide. We will be going over the steps necessary for installation and the tools you will need. This project can be completed in a few hours or less, depending on how experienced you are with DIY projects. Now that we have that out of the way let’s get started.
Tools you will need
An adjustable wrench
A drill – with a screwdriver bit and a 7/32 drill bit
A saw (if needed)
Tape measure – I don’t know why everyone has one of these, but they are very useful.
A marker – This can be any color you want, just as long as it is permanent.
A screwdriver that will fit your screws.
How to Install Sliding Closet Door Bottom Guide Steps
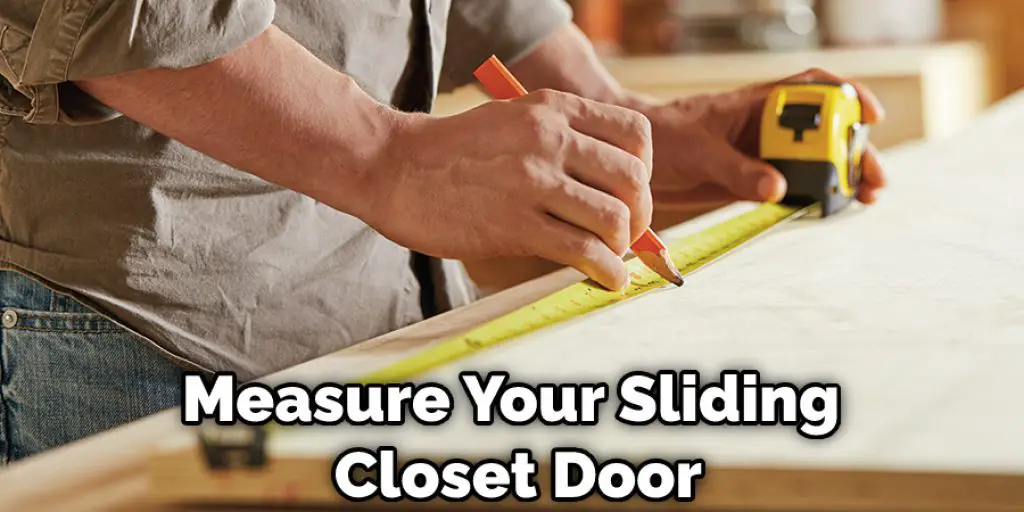
Step 1: Measure Your Sliding Closet Door.
The first thing you want to do is measure your sliding closet door so that you know exactly how wide and tall it is. This way, you will be able to get the perfect guide for your sliding door. Next, with a tape measure in hand, get measurements from the top edge of the door to the floor. If you are working on an entry closet, this will be particularly easy because there is usually nothing in the way. If you are working on a hall closet, then measure from the inside of the door to the floor (when it’s closed).
Step 2: Mark And Cut Your Guide.
Once you have the dimensions of the sliding closet door, it’s time to mark and cut your guide. You can use a saw or a simple pencil and ruler to make your marks along with the wooden board. You will need to make two marks corresponding with the width of the door on each end. The mark will be made at the top edge of the board, and the top mark should be about 1/4 inch higher than your door. You will use this gap to allow for proper sliding action. Cut along these marks using an electric saw or by hand. If you are cutting it by hand, just try to keep your line straight. Once the cuts are complete, you will have what looks like two pieces of wood that hinges can connect.
Step 3: Assemble The Guide.
Once you finish cutting the board to size, assemble your guide by connecting it at the top with hinges (see above). If needed, attach screws in strategic spots to make sure that it stays together. You can attach the hinges with a screwdriver or drill. Make sure that the screws are not too small, as this could cause your guide to fall apart. If you run into problems here, you might want to check out some useful tutorials on YouTube about how to work with basic tools such as saws and drills.
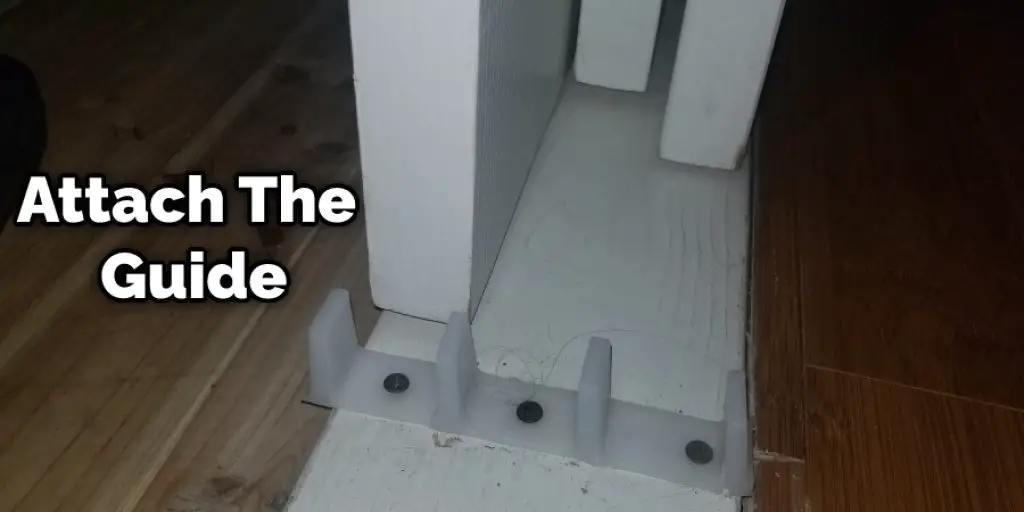
Step 4: Attach The Guide To Your Sliding Door.
This step is fairly easy, but you will need to be careful when attaching it so that your hinges stay intact. Get an adjustable wrench and make sure it’s on tight, but not too tight. If there are any screws holding the guide in place, start by removing them with a screwdriver. Once the screws are removed, attach your guide to your sliding door by inserting two hinges on each side. To make sure that it’s secure, you will probably want to use all four screws in a diagonal pattern going from both left and right hinges.
Step 5: Admire Your Work!
To make sure everything is working properly, you will need to open and close your closet door. If you’re lucky, it should work just fine without any problems. If not, then don’t be discouraged because there are always fixes for even the most complex projects.
That’s all there is to it! After you install your guide, there are a couple of things you should know. If your door is too heavy or too light, the door may come off of the track. Also, if your sliding closet door is not perfectly straight when it’s open, this can cause problems with the guide. The last thing I recommend doing before closing the door is to make sure that the top part of your guide is firmly attached. If any of these things happen, you should be able to fix them using some common household tools.
Tips and Suggestions
• Make sure that your wood is at least 1/4 of an inch thick. Thinner boards could break or bend with time and use.
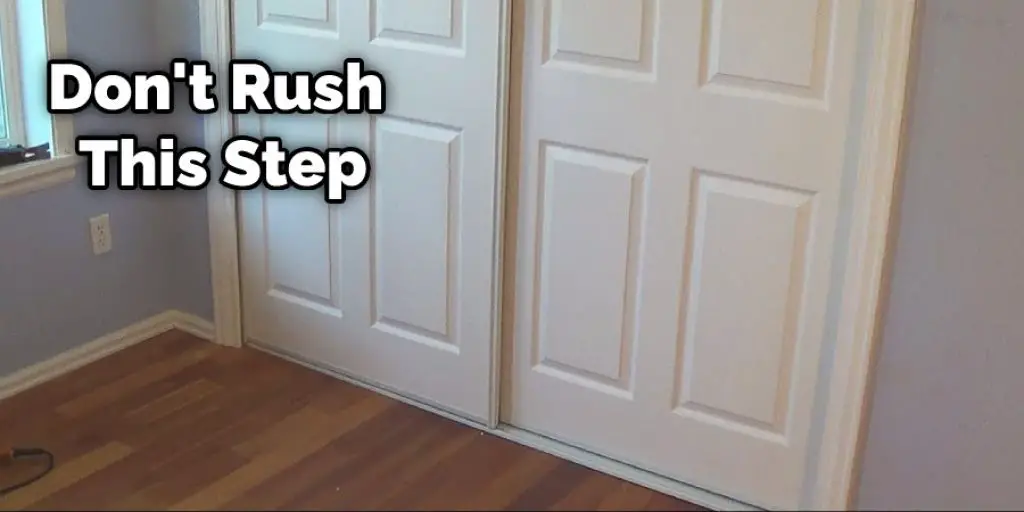
• Don’t rush this step because you could end up breaking your guide.
• Ask someone for help if you’re not comfortable installing or using power tools.
• Make sure that the screws are all tight, but don’t overtighten anything because it could break easily.
• Start with small screws when attaching hinges to make sure that they’re secure and don’t come undone.
• Use a rubber mallet to help attach your guide if needed.
• This guide is intended for use with sliding doors that open to the right.
• If your door opens the opposite way, or you want to use this guide for a different application, you will need to attach it in a different way.
• Before closing the door, make sure that the clamp is attached tightly to the top of your door frame.
• If you plan on using this to hold a shelf in place, or if your door doesn’t open without hitting the wall, make sure to measure the width of your door and cut your board accordingly.
Frequently Asked Questions
Do Sliding Doors Need a Bottom Track?
It is important to understand the type of door you are dealing with before determining whether or not it needs a bottom track. A sliding door with a fixed rail at the top called a ‘side-hung,’ or ‘French’ door does not need one. This type of door relies on gravity to open and close it.
However, if your sliding doors are hinged at the bottom and have no rail on top, then they will require a bottom track in order for them to work properly.
What Is the Metal Plate at the Bottom of a Door Called?
The metal plate at the bottom of a door is called a sill plate. It serves as a support for the door when it’s closed and protects the floor from damage caused by sliding doors.
Should I Put a Kick Plate on My Door?
If you have an entryway or door that leads to a stairwell, it’s important to make sure it is secure. The best way to do this is by installing a kick plate on the bottom of your door. This can help prevent the door from opening up and causing injury.
Where Should Sliding Door Guides Be Placed?
A sliding door is usually mounted on the wall to provide access to a room or space. The most common placement for these guides is at the top of the door frame. This allows you to push in the upper guide and slide the door back into its closed position when it’s not needed.
If you are unsure where to place your sliding door guides, simply measure how wide your doorway is and use that measurement as a guide for where to place them.
Is a Door Jamb the Same as a Door Frame?
A door jamb is the part of a doorway that provides support for the door and its frame. A door frame is the structural part of a doorway that includes the header, which extends across the width of the opening.
Conclusion
The bottom guide is the most important part about how to install sliding closet door bottom guide. It ensures that your sliding door will glide smoothly and quietly for years to come without any problems. Most professionals recommend spending a little extra money to get the best guide possible. While it might be a bit more expensive, you’ll save yourself time and trouble if you buy a good quality one from the start. So take your time and make sure that you have all of your tools before starting this project so that everything goes smoothly.
You may also check it out: How to Install a Sliding Glass Door in an Existing Wall


