Few people know that the dryer vents need to be properly insulated. If you don’t, they can release hot air into your attic and push out cool air from the house, causing it to take longer for your clothes to dry. To avoid this, there are a few ways you can insulate them yourself.

The first thing you should wrap the pipe with an insulation material such as fiberglass or foam board insulation. You could also use metal foil tape, which will work just as well but costs more money. So, this article is for you. You will learn how to insulate dryer vent pipe with just one simple trick!
Materials You Needed
- Electrical Tape
- Aluminum Foil
- Dryer Vent Insulation Kit
- Pipe Insulation Kit
7 Steps to Follow on How to Insulate Dryer Vent Pipe
Step One: Find the Pipe
The first step to insulating your dryer vent pipe is locating it. Dryer vent pipes come in many shapes and sizes, so there’s no one simple way to find them. You could start by searching for a lint trap, as seen above. These tend to be outside of the appliance and covered with a screen.
If you cannot find your lint trap, you will need to do a little more searching. First, look for any pipe or tubing that is connected to your clothes dryer. These can be difficult to spot sometimes because they may not be near the dryer and could even go through the wall or floor into another space.
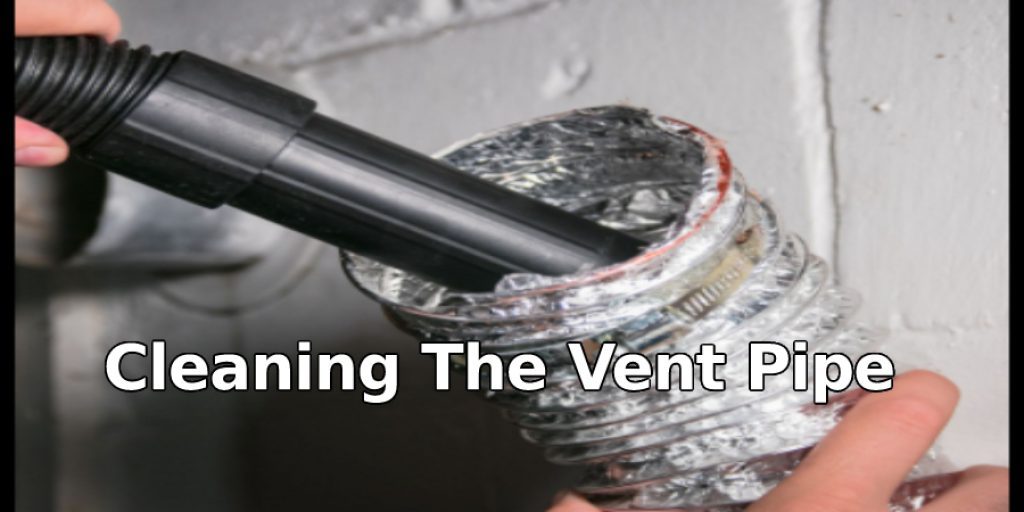
Step Two: Clean the Pipe
Once you have located the pipe, it’s time to clean it. Before installing any insulation, you need to ensure that your tube is as clean as possible. Use a brush or some other stiff material to remove all lint and debris out of the tube. You want it completely clear, so there are no blockages or irritations when the dryer is in use.
Step Three: Cut the Pipe
Once you have cleaned out your dryer vent pipe, it’s time to get started. The quickest way to insulate this type of tubing is by using a foam pipe insulation kit. These are designed specifically for different types of piping, so make sure you get the right type before buying.
Before cutting the pipe, you need to decide where you want the insulation to end. Measure this length and mark your pipe accordingly with a marker or tape.
Step Four: Install the Insulation
The insulation kit should come with everything you need to install it. Once your pipe is cut, slide one side of the insulation onto the dryer vent tube and then use your chosen tool to push it into place firmly. Depending on your kit, there may be a cap that you can put over the end of your insulation to keep the material from falling out.
Step Five: Seal the Ends
This is a significant step, so make sure you don’t skip it! If your insulation does not come with a plug, you need to seal up the ends somehow, so lint and debris cannot sneak back into your pipe. You can use any tape to do this, but duct tape works the best.
Step Six: Test Your Dryer
Once you have completely insulated your dryer vent pipe, it’s time to see if the job was done correctly. Switch on your clothes dryer and let it run for a few minutes while checking every so often for any hot air coming out of your insulation. If you notice heat escaping at any time, you need to eradicate the insulation and start over.
You Can Check It Out to Lock a Washer and Dryer From Being Used
Step Seven: Re-Insulate Your Pipe
If, after testing your dryer, all signs of heat are gone, it’s safe to say that you’ve successfully insulated your dryer vent pipe! Of course, you should only do this once or twice a year, but it is important to make sure your dryer stays cool.
Should Dryer Vent Pipe Be Insulated?
One of the most important parts of any dryer, besides actually drying things, is a reliable vent. This helps remove heated moisture from your clothes and helps keep the lint out of the heating element.
For years, people have insulated their dryer vents to help prevent heat loss while the machine was on and actively removing moisture. While this wasn’t a common practice, it is highly recommended in most modern homes during the winter months, where heat loss is highest.
What to Look For In Dryer Vent Covers
Before you decide to go out and get yourself some dryer vent covers for insulation purposes, there are a few things you should figure out first. The most important of them all is to make sure that you get the right kind of insulation.
This means looking for covers that are made specifically for your type of vent. Not only will this help with energy efficiency, but it will also give you an idea of what size vent cover you need to get.
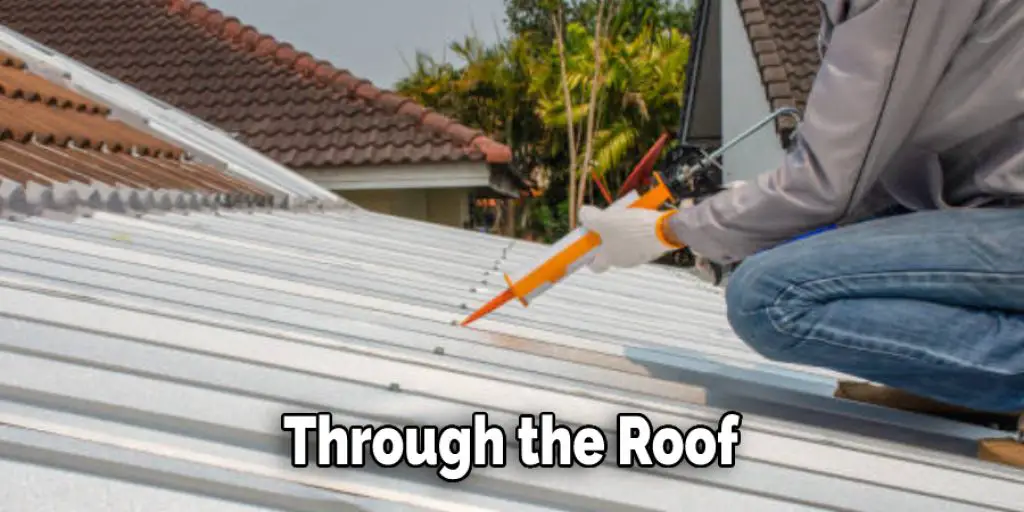
Can a Dryer Vent Go Up Through the Roof?
A dryer vent is a pipe that carries moist, hot air away from your clothes dryer, so it doesn’t damage your home. The vent must rise above the level of your roof to carry the moist, hot air away from your home. It should always begin at least 12 inches above the ground and run vertically 12 feet above the roof.
This 12-foot length of the vertical pipe prevents heat from being reabsorbed into your home. The vent should have two 90° turns to prevent back pressure on your dryer. It must enter the house through an exterior wall above the insulation level–not on an outside wall or one with a crawl space below it, where moist, hot air can collect.
Frequently Asked Question
What Type of Insulation Is Used for Dryer Vents?
The insulation that is used for dryer vents is the same type of insulation that you would find in your home. It is made up of fiberglass, foam, and metal.
There are many types of insulation for dryer vents, but it all comes down to personal preference.
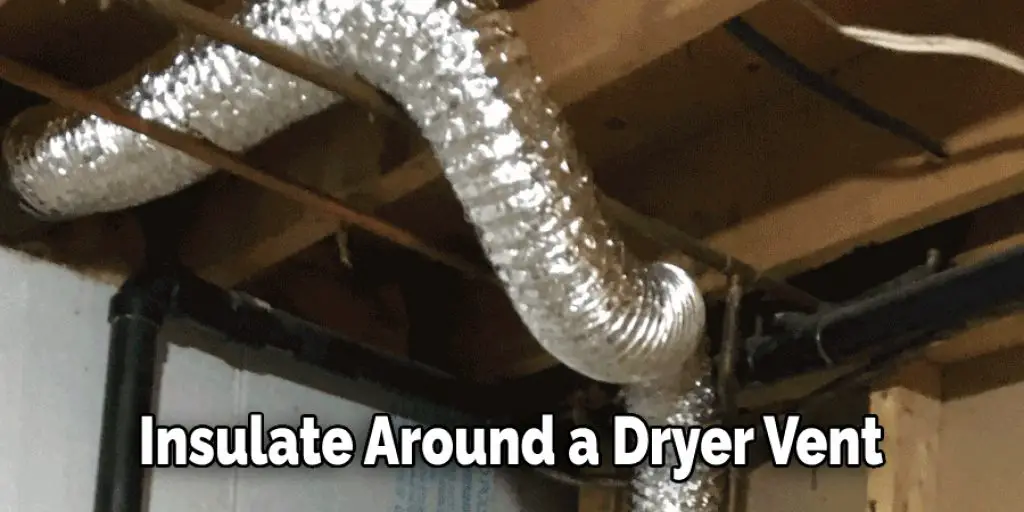
Is It Ok to Insulate Around a Dryer Vent?
Yes, it is safe to insulate around a dryer vent. It will reduce the risk of fire and make your dryer run more efficiently.
The most important thing to remember when insulating around a dryer vent is that you need to ensure that the insulation doesn’t obstruct the flow of air in or out of the ducts. If you find any blockages, then don’t use any insulation at all in this particular area.
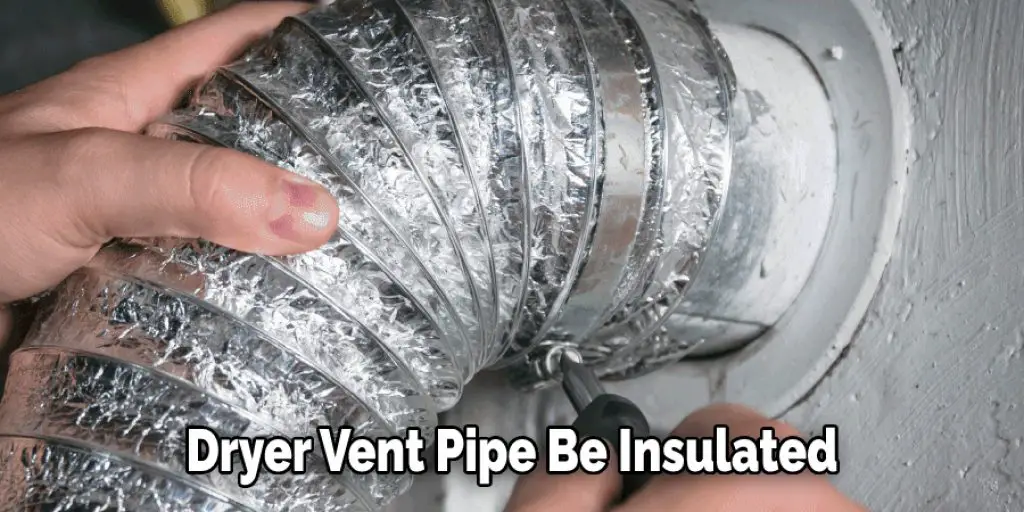
Does Dryer Vent Pipe Need to Be Insulated?
A standard dryer vent pipe that is used in most homes and apartments is made of metal. It doesn’t need insulation since it’s already been heated by the heat source inside the home or apartment.
An insulated dryer vent pipe, on the other hand, will have an outer layer of insulation that is designed to keep the heat inside. This type of pipe may be needed if you live in a cold climate where your air conditioning can’t sufficiently keep up with the heating needs during the winter months.
How Close Can Dryer Vent Be to Insulation?
The distance between the dryer vent and insulation is very important. This can be calculated by using an online calculator or by measuring the distance with a tape measure.
This is because if the insulation is too close to the dryer vent, it will not allow enough airflow in and out of your home’s ventilation system.
If this happens, then you may experience higher utility bills due to your heating system running longer than necessary, as well as excess moisture building up inside your home’s walls.
Conclusion
The most important thing to do before insulating is to ensure the dryer vent pipe is free of any blockages or debris. This will help prevent dangerous fires in your home and increase efficiency with your clothes drying time. Also, make sure you use high-quality insulation that best suits the application, such as fiberglass, cellulose, polyester, or rock wool insulation.
Other things to consider are having an HVAC contractor install a new insulated metal duct system for optimal performance and safety. This blog post has given helpful advice on how to insulate dryer vent pipe.
Check It Out – 10 Best Dryer Vent Hose for Tight Space


