How to Insulate Under Kitchen Sink
One of the most annoying things about having an older home is dealing with old insulation. If you have ever dealt with this, you know how frustrating it can be to try and get your hands on some replacement insulation that will fit appropriately in your kitchen cabinets.
The best thing you can do for your home is to find out what kind of insulation was used initially in the kitchen cabinet and buy some replacements at a local hardware store or online. This way, not only will you be able to replace the needed insulation but also save money over buying pre-cut kits made specifically for under kitchen sink use.
If you are looking for quality supplies, look no further than Insulation 4 Less. We offer all kinds of high-quality materials at low prices. So, this article is for you. You will learn how to insulate under kitchen sink with just one simple trick!
Step to Follow on How to Insulate Under Kitchen Sink
Step One: Find Your Materials
The materials required for this project are quite simple. In addition to the sink cabinet, you will need a piece of insulation meant for pipes, pipe insulation foam designed to fit around specific piping diameters and a strong adhesive that will both stick to your cabinet and then bond with the insulation.
If necessary, use something like a utility knife to cut the insulation down to fit. Measure your cabinet before purchasing because the insulation is sized for specific pipes and the kitchen sink pipes are typically one of two standard sizes.
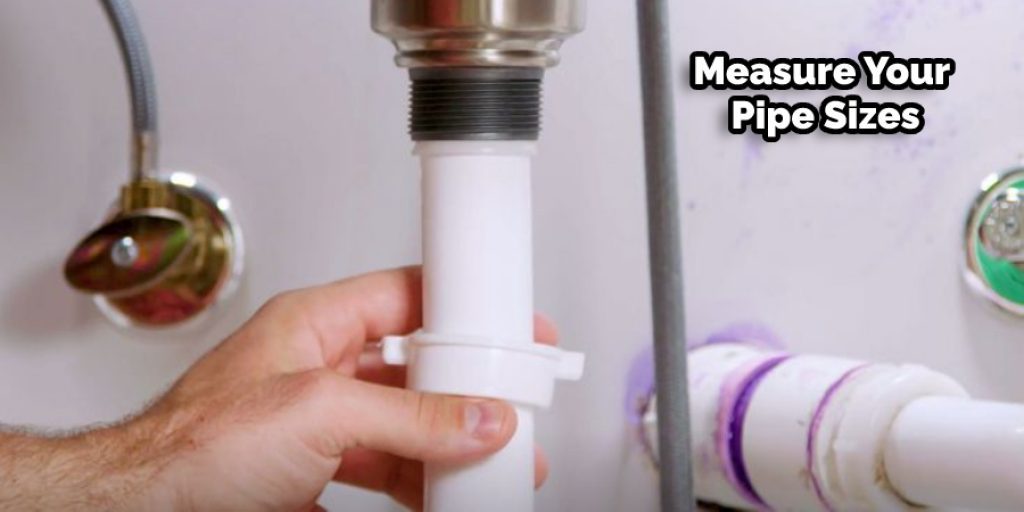
Step Two: Measure Your Pipe Sizes
Your sink cabinet will include a hot water pipe, a cold water pipe, and a drain. The insulation is sized to fit around these three pipes snugly, so it must be cut to provide the correct specific diameter. In most cases, this will be around one and a half or two inches.
If your pipe size is different from this standard sizing, you will need to cut the insulation down to fit. Use a straight edge and marker to mark both where you wish to cut the insulation and where the pipes are so that you do not damage them while cutting.
Step Three: Cut the Insulation
Use a utility knife to cut down your insulation. Roll out enough of the insulation so that it can be fed into the sink cabinet at once, thus allowing you to measure how long it must be to fit around all three pipes. These are typically thirty inches or more, so be sure you have enough.
Once your insulation is cut to the correct lengths, feed it into the cabinet so that each piece surrounds a specific pipe. The fragments of insulation should fit together inside the cabinet as seamlessly as possible. Ensure no gaps between the insulation, lest cold air seeps into those areas and your kitchen.
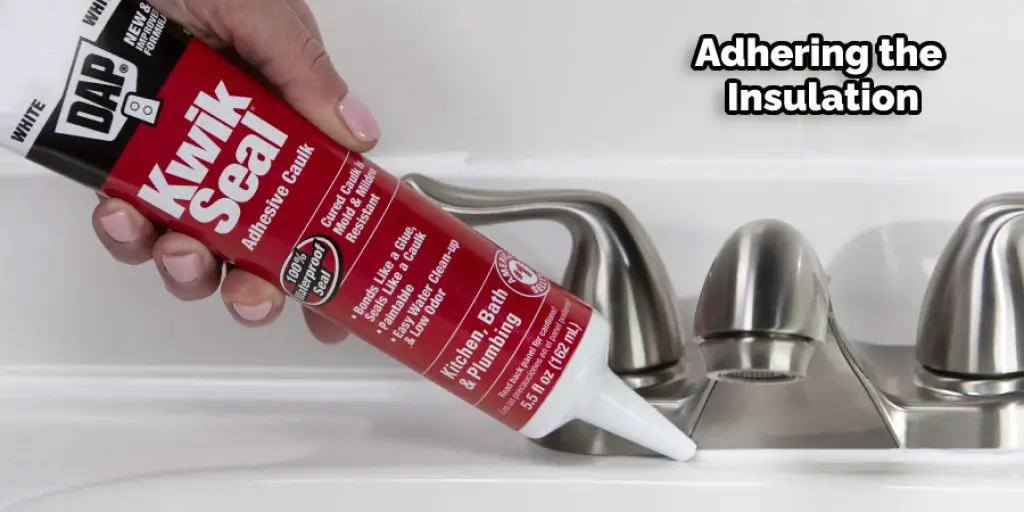
Step Four: Adhere the Insulation
Your insulation must adhere to your sink cabinet for this project to work. Use a standard, high-quality adhesive that will hold both to the piping and then adhere firmly against the insulation itself. Do not skimp on the adhesive; if you stick with low-grade products, it will come apart at the first chance.
Apply one strip of adhesive around each piece of insulation, allowing it to dry for ten minutes before adding another layer. If you do not wait long enough before adding more adhesive, it will simply wash away. Allow twenty-four to forty-eight hours for the adhesive to completely cure into place after putting on the final layer.
Step Five: Package the Insulation
Once your insulation and adhesive are thoroughly dried and cured, it’s time to package everything properly. First, ensure that each insulation piece is encased in a layer of paperboard or another type of padding, then place all three pieces into a shipping box made entirely of sturdy corrugated boxes.
Use plenty of packing material to fill empty spaces within the box, then seal everything up with secure tape. Finally, ensure that your insulation is firmly held in place inside the box. If you use the steps outlined above for how to insulate under kitchen sink, you can do it yourself.
Step Six: Ship It Out
Once you have packaged your insulation and all components in the box, find a large shipping store that accepts packages for shipment. Most houses will have to use the United States Postal Service because UPS and FedEx typically require the package to be somewhat smaller than this.
Ensure you send your insulation out for shipping that you do so by registering mail, which helps ensure it won’t go missing en route. Before starting the project, ensure that you have all the necessary adhesive, insulation, paperboard padding, and corrugated cardboard boxes on hand.
Step Seven: Install Your Insulation
Once your insulation arrives, take it out slowly and prepare to install it. The adhesive should already be cured; it will hold for years before coming undone if you use high-quality glue. Next, carefully cut back each piece of paperboard and insulation until the pieces fall into place over the hot and cold water lines leading out of your sink.
Ensure no gaps between the insulation and any metal lines; you use a marker to create outlines around the piping before cutting into the insulation with a utility knife. Depending on what size piping you have within your sink cabinet, you may need to cut it down to fit. Then remove your insulation from its box and place it around your hot and cold water lines.
Step Eight: Enjoy Your Insulation
Once your insulation is in place around the hot and cold water lines leading out of your sink, you need only screw everything back into the wall. Ensure that any adhesive remains flush to the surface of the piping so that there are no gaps between it and you’re adhesive.
Finish by reassembling your office organizer or other shelving unit and placing it back in place. I hope this article has provided you with all of the information that you need to know about how to insulate under kitchen sink.
Step Nine: Maintain the Insulation
The insulation you installed should never become dirty or dusty. You can clean it with a damp cloth in most cases, but only use soap and water if the piece is accidentally dropped into your sink. Your insulation will hold up for years provided that it remains free from dust and debris, so long as you take care of it properly after installation.
If you do not maintain your insulation, it will fall apart, and if that occurs, the adhesive is sure to come undone as well. After six months of use, it’s also essential to inspect your sink water lines; if there is any sign of corrosion or rust, replace them before they become a safety issue for you or your family.
Frequently Asked Questions
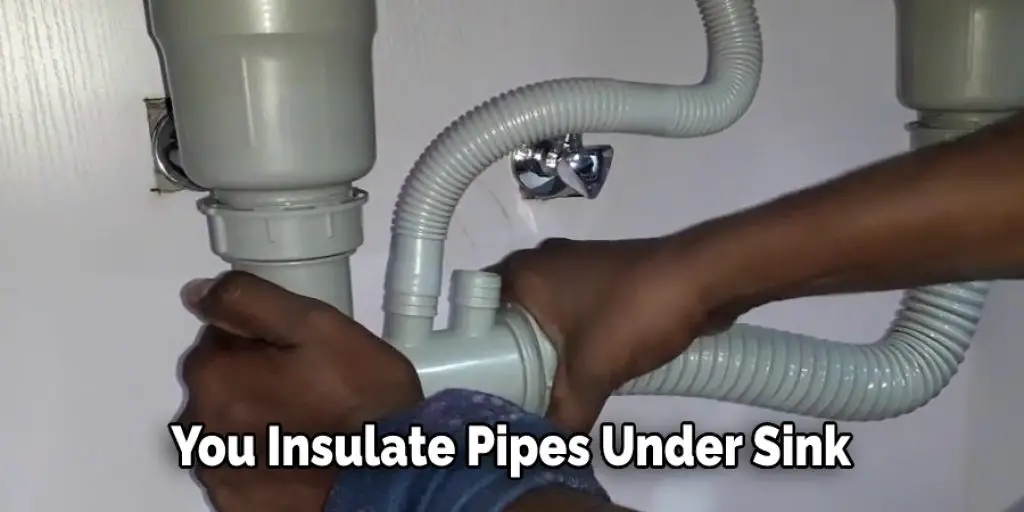
Should You Insulate Pipes Under Sink?
It is a great idea to insulate pipes under the sink, but it should be done with caution. The risk of doing this incorrectly is that you will create an air pocket in the pipe, and water can get trapped, leading to leaks and possible flooding.
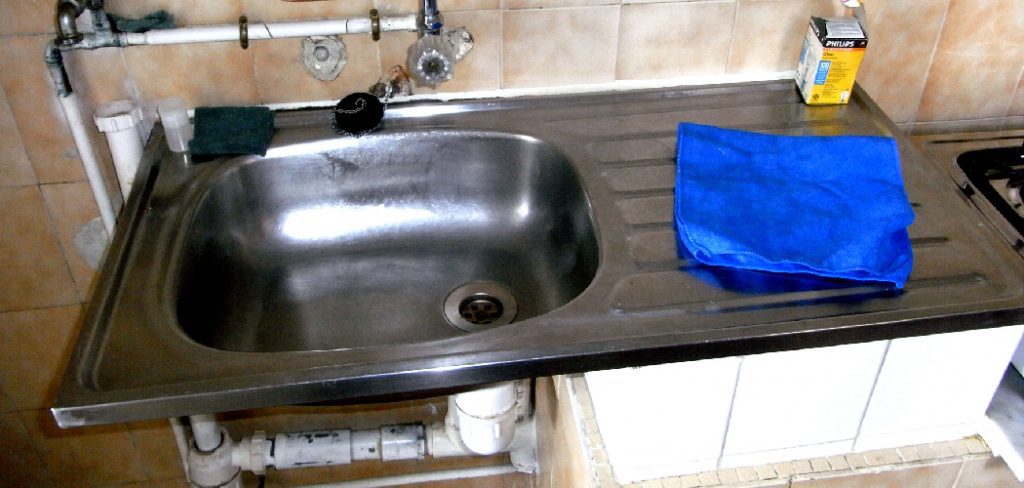
What Is the Black Pad Under the Kitchen Sink?
The black pad under the kitchen sink is used to hold a sponge or brush in place while you are cleaning.
There Are Many Different Uses for This Type of Product, Such as :
- Keeps your countertops from getting wet when you clean up spills.
- Can be used as a trivet to keep hot pans from burning the table.
- Helps prevent rust and corrosion on metal utensils by keeping them in place and off the bottom of the sink.
Why Is Aluminum Foil a Good Insulator?
Aluminum foil is an excellent insulator because it has a high heat conductivity, which means that it conducts heat well. It also has a low density and low thermal capacity, which makes it lightweight.
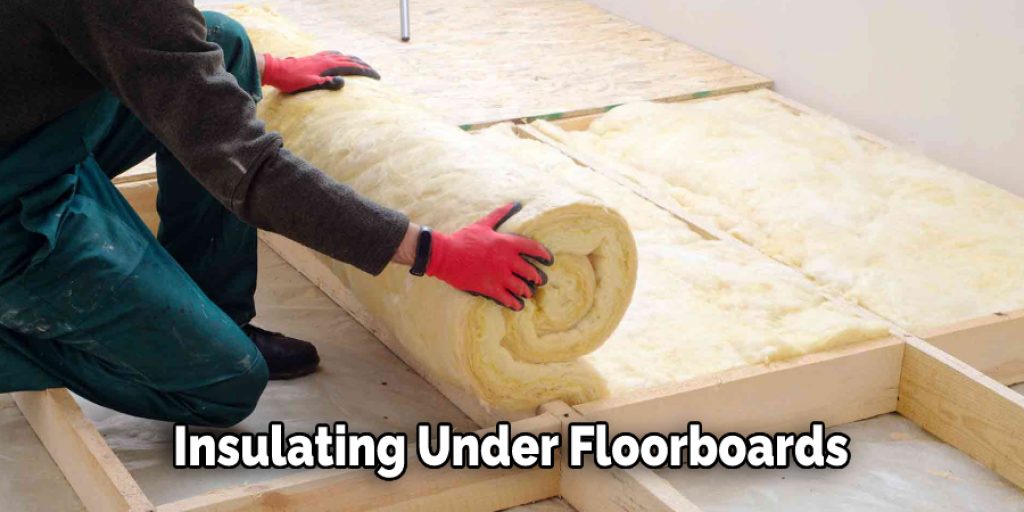
Is It Worth Putting Insulation Under Floorboards?
It is definitely worth putting insulation under floorboards. If you do not, the heat from your house will escape through the floorboards, and it will be wasted.
Benefits of Insulating Under Floorboards :
- It can help reduce energy bills by lowering heating costs in winter and cooling costs in summer.
- It prevents mold, mildew, dust mites, and other allergens from infiltrating your home’s air supply.
- It keeps moisture out of your walls so that they stay dry and are less likely to crack or deteriorate over time.
Conclusion
If you need to insulate under your kitchen sink, we have a few tips. First, measure the space and buy insulation that will fit snugly around all sides of the pipe. Then tape any gaps between duct tape so air can’t escape and seal it up tightly with plastic wrap or aluminum foil.
Be sure not to cover any vents on top of the cabinet for ventilation; just make sure they’re unblocked! Finally, be mindful of where you place dish soap items while working near pipes because some may get spilled onto them. We hope you enjoyed this article on how to insulate under kitchen sink.
Check it out also – How to Get Paint Off Stainless Steel Sink.


