Whether you’re planning on using your grill for the first time this season, or it’s been a while since you last used it, it’s important to prepare your grill before cooking. Here are a few easy steps to follow on how to Kasher a grill is ready for use.
The main reason to Kasher a grill is to make sure that it is clean and free of any contaminants. By kashing your grill, you can ensure that all surfaces are sanitized and ready for cooking.

Required Materials
To Kasher a grill, you will need the following materials:
- Grill
- Water
- Pot
- Plate
- Fork
- Salt
How to Kasher a Grill Step by Step Guide
Step 1: Get Your Grill On
Take your grill outside and place it on a non-flammable surface, like cement or asphalt. Since you will be using water and fire, make sure the area is clear of anything that can catch fire. If you don’t want to Kasher your grill outside, do this in an open space with good ventilation.
Step 2: Take Care of Your Utensils
The best way to take care of your utensils is to make sure that you clean them thoroughly after each use. Rinse off any food particles and then scrub with a brush or dish soap. Make sure to dry them off completely before storing them. You can also coat them with a layer of oil to help protect them from rusting.
Take a plate and pour some salt on it. Next, use the fork to scour the grill’s surface, working over every metal inch until it is clean. Keep dipping your fork in salt as you go to have a salty coating on your utensil.
Step 3: Get Your Grill On
Fill the pot with water and bring it to a boil on the stove. Once it has reached boiling point, place the plate in the pot to cover the boiling water covers iter.
Step 4: Boil Your Grill
Place your grill into the hot water for five minutes to Kasher the surface of your grill. You can also put a few drops of bleach in the water to ensure no contaminants.
Here are some tips on how to boil my grill easily:
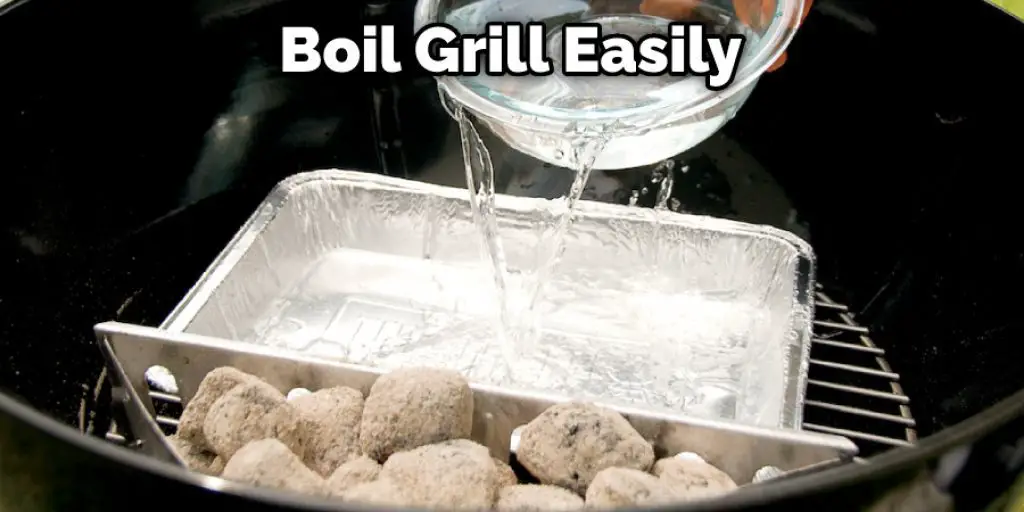
1. Get your grill outside and place it on a non-flammable surface, such as cement or asphalt. Since you will be using water and fire, make sure the area is clear of anything that can catch fire. If you don’t want to Kasher your grill outside, do this in an open space with good ventilation.
2. Take care of your utensils by thoroughly rinsing off any food particles and scrubbing with a brush or dish soap. Make sure to dry them off completely before storing them. You can also coat them with a layer of oil to help protect them from rusting.
3. Pour some salt onto a plate and use the fork to scour the grill’s surface, working over every inch of metal until it is clean. Keep dipping your fork in salt as you go to have a salty coating on your utensil.
4. Fill the pot with water and bring it to a boil on the stove. Once it has reached boiling point, place the plate in the pot to cover it with the boiling water.
5. Place your grill into the hot water for five minutes to Kasher the surface of your grill. You can also put a few drops of bleach in the water to make sure that there are no contaminants.
Step 5: Get Your Grill On Again
After five minutes, use your fork to lift out the plate from the pot. Place the clean plate on a surface where it can cool off without anything flammable underneath it.
Step 6: Lighting Procedures
Once your grill is cool enough to touch, place it on a flame and heat the metal slowly. Turn on any burners that aren’t lit. Keep turning the sides of the grill as they heat up to see your reflection on the surfaces still once they’re hot.
Step 7: Supervised Kosher
Allow the grill to heat up for ten minutes, turning the burner on and off as needed. After ten minutes, your grill should be kashered.

If you’re cooking anything that shouldn’t be cooked on a red-hot surface, like boiling water or eggs, wait until you are finished kashering before cooking.
The other thing that you should consider for this project is how you will monitor the results. You will need to track the project’s progress and how it is affecting the community.
Frequently Asked Question
What Are the Benefits of Kashering My Own Grill?
There are a few benefits to kashering your grill. One is that you can be sure that the surface is completely clean and free of any residue or particles that may contain traces of meat or dairy. Additionally, kashering your grill can be more cost-effective than hiring a professional to do it for you.
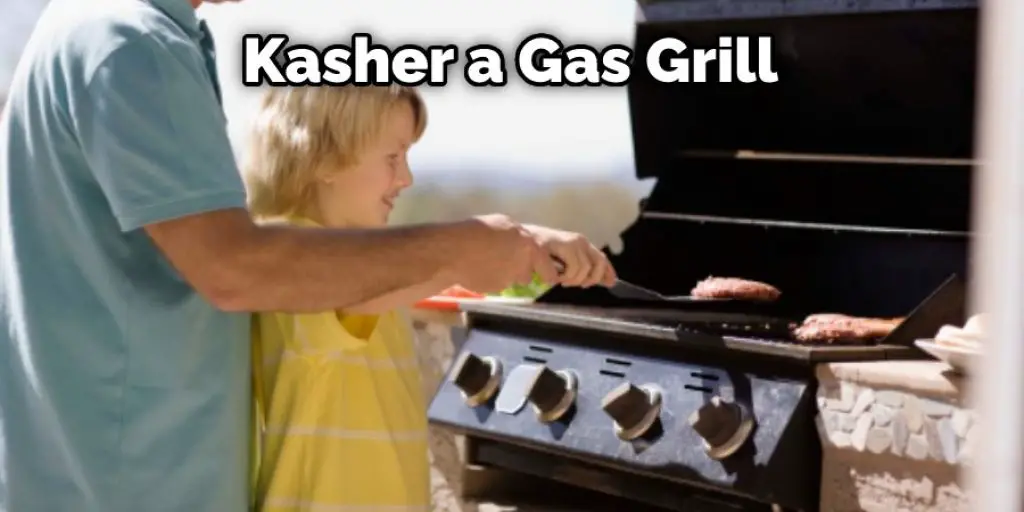
Is It Possible to Kasher a Gas Grill?
Yes, it is possible to Kasher a gas grill; you can use a few different methods, depending on how your grill is configured. One method is to heat the grill until it is very hot and then use a stream of water to clean off the surface. Alternatively, you can fill the grill with boiling water and let it stand for a few minutes.
Can I Kasher My Grill, or Should I Hire Someone Else to Do It for Me?
There is no definitive answer to this question. Whether or not you Kasher your grill depends on several factors, including how comfortable you are with the process and how much money you want to spend. If you decide to Kasher your grill, there are several methods you can use, depending on your grill’s configuration. If you’re not comfortable with the process or don’t have the time or resources to do it yourself, you can always hire a professional to Kasher your grill for you.
Conclusion
Now that you know how to Kasher a grill, get cooking! We hope you enjoy all of the delicious grilled foods you can now prepare. Have fun with it, and let us know what your favorite recipes are in the comments below.


