This blog post will be about how to lay striped carpet on stairs and landings. Striped carpet is very popular but can pose problems when trying to install it on such an oddly shaped surface, such as the top of a staircase. Most people do not know what they are doing when it comes time to put down this type of flooring, so I am here today to show you exactly how it’s done. As always, I have included pictures taken along the way, which makes for a better understanding of the process. So without further ado, let’s get started!
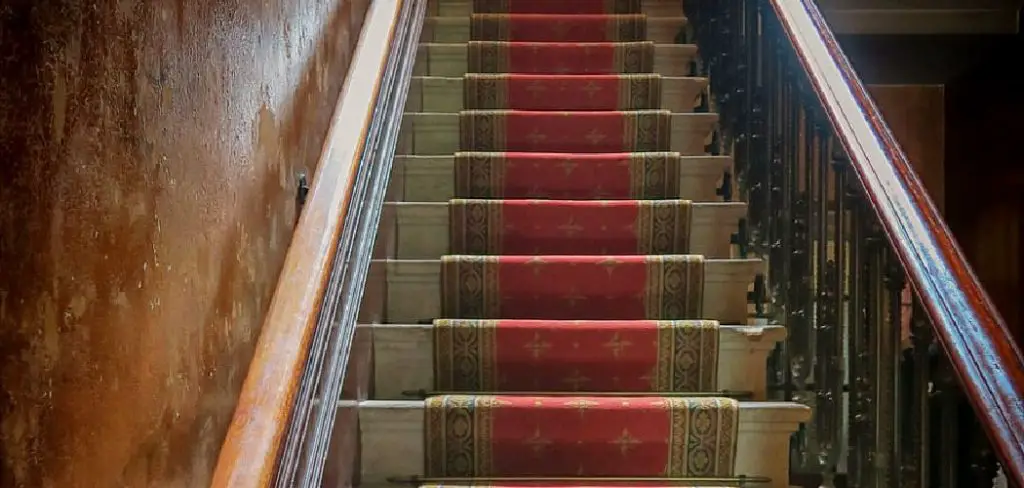
Why Lay Striped Carpet on Stairs and Landing
There are many reasons why it is a good idea to lay striped carpet on stairs and landing. This type of flooring looks great in most homes because the alternating colors give off an elegant vibe that makes your house stand out among the rest. It’s also very easy to maintain, which makes this flooring choice even better, in my opinion.
It is recommended that you take a vacuum to this carpet once or twice per week, especially if you have animals and kids around the house. If it’s in your budget, I would also recommend investing in an upright carpet cleaner (Orbital) to deep clean when necessary.
Materials You Needs
- Carpet Tiles (Preferably 10% larger than the area you are covering)
- Carpet Adhesive (To glue the tiles to the stairs)
- Stair Nosing (optional but recommended if the tile is loose or not stable on the surface, it is being installed onto.
- Hammer(optional)
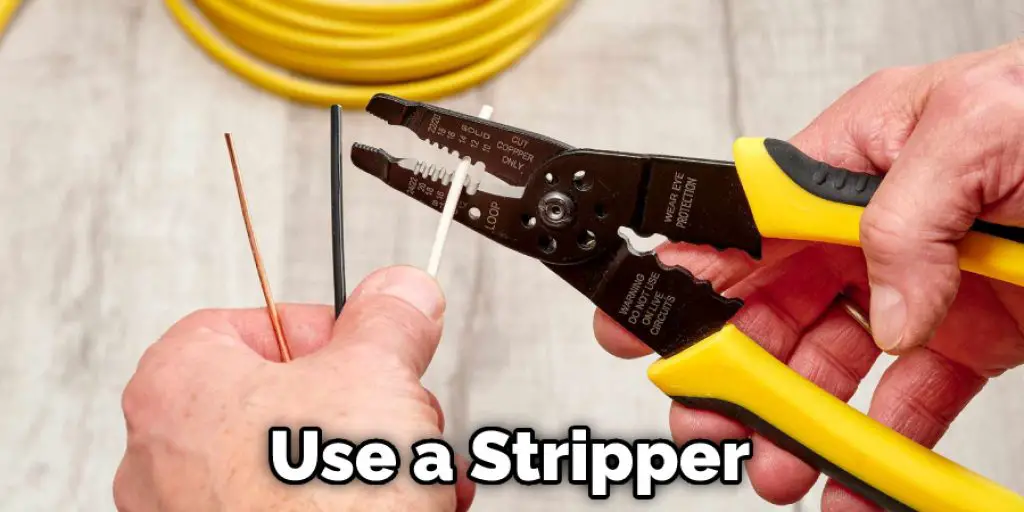
- Stripper (optional)
- Pry Bar(optional)
- Utility knife (optional)
Procedures of How to Lay Striped Carpet on Stairs and Landing
1. First off, if your landing is not entirely flat, you will need to use a stripper or pry bar to even it out so there won’t be any bumpy areas when gluing the tiles down. Although this step is not 100% necessary, it can help ensure that all of the tiles are lying at an even surface. If your stairs are wooden, you can skip this step because all the pressure will be taken off the carpet tiles when covering them with stair nosing.
2. Once that is complete. It then glues the tiles onto the stairs using either a standard adhesive or stair nosing, depending on which one you chose earlier. Make Again, take your time when gluing them down because you don’t want any glue squeezing out of the edges and onto the surface below.
3. If you decide to use a standard adhesive, follow these steps:
a. Using a screwdriver, push all of the tiles on their back so that you can see where they have been pre-glued from the factory.
b. Squeeze a sufficient amount of adhesive onto each tile until the pre-glue is spread out evenly across the surface.
c. Push all tiles back down onto their back and use a pry bar to make sure that they are fully secure on the flooring surface below them. Don’t forget to wipe up any excess glue squeezing out from the tiles.
4. If you decide to go with stair nosing, follow these steps:
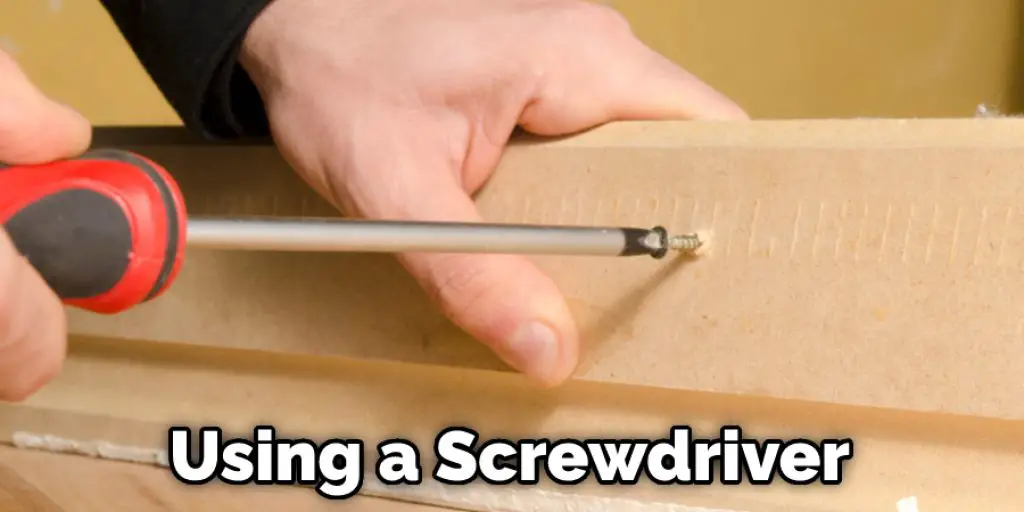
a. Using a screwdriver, push all of the tiles on their back so that you can see where they have been pre-glued from the factory.
b. Squeeze a sufficient amount of adhesive onto each tile until the pre-glue is spread evenly across the surface.
5. Now, all you have to do is wait until the adhesive has completely dried and then go over it with a utility knife to take off the excess pieces along the edges.
6. Once that’s done, trim around any stair nosing if you decide to use that instead of regular adhesive.
7. After thoroughly cleaning up the area surrounding your tiles, it’s time for you to cut the carpet tiles on either end of the stairs to fit around any banisters that are in place. Use a utility knife or scissors for this task.
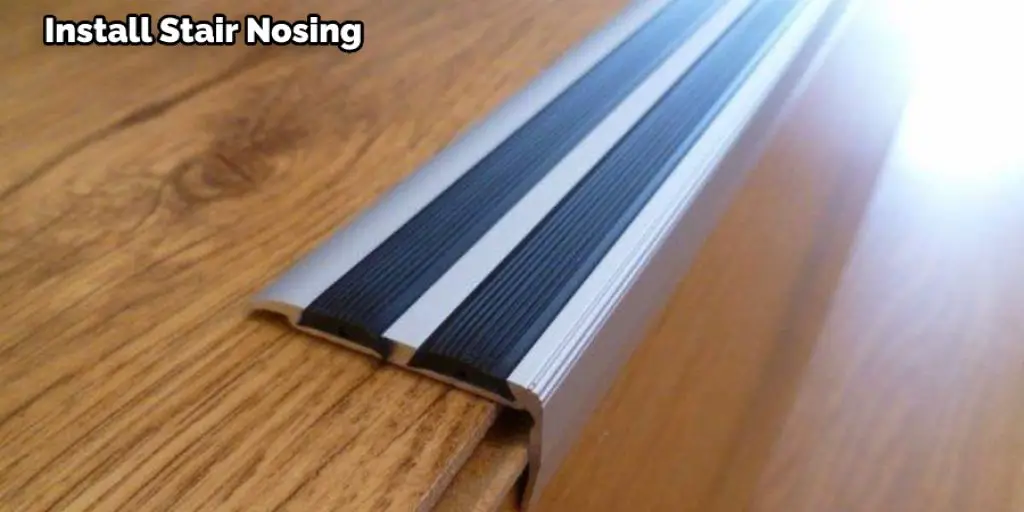
8. Once that is done, it’s time to install stair nosing, which will help keep the edges of your carpet tiles from fraying over time.
Steps On How to Lay Striped Carpet on Stairs and Landing
Step 1: Measure Your Stairs
The first thing you need to do before laying the striped carpet is to measure your stairs. This will allow you to know exactly how much of it you are going to need. It’s very important that the measurements are exact because if you don’t cut the strips correctly, your staircase will not look right.
Step 2: Cut the Carpet
Once you have done that, it’s time to cut the carpet. Follow these steps in order to do this properly:
a) Place your carpet on top of your stairs and place a piece of chalk where the tiles are going to be glued onto the bottom step. Then just fold back the section that you want to cut off and use a utility knife or scissors to cut it.
b) After you have done that, fold the carpet back down onto the stair and put a piece of chalk on top of all of the pieces and steps to make sure to draw lines between them so that there is equal spacing between each piece. Then just cut along the chalk lines to separate your carpet into strips.
You Can Check It Out to Get Rid of Tapeworm Eggs in Carpet
Step 3: Glue It Onto Your Stairs
The next thing you need to do is glue your carpet onto your stairs. Follow these steps to do this properly:
a) Make sure all of the tiles are facing down on top of a piece of cardboard or paper.
b) Squeeze a generous amount of adhesive onto each tile until it spreads evenly across the surface.

c) Remove all of the tiles from the paper or cardboard and place them on top of your stairs where they will be glued down.
d) Use a hammer to make sure that every piece is securely attached to the floor below.
e) After using a hammer, wipe up any excess adhesive gluing your carpet to your stairs or the paper.
f) Allow the adhesive enough time to dry before going over it with a utility knife and cutting off all excess pieces along the edges. This will help give it a clean look and prevent it from fraying.
Step 4: Cut the Carpet Tiles Around Any Banisters That Are in Place
The next step is to cut off any pieces of carpet that need to be trimmed around the banisters. Follow these steps to do this properly:
a) Lay your carpet on top of the stair where it needs to be cut.
b) Make sure you measure and cut the carpet tile in a way that is going to leave enough room for your banisters. If there isn’t, it will be very hard to remove them later on if you need to check up on any electrical or plumbing work underneath the stairs. Also, you want to make sure that you leave enough room for a person to move around easily.
c)Once you have cut the carpet tile, go over it with a utility knife to make sure any excess pieces of carpet are trimmed off. This will help give your carpet a cleaner look and prevent it from fraying on each side of the stairs or banister that you just cut.
Step 5: Install the Nosing
The next thing you need to do is install staining, which will help keep your carpet edges from fraying over time. Follow these steps to do this properly:
a) Measure the length of the space you have created by cutting off any excess pieces on either end of your stairs.
b) Use a pencil to mark this length on the edge of your stair nosing.
c) Cut it to the proper size with a saw.
d) Sand down any sharp edges that were created from cutting off the stair nosing. This will help prevent you from getting hurt by them or cutting into your carpet tiles while walking up and down your stairs.
e) Screw the nosing into place on the edge of your stairs.
f) You are now finished with laying striped carpet onto your stairs!
Tips To Maintain
- Add a thin nylon runner strip to the back of your carpet tiles to hold them together and make sure they don’t slide out of place.
- Apply double-sided tape to any loose pieces that are going across the stairs or banister in order to prevent them from moving around as well.
- Place nonskid strips underneath the carpet tiles on your stairs in order to prevent any accidents from occurring while walking on them.
Frequently Asked Questions
Can You Have Striped Carpet on Stairs?
It is not recommended to have striped carpet on stairs because it can be difficult to clean. It also has a tendency to collect dirt and stain easily. Therefore, it is best to stick with solid colors like red, blue, green, or black for staircases.
Which Way Should Carpet Nap Go on Stairs?
There are two ways to lay carpet on stairs. The first is by cutting the carpet and placing it with the nap going towards the wall and then tucking it in behind each stair tread. The second way is to take a long piece of carpet, usually about 8 feet long, and place it with the nap going down one side of the stairs and up the other side.
Can a Carpet Be Laid the Wrong Way?
Yes, a carpet can be laid the wrong way. However, There Are Some Ways to Avoid This :
- Take measurements of the room before laying down the carpet and make sure it is cut correctly for your room size.
- Always place the carpet at an angle when entering a room so that you will not trip on it as you walk in.
- Ensure that there is enough space between furniture and walls when laying down the carpet to avoid any bumps or snags from clothing, shoes, or other objects.
What Do the Arrows on Back of Carpet Mean?
The arrows on the back of the carpet mean that it is made up of yarns, which are all different colors. The yarns are grouped in a pattern and can match existing decor.
Is Carpet in One Place?
No, carpets are found in different places. They can be made of wool, cotton, nylon, or polyester. They are also found in various colors and patterns that can vary from region to region.
Conclusion
You may need to make some adjustments if you’re installing carpet on stairs and a landing. But don’t worry! With the right tools, we’ll show you how to lay striped carpet on stairs and landing. We recommend that you use an extra-long-staple gun for this project because of the awkward angles involved with stair installation. And be sure to pre-cut your strips before laying them down, so they’re easier to work with (and less frustrating). Thank you for reading our article. If you have any questions or concerns, please leave a comment below.
Related Article- How to Fix Loose Carpet on Stairs


