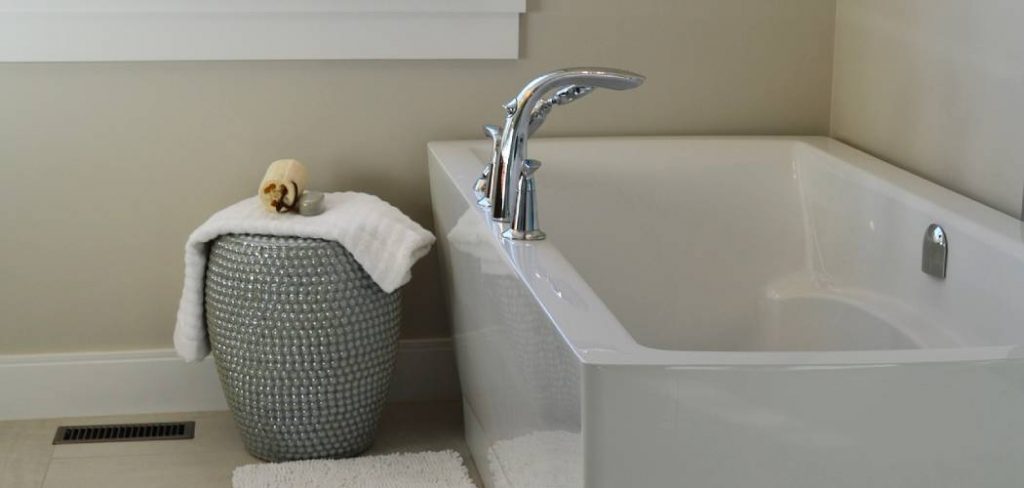
If you just moved into a new house and the bathroom is unlevel, it can be frustrating to try and level your tub. This is usually done by shimming under the tub’s legs with small pieces of wood or blocks. The problem with this method is that if you don’t get it right, water will leak out from under your shims and cause damage to your flooring or subfloor below.
These methods waste time and money, but they also pose more risk for mistakes which could lead to more costly damages in the future. So, this article is for you. You will learn how to level a bathtub on an unlevel floor with just one simple trick!
Step to Follow on How to Level a Bathtub on an Unlevel Floor
Step One: Determine
First of all, you need to look at your bathroom floor and decide which direction it slopes the most. This is easy if your bathtub is directly on a wall of the house or easily seen from a window that faces in one direction, but it’s harder if your tub is in a corner or more difficult to see from another room.
In this case, you need to check the floor in different rooms or from a window that looks into an oblique angle, then determine which way it slopes most. This is because a bathtub may only look like it’s sloping one direction from one angle but sloping more from another angle.
If this is the case, measure the slope in every direction and draw it out on graph paper. This will give you an accurate representation of whether your bathtub should be pivoted left or right instead of just trying to mount it straight forward.
Step Two: Mark the Floor
Once you’ve decided on which direction your bathtub needs to go, mark it on the floor with a bright band of paint. To avoid blemishing the wall next to the tub, you may want to tape off an area on the wall that can be painted over later or used as a masking area for plaster touch-ups later on.

Try to paint the entire area with your brand of paint, but if you can’t, don’t worry about it too much. You’ll be covering it again soon enough, and all that matters is that you get enough paint in one direction or another so that when you’re done leveling the bathtub, it will stay.
If you can paint the entire floor, then do so. However, there is another way to mark an unleveled floor for proper leveling if painting isn’t possible or won’t show up well enough. To do this, you’ll need to lay down boards in various parts of the room in both directions and across all room angles that you can see.
Step Three: Mark the Bathtub
Before installing the bathtub, mark its position concerning the band of paint on the floor. This is especially important if your tub weighs over 100 pounds, but it’s still a good idea for lighter units also. If you’re able to install the bathtub without marking this initial position, do so by all means.

This will save you the trouble of moving it after installation if you can get it positioned right on your first try. Just remember that the tub doesn’t necessarily need to be perpendicular to the floor or walls when installed so long as it’s in one of these two directions concerning the band of paint.
This is because it can be easier to get the walls and tub level with each other than it would be for them both to be parallel perpendicular to the floor. This is because you can often use furniture or other fixtures to assist in leveling. Still, it’s much harder for two perpendicular walls and a floor to be appropriately leveled.
Step Four: Level the Floor First
To level a floor that isn’t already, you’ll usually need to start by removing furniture and then leveling the floor underneath it. This is necessary because if your floor is unlevel in one direction or another, it will also be unlevel in an area where there’s a lot of furniture set directly on top of it.
This is why you’ll need to get rid of any furniture in this area using whatever means necessary. You can do this by unscrewing or removing screws, moving furniture, whatever it takes. Once all the furniture’s out of the way, you can put down something like painter’s tape on the floor and then mark off where your fixtures are.
If you’re installing a tub that already has wall surround fixtures attached to it, then see if there are any places where the measurements won’t line up. If so, then this is where you should focus your leveling efforts. These steps should help you in learning how to level a bathtub on an unlevel floor.
Step Five: Level the Tub
Now that your floor is as level as you can get it, you can move on to leveling your bathtub. The first thing I usually do here is to remove the liner from the bottom of the tub and then set it outside or somewhere else where it will be safe from potential spills.
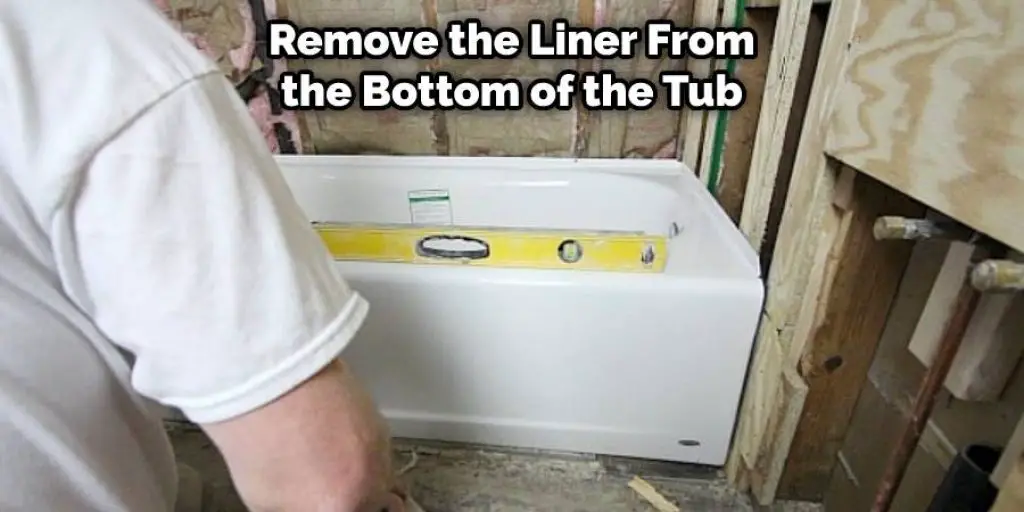
I often use a mix of water and dish soap on the bottom of the tub to help its surface stick to wherever it lands when I set it aside. If you’re installing a pre-formed soap dish, then add that on top of the liner before setting your tub aside for now. I then level the tub by attaching it to the wall for support and setting my level on top of it.
Conclusion
If you’re looking for a quick and easy way to level your bathtub on an unlevel floor, the most common solution is to use some shim. A shim can be as simple as a piece of wood or plastic that has been cut to fit under one side of the tub and create even support across both legs.
You can also try adding more than one thickness underneath each leg if needed. There are other ways to solve this issue, such as building a standalone pedestal for the tub, which will provide more vertical support than even a shim can. We hope you enjoyed this article on how to level a bathtub on an unlevel floor.
You may also read – How to fix a gurgling bathtub


