How to Level Ceiling Drywall
If your home improvement project includes plastering or repairing the ceiling, it’s important to level the ceiling before you start. Ceiling drywall can be extremely heavy, and if it’s not properly leveled, it can lead to problems with the finished product.
In this blog post, you will learn how to level ceiling drywall. This process can be a bit challenging if you are not familiar with it. But don’t worry; we will walk you through every step of the process. So let’s get started!
Why Should You Level Ceiling Drywall?
Most people don’t think about their ceilings very often. However, if you’re planning on making any changes to your ceiling-such as painting or installing new lighting-it’s important to make sure that the surface is level. Drywall is a type of wallboard that’s commonly used in construction. It consists of two sheets of paper that are sandwiched around a layer of gypsum.
The Gypsum Association recommends using Level-Set 2 when leveling ceiling drywall. This product helps to fill any voids or irregularities in the surface, providing a smooth, level finish. In addition, it can be used to level out any unevenness in the underlying structure, such as beams or joists. Leveling ceiling drywall is an important step in ensuring a professional-looking finish.
7 Steps to Follow on How to Level Ceiling Drywall
Step 1: Cut the Drywall to Size
Use a measuring tape to determine how much drywall you need to cut. If possible, add an extra inch or two to your measurements to allow for any mistakes. Once you have your measurement, use a sharp knife to cut the drywall.
Step 2: Prep the Area
Clear the area where you will be working and make sure it is free of dust and debris. It is also a good idea to cover any floors or furniture with a drop cloth to protect them from drywall dust.
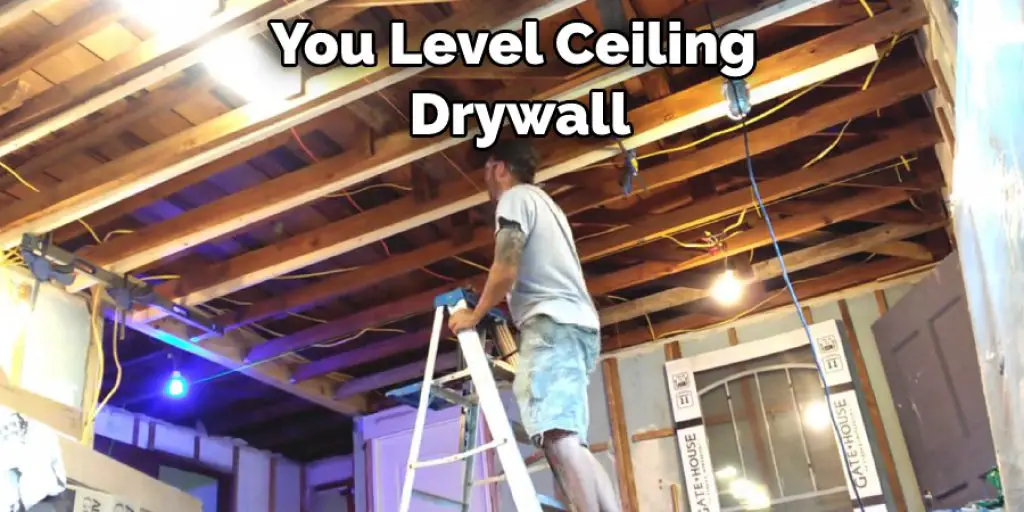
Step 3: Affix the Drywall to the Ceiling
Use screws or nails to attach the drywall to the ceiling. Be sure to use screws or nails that are long enough to penetrate through the drywall and into the ceiling joists.
Step 4: Apply Joint Compound
Once the drywall is affixed to the ceiling, use a putty knife to apply joint compound along the seams. You may need to apply several coats of joint compound to create a smooth, level surface.
Step 5: Sand the Joint Compound
After the joint compound has had time to dry, you will need to sand the surface smoothly. Use fine-grit sandpaper and sand in gentle, even motions. Be sure to vacuum up any dust that is created as you sand.
Step 6: Paint the Drywall
After the joint compound is smooth and level, you can now paint the drywall. Do this by first priming the surface and then painting it with your chosen color. You can do this yourself or hire a professional to do it for you. If you decide to do it yourself, make sure that you follow all the instructions carefully and use the right type of paint. Once the paint is dry, your ceiling will be level and ready for use.
Step 7: Enjoy Your New Level Ceiling!
Now that you know how to level ceiling drywall, you can enjoy your new level ceiling! This process may seem daunting at first, but anyone can do it with a little patience and attention to detail. Just follow the steps outlined above, and you will be sure to achieve great results.
What You Need to Know Before Levelling Your Ceiling Drywall
Leveling your ceiling drywall is a great way to improve the look of your home and make it feel more spacious. However, before you begin, there are a few things you need to know. First, you’ll need to remove any existing drywall. Next, you’ll need to install furring strips, which will provide a surface for the new drywall to be attached to.
Once the furring strips are in place, you can start attaching the new drywall sheets. Be sure to use screws rather than nails to provide a more secure hold. Finally, once the new drywall is in place, you’ll need to finish it off with a joint compound. With a little bit of effort, leveling your ceiling drywall will give your home a whole new look.
How to Float a Ceiling Drywall Finish

A drywall finish can give your ceilings a smooth, professional look. But if you’re not careful, it can also be a disaster. That’s why knowing how to float a ceiling drywall finish is important. The first step is to sand the surface of the drywall so that it’s perfectly smooth.
Then, apply a thin layer of joint compound to the ceiling and use a roller to spread it evenly. Once the joint compound is dry, apply a second layer. This time, use a roller with a thicker nap to create texture. Finally, paint the ceiling with high-quality latex paint. With these simple steps, you’ll be able to achieve a beautiful, professional-looking finish.
How to Tape and Mud a Ceiling Drywall Joint
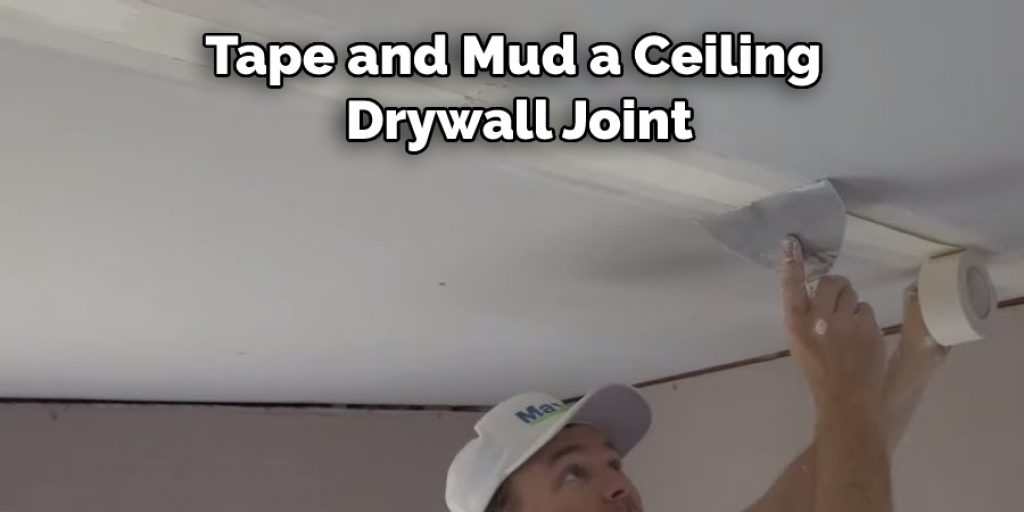
The first step in taping and mudding a ceiling drywall joint is to cut the tape to the desired length. Next, position the tape over the joint, taking care to align it with the edges of the drywall. Once the tape is in place, use a putty knife to apply pressure to the center of the tape, working from the middle outwards.
Once the tape is securely in place, it’s time to apply the mud. Starting at the middle of the joint, use a putty knife to spread a thin layer of mud over the tape. Work from the center outwards, using smooth, even strokes. Once the mud is dry, sand it down until it is flush with the surrounding wall.
Finally, apply a second coat of mud and allow it to dry completely before painting or to wallpaper over it. By following these simple steps, you can easily tape and mud a ceiling drywall joint like a pro!
Conclusion
In conclusion, if you’re looking to level your ceiling drywall without having to call in a professional, there are a few steps that you can try. The most important thing is to be patient and take your time; leveling the drywall may seem daunting, but it’s definitely doable with some effort.
Thanks for reading our blog post about how to level ceiling drywall. Have you ever leveled drywall before? If so, we want to hear about your experiences in the comments section below!


