Introduction
Plugging in an appliance is common for most people, but it can be not easy to plug the cord into the outlet. The key to understanding how plugs work starts by looking at what they are made of. The outside of the plug that you touch is typically metal or plastic with either prongs or pins inside that connect with holes on the other side of an outlet.
If you have trouble grasping how this works, many videos are available online that break down this process step-by-step. Turning off your breaker before trying any electrical repairs is also essential. Doing so reduces your risk of shock and injury from electricity should anything go wrong during your repair efforts. Finally, this article will discuss how to lock plug into outlet. So let us get started.
A Detailed Stepwise Guide on How to Lock Plug Into Outlet
Step 1:
Gather the necessary materials required to complete this task successfully. You will need a screwdriver, an extension cord, electrical tape, and a plug.
Step 2: Search for an Outlet Located at Least Three Feet Off of the Ground
high enough so that your toddler can’t touch it on his tippy toes but low enough so that you have access to it. Make sure there are no other objects around or near the outlet that could be hazardous to anyone who may want to use the outlet later – such as flammable liquids or items with wires sticking out of them (if you tape these objects up, then they won’t cause any damage). Also, make sure that the power is turned off by checking both the outlet and the switch.
Step 3:
Open up the electrical cover plate by unscrewing the two screws holding it in place with the screwdriver. You may need to pry the cover off of the electrical box if it is glued in place. Remove the wires from the old switch, and twist the wires together with pliers. Match the colors of the wires together (black with black and white with white) before twisting them together.
Step 4:
Take out the old plug by unscrewing it from the cord. Discard the old plug. Cut off about a half-inch of the wire insulation with the knife to expose the copper wires.
Step 5:
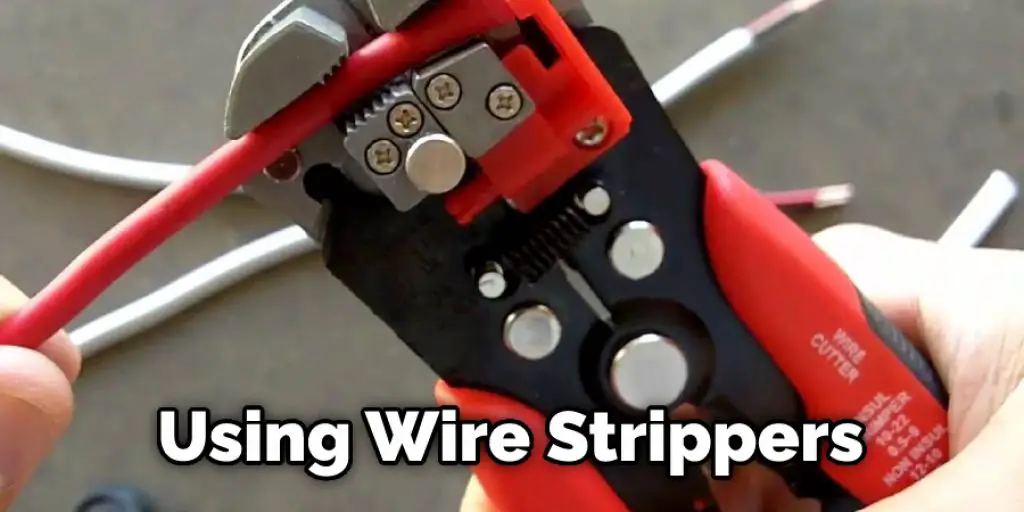
Strip the insulation off both wires on the end of the extension cord using wire strippers. There should be one white wire and one black wire.
Step 6:
Twist each wire around one of the screws on the new plug, making sure that they are tightly wrapped around them. Be careful not to touch the other wire while you are doing this, as they are live.
Step 7:
Put the electrical tape around each of the wires, covering up any exposed metal, to ensure no chance of them touching each other and creating a short circuit.
Step 8:
Screw the new plug into the socket on the extension cord.
Step 9:
Put the cover plate back on by screwing it back in place with the screwdriver.
Step 10:
Turn on the power by flipping the switch to the “on.” Test to ensure that the outlet is working properly by plugging in something like a lamp.
Step 11:
Lock the plug into place by sliding it horizontally into the outlet – make sure that it is pushed in so that you can’t get it out again without unscrewing it.
Step 12:
Enjoy your newly safe outlet!
You can check it to Unlock Whirlpool Duet Washer Control Lock
Precautions While Performing How to Lock Plug Into Outlet
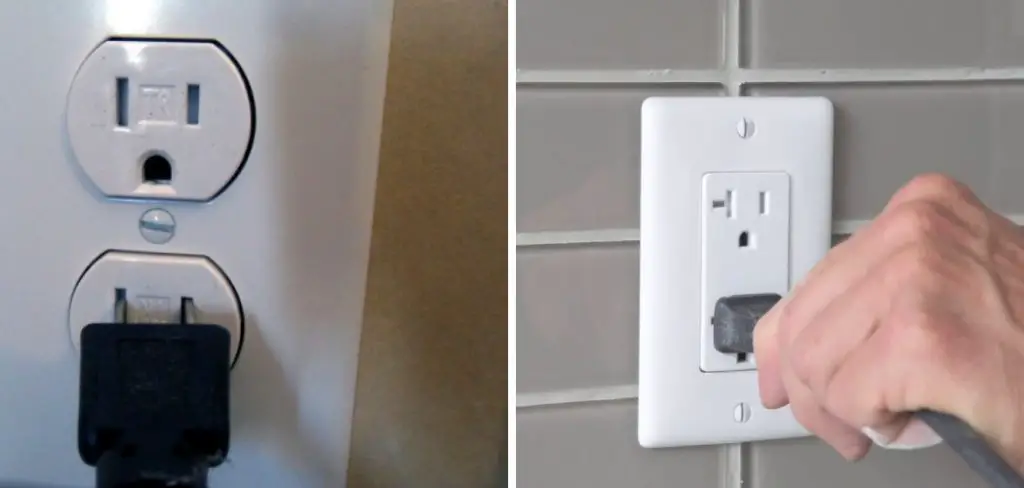
When you insert a 3-prong plug into the outlet, ensure it is correctly oriented.

Incorrect insertion of a 2-prong or nonpolarized plug into an outlet will not provide proper grounding and presents a fire and shock hazard and should never be attempted. The same is true for inserting any pin other than the flat blade of a grounded plug into a light socket – this would also present a fire and shock hazard and damage the socket contacts. Only use appliances that have been approved by Underwriters Laboratories (UL).
Light Bulbs: Use only those bulbs marked as acceptable for this fixture. If your institution was supplied with incandescent bulbs, you could usually replace them with those with the same rating. For example, if your fixture was equipped with 60-watt incandescent bulbs, you can use any standard 60-watt bulb marked as acceptable for this purpose. You can’t replace the original bulb with another type or wattage of bulb even if it fits, since doing so may overload or shorten the life of the new bulb and cause lamp failure.
Light Fixtures: Ensure that the light fixtures are rated for exterior use (either wet location approved/IP65, which means completely protected against dust and spray water; or suitable for damp locations; or ideal for wet areas, which means splash-proof). If in doubt, consult a qualified electrician before attempting installation.
In some cases, it may be necessary to install a GFCI outlet. A ground fault circuit interrupter (GFCI) is designed to protect people from electrical shocks. It does this by detecting any current flowing through the grounding conductor and interrupting the circuit if it exceeds a preset value. A GFCI outlet should always be used when connecting an outdoor outlet or receptacle, near water (such as in a bathroom), or in any other location where there is the potential for an electrical shock. If you are not comfortable performing this task, please consult with a qualified electrician.
Benefits of Locking Plugs into Outlet
There are many benefits of locking plugs into an outlet. One of the most important benefits is that it can help to prevent fires. If a plug falls out of an outlet, it can create a spark that can quickly start a fire. By locking the plug into the outlet, you can help to minimize the risk of a fire starting.
Another benefit of locking plugs into outlets is that it can help to keep your children safe. Children often try to stick things into electrical outlets, and by closing the plugs in, you can help prevent them from doing so. This can help to reduce the risk of electrical shock or burns.
Finally, locking plugs into outlets can also help to save energy. When plugs are not locked in, they can become loose over time. If they are not pushed back in, it can cause electrical surges that waste energy.
Dangers With an Unlocked Plug into Outlet
Safety aficionados everywhere have been on a crusade to explain why you should never leave an electrical plug unattended into a live outlet. New manufacture plugs come already locked into outlets, but any owner can unlock them using a simple procedure. However, many people don’t know that once the plug is unlocked from its slot in the outlet, power passes from both outlet terminals through the prongs on the plug and out of its metal sheath, potentially dangerous if someone or something touches it. In addition to posing a shock risk, this also creates an electrocution hazard if water comes in contact with either side of your energized cord.
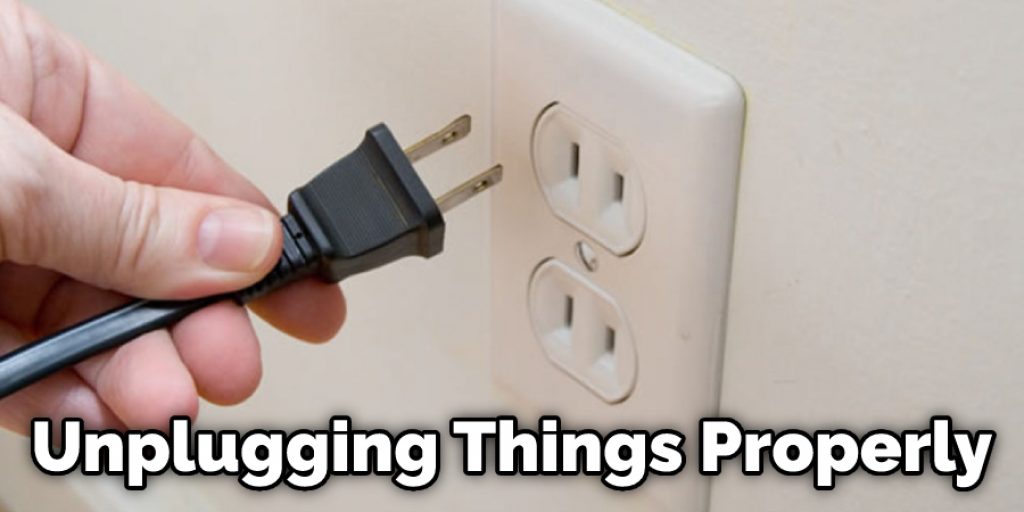
People generally think that if they are careful, they can avoid electrical shock by not plugging in too many things at once and unplugging things properly. But even if an appliance looks like it has been unplugged, there may still be a live current running through the cord. So to ensure that an appliance is off, you should pull out the plug from the outlet rather than just unplugging it by the wire.
It’s mitigant to keep in mind that any time an appliance is not in use, it should be unplugged. This includes when you’re taking a bath or shower or leaving the house. And if you have an extension cord, make sure it’s the load you’re with and that all connectors are tight.
The next time when you see someone plugging something in and out of an outlet without locking the plug in place, take a moment to explain the dangers involved. It could save someone from a severe injury.
Different Types of Plugs
Below are some of the different types of plugs you can use to insert into standard electrical outlets. Even though they may seem very similar, each one is used under a specific circumstance and for a particular reason. By having this knowledge, maybe next time you will help someone else with their problems!
Type A :
This plug has two round prongs that look like large toothpicks. It is commonly found mainly in Mexico and Japan and was made for appliances that need 220 volts. This outlet is typically located in other countries; however, it also requires an adapter because the shape of this plug does not fit into our standard American outlets, so only one or the other can be used at a time.
Type B :
This is the only plug in the world that is ungrounded. It has two flat prongs with a hole between them for grounding, but there is no third pin to complete the circuit, so it is technically not grounded. Because of this, Type C plugs are typically used for shavers or toothbrushes where low voltage is required.

Type C :
Type D outlets are mainly used in India and Sri Lanka and have three round prongs with 5-6 pins on each side of them (10 or more pins total). These can be found in standard US sockets (outlets) but cannot fit into the outlets in India/Sri Lanka due to their shape; however, they can still be connected by using an adapter.
Type D :
This plug has two large, rectangular prongs mainly used in Europe. It was created to work with 220-240 volts of electricity, so it isn’t the US. Unlike Type B, this plug does not require an adapter to fit into our outlets.
Type E :
This plug looks identical to Type A (see below) but has a different pin configuration. It is mainly used in the United Kingdom and Ireland and can be plugged into standard outlets and adapters.
Conclusion
I hope you have obtained all the necessary instructions on how to lock plug into outlet. Ensure all the precautions are correct. Thank you and have a nice day!
You can read it also – How to Pick a Craftsman Tool Box Lock


