How to Make a Bunkie Board for a Bunk Bed
Do you have a bunk bed but no mattress? Or maybe you have a mattress but not a bunkie board? A bunkie board is essential to any bunk bed because it provides extra support and stability. This tutorial will show you how to make a bunkie board for a bunk bed using some simple materials. Let’s get started!

What Causes Bunkie Boards to Sag?
There are a few reasons why bunkie boards might start to sag. The most common reason is that the board is not made of high-quality materials. Over time, cheaper boards will start to compress and sag under the weight of the mattress.
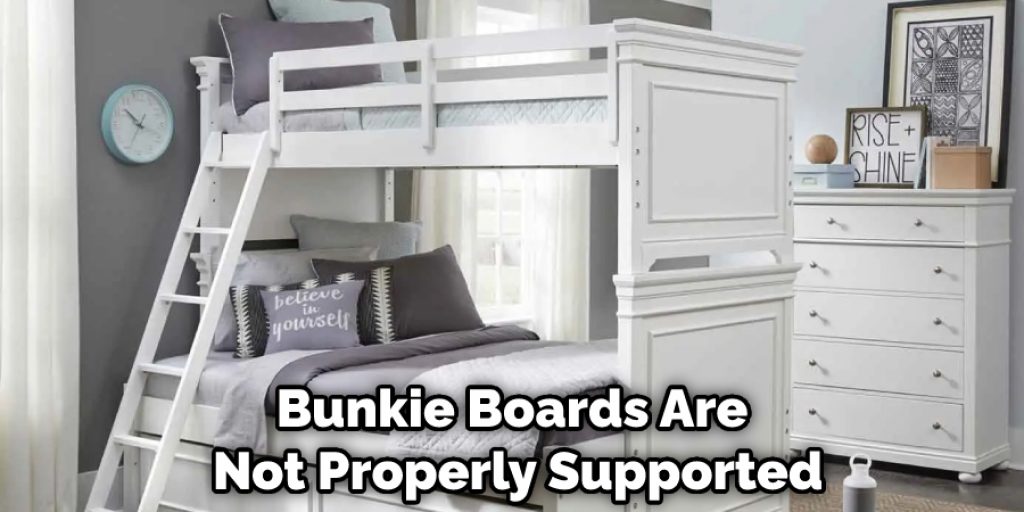
Another reason why bunkie boards might sag is that they are not properly supported. If the board is not sitting on a flat surface or a frame does not support it, it will eventually start to sag.
Additionally, bunkie boards can sag if they are too small for the mattress. A bunkie board should be the same size as the mattress or slightly smaller. If the board is too small, it will not provide enough support and will start to sag.
The other problem with using a small board is that it can create a gap between the mattress and the side of the bunk bed. This gap can be dangerous, especially for small children who might fall through.
Lastly, bunkie boards can sag if they are not properly attached to the bed frame. If the board is not securely fastened, it will eventually start to sag.
Why Do You Need a Bunkie Board for a Bunk Bed?
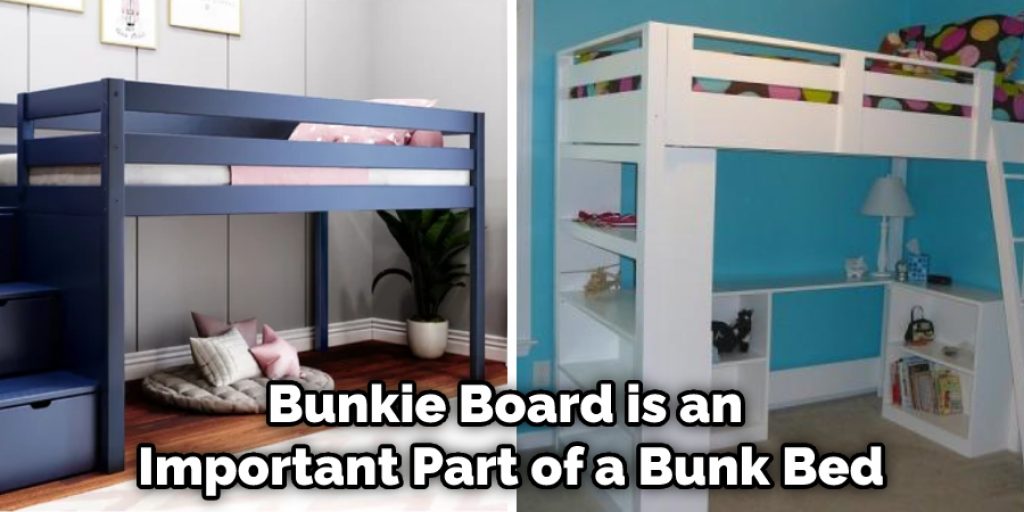
A bunkie board is an important part of a bunk bed for several reasons. First, it provides extra support for the mattress. This is especially important for bunk beds because they are often used by children who jump on them or play on them.
A bunkie board will help to prevent the mattress from sagging or becoming misshapen. Additionally, a bunkie board will help to keep the mattress in place. This is important because a bunk bed is often moved around, and the last thing you want is for the mattress to slip off and become damaged.
Another reason why a bunkie board is important is that it provides extra insulation. This is important because bunk beds are often located in areas with little or no insulation. This can make the bed cold and uncomfortable to sleep in. A bunkie board will help to keep the bed warmer and more comfortable.
Finally, a bunkie board is important because it can help extend your mattress’s life. This is because a bunkie board will protect the mattress from wear and tear. It is important to note that a bunkie board is not the same as a box spring. A box spring is a piece of furniture that is placed under the mattress.
A bunkie board is a thin, flat piece of wood or other material that is placed on top of the mattress.
Step by Step How to Make a Bunkie Board for a Bunk Bed:
1. Choose the Right Materials
The first step in making a bunkie board is to choose the right materials. The most important consideration is the thickness of the board. Bunkie boards are typically between 2 and 4 inches thick. The thickness of the board will determine how much support it can provide.
If you are using a bunk bed that is going to be used by children, it is important to choose a thick board. This will help to prevent the mattress from sagging. Avoid using boards that are thinner than 2 inches. These boards will not provide enough support and will likely sag over time.
2. Measure the Mattress
The next step is to measure the mattress. You will need to know the mattress’s length, width, and height. These measurements will help you to choose the right size board. It is important to choose a board that is the same size as the mattress or slightly smaller.
If the board is too small, it will not provide enough support and could cause the mattress to sag. Avoid boards that are more than 4 inches smaller than the mattress. These boards will leave a large gap between the mattress and the side of the bunk bed. This gap could be dangerous, especially for small children who might fall through.

3. Cut the Board to Size
Once you have chosen the right materials and measured the mattress, you will need to cut the board to size. If you are using a power saw, it is important to be very careful. Make sure to wear eye protection and gloves. First, make a mark on the board where you will need to make the cut. Second, set the saw to the correct depth.
Third, slowly and carefully cut along the line. If you are uncomfortable using a power saw, you can ask someone else to do it for you. Avoid using a hand saw, as this can be very dangerous.
4. Attach the L Brackets
The next step is to attach the L brackets. The L brackets will help to support the board and keep it in place. First, find the center of the board. Second, mark where you will need to drill the holes for the L brackets. Third, drill the holes.
Fourth, attach the L brackets using the screws that come with them. Be sure to tighten the screws so that the bracket is secure.
5. Add the Foam
The next step is to add the foam. The foam will help to provide support and comfort. First, measure the thickness of the foam. Second, cut the foam to size using a sharp knife. Third, place the foam on top of the bunkie board. Fourth, use a staple gun to secure the foam in place. Be sure to staple it around the perimeter of the board.
6. Cover the Board
The next step is to cover the board. This will help to protect the board and keep it clean. First, measure the fabric. Second, cut the fabric to size using a sharp pair of scissors. Third, place the fabric on top of the board.
Fourth, use a staple gun to secure the fabric in place. Be sure to staple it around the perimeter of the board. If you are using a patterned fabric, be sure to align the pattern so that it is centered on the board.
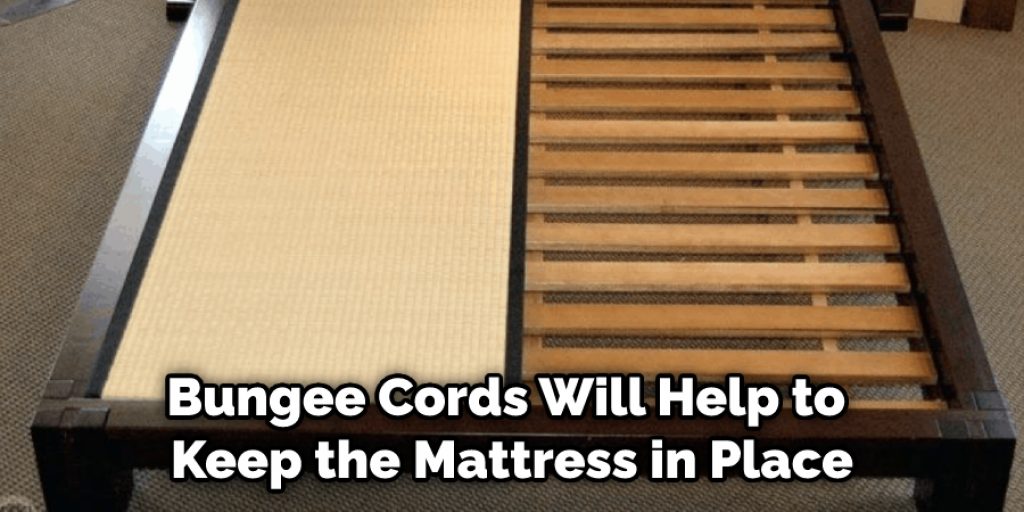
7. Attach the Bungee Cords
The next step is to attach the bungee cords. The bungee cords will help to keep the mattress in place. First, measure the length of the bungee cord. Second, cut the cord to size using a sharp pair of scissors. Third, tie one cord end to one of the L brackets.
Fourth, stretch the cord across the board and tie it to the other L bracket. Be sure to leave some slack in the cord so that the mattress can move slightly. If the cord is too tight, it could damage the mattress. Repeat this process for the other bungee cord.
8. Place the Bunkie Board on the Bed Frame
The next step is to place the bunkie board on the bed frame. First, find the center of the frame. Then, place the bunkie board on the frame to be evenly balanced.
Once you have done this, you can screw the bunkie board into the frame using the screws that came with it. Be sure to use a drill to make the process go faster. You can ask someone else to help you if you do not have a drill.
9. Add the Mattress
The final step is to add the mattress. A mattress should fit snugly on a bunkie board. It will not be supported properly and could sag if it is too big. If it is too small, there will be a large gap between the mattress and the side of the bed. First, place the mattress on top of the bunkie board.
Second, use a bungee cord to secure the mattress in place. Be sure to leave enough slack in the cord so that the mattress can be moved easily. Finally, tuck in any loose ends of the cord, so they do not hang off the bed.
10. Enjoy Your New Bunk Bed!
After completing all of the steps, you should have a sturdy and comfortable bunk bed. You can now enjoy spending time in your new bed. Follow the bunkie board care instructions to keep it in good condition. With proper care, your bunkie board will last for many years.
How Much Does It Cost to Make a Bunkie Board?
The cost of making a bunkie board will vary depending on the materials you use. A basic bunkie board can be made for around $30. If you use higher quality materials, the cost will increase. The most important thing is to use materials that are durable and comfortable.
Conclusion
So there you have it! Everything you need to know about how to make a bunkie board for a bunk bed. With this guide, you can make your own bunkie board and save money. We hope you found this guide helpful. If you have any questions, please feel free to comment below. Thanks for reading!
You Can Chack it Out to Triple Sheet a Bed


