Introduction
A wet bar is a type of bar that has no plumbing. Instead, the water comes from the taps and drains out under the sink or into an adjacent bucket. If you want to serve drinks with ice, you will need to purchase some special equipment that attaches to your faucet. This article examines how to make a wet bar without plumbing by using free-standing sinks and other types of sinks. It also discusses how much space it takes for this type of setup and what sort of tools you’ll need to build one.
A Detailed Stepwise Guide on How to Make a Wet Bar Without Plumbing
There are many different wet bars and even more ways to design them. The best way is to decide how much space you have, your budget, and what you want the final product to look like before deciding on a design. Once these factors are determined, it’s all about finding suitable materials and ensuring that the finished product will be functional and attractive. If enough thought goes into each step of this process, a successful wet bar can be made without plumbing.
To make a wet bar, first, an idea must be formed for its appearance and function… That said; How much room do we have? Where would we like to put it within our living area? What size refrigerator do we want (seems like a small question, but it is critical)? Do we want shelves and a sink? How about a wine fridge and ice maker? If space allows, a small stove can be incorporated. These are all questions that will help determine the design of the wet bar.

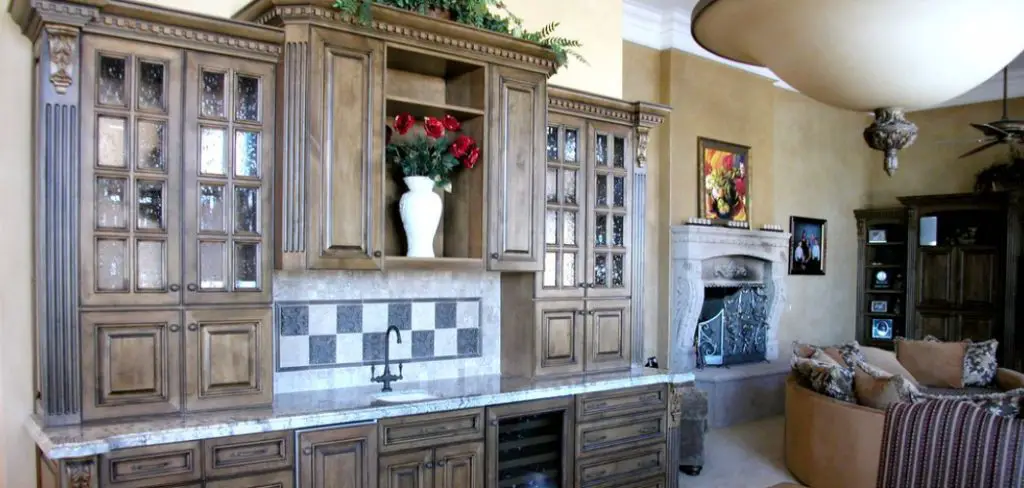
The materials necessary for this project may vary slightly depending on the type of wet bar desired, but some basics are needed for all bars. Countertops, cabinets, and a bar top surface are all necessary. These items can be purchased from a home improvement store or online retailer in most cases. It is essential to find a moisture-resistant character and easy to clean as drinks and food will likely be spilled at some point.
A laminate material such as Formica or Wilsonart is a good option for the countertops. Solid surface materials such as Corian, Quartz, or Granite are also a good choice, but they can be more expensive. If money is tight, a plywood substrate covered with a laminate or veneer may be the best option. The backsplash is usually tile or stone, which can be a bit more expensive than laminate.
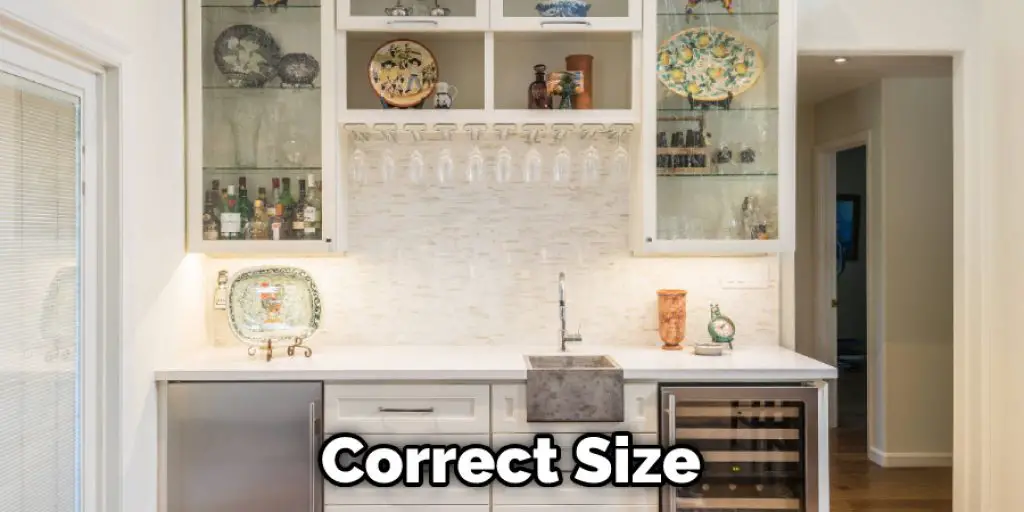
The cabinets for a wet bar can be either stock cabinets from a home improvement store or custom-built. If stock cabinets are chosen, it is essential to ensure that they are of the correct size and have the necessary features, such as a wine rack and shelving. It is also important to select cabinets that are durable and easy to clean. If custom-built cabinets are chosen, it is important to select a reputable contractor who can create cabinets that will complement the overall décor of the home.
The bar top surface can be made from many different materials. A butcher block top is a popular option, but it requires some maintenance to keep it looking good.
Once the basic materials are chosen, it is time to assemble the wet bar. The first step is to install the countertops. This can be done using construction adhesive and screws or nails or a countertop installation kit. If a butcher block top is being used, it is essential to seal all joints with silicone caulk to prevent moisture from seeping in. The next step is to install the sink. The most popular type of wet bar sink is a drop-in style. It sits on top of the countertop, creating a seamless look.
The cabinets can then be installed. If they are stock cabinets, it is essential to ensure that they are the correct size and that all of the holes for electrical outlets and plumbing are drilled correctly. If custom cabinets are being built, it is essential to make sure that they are not too deep as this can make it difficult to reach the bar’s back.
The bar top surface can be attached in a variety of ways. It can be glued down, screwed down, or bolted to the cabinets. If a butcher block top is being used, it is good to use a construction adhesive and screws to attach it to the cabinets. If you are not using a butcher block, the best way to attach the bar top is by screwing it into the cabinets with screws that are at least 2 1/2 inches long.
The final step is to install any appliances that are desired. This may include a refrigerator, wine fridge, ice maker, or stove. If an ice maker is being installed, it is essential to ensure that there is enough clearance above and below the unit for the ice to drop into the bin. The same is true for any other appliances that are being installed. The final step is to test all the appliances and ensure that they are functioning properly. As you can see, installing your own kitchen cabinets can be a relatively easy process if you have some basic woodworking skills.
Once everything is installed, it is a good idea to test all the appliances and make sure that they are working correctly. It is also good to clean up any messes made during the installation process. Once the process is complete, it is important to remember that it is very important to keep your new appliances in good working order.
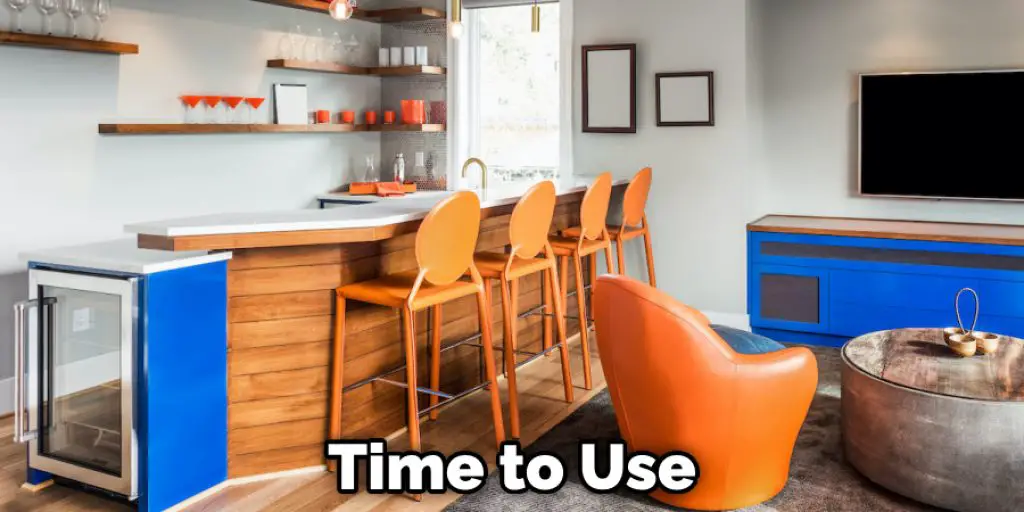
Once your wet bar is fully functional, it will be time to use it! Of course, if you choose not to drink or serve food at your bar, then all this work may have been done in vain… but hey, if someone wants a place to create their signature cocktail or drink their favorite micro-brewed beer, then you can tell them about your non-functional great looking wet bar and get bragging rights!
You can check it to Move Plumbing for Vanity.
Precautions While Making a Wet Bar Without Plumbing
You should keep a few things in mind while making your wet bar without plumbing. First and foremost, always be careful when using any type of heat near water. This means no boiling water or open flames near the sink or countertop. It would help if you also avoided spilling any liquids on the electrical outlets or wiring. Most importantly, always make sure the room is well-ventilated when using any chemical cleaning agent. Many people don’t realize that the fumes created by these agents are often toxic and should be avoided as much as possible.
Before beginning your dry bar project, you’ll need to know how it will be used before proceeding. For example, if you expect a lot of guests to visit for drinks and cocktails, consider adding a few basic amenities such as a sink with hot and cold running water, an ice maker or refrigerator, a drain system for washing out cocktail glasses or shakers, and a ventilation hood to remove odors from mixing drinks. These may seem like simple additions until you have unexpectedly run out of clean glasses!
In addition to space considerations, make sure to have a sturdy surface to place your wet bar. A wet bar is likely to get damp and dirty, so choose a character that can handle that kind of wear and tear.
Conclusion
I hope you have obtained a clear connection on how to make a wet bar without plumbing. Ensure all the precautions while performing the process. Thank you and have a nice day!


