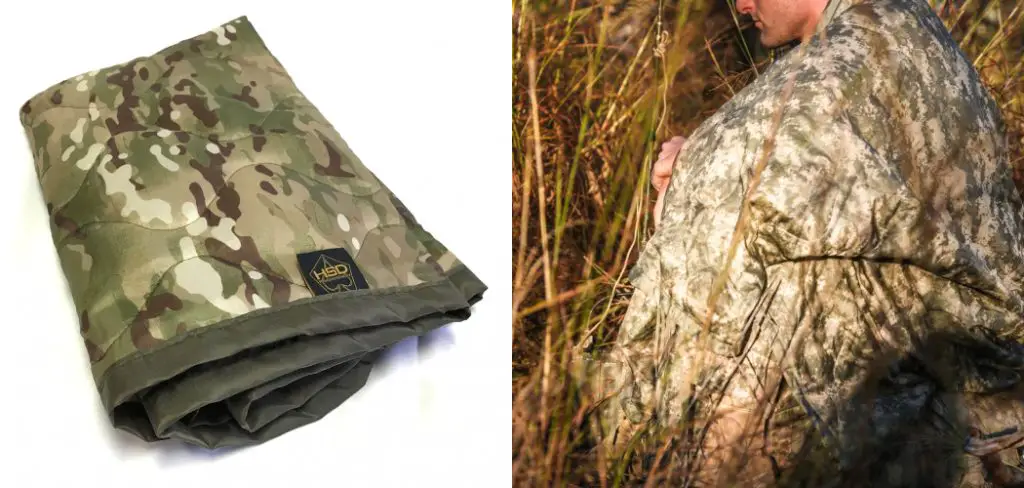
A woobie blanket is a must-have item for any camper, hiker, or outdoorsman. It’s an extra layer of warmth and comfort that can be used as a pillow, cushion on the ground to sit on, or just wrapped around you for added warmth. A woobie was created for the military and is now used by civilians.
If you’re looking to make your woobie blanket, there are a few different ways to do it. For example, you can use a quilt top, flannel backing, and batting. Another option is to use an old comforter or sleeping bag as your woobie blanketing material.
No matter which route you choose, you’ll need the right tools for the job. A good pair of scissors, a sharpie to mark your fabric, and a tape measure are necessary. In this article, I’ll show you step-by-step instructions on how to make a woobie blanket.
Step to Follow on How to Make a Woobie Blanket
Step One: Determine
First, you need to decide how big you want the blanket to be. If it’s just for you, then you can make it whatever size you want. But if someone else will be using it too, then you might have to compromise on the size.
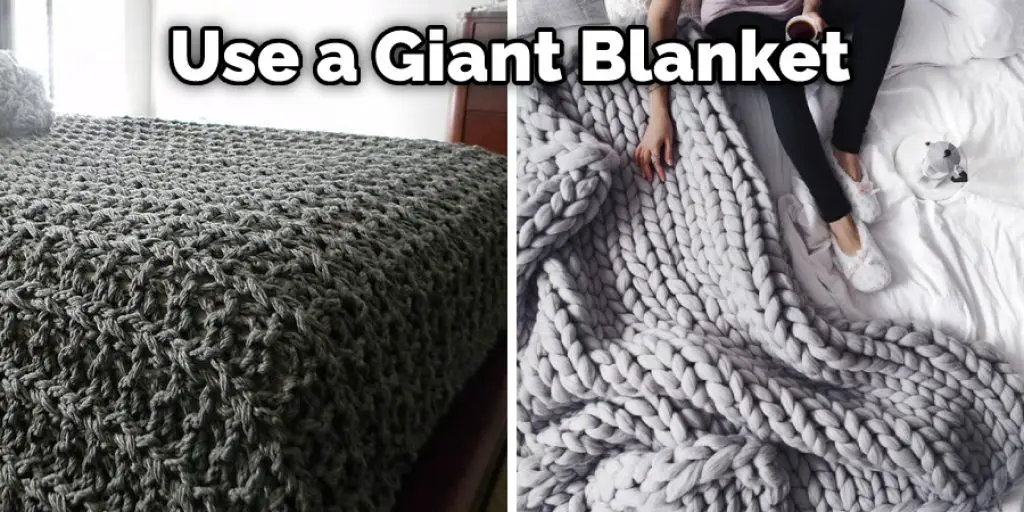
It is better to use a giant blanket because it will be easier to tuck around you, providing more warmth. However, if you are using a fabric that frays easily, you will also need to make sure the blanket is large enough to accommodate the added fray.
If you are unsure how big to make the blanket, do not be afraid to use trial and error. Once you have completed the chevron pattern, adding or subtracting rows will be easy until you get your desired measurements.
Step Two: Prepare the Fabric
Once you have determined the blanket size, it is time to prepare the fabric. First, cut two pieces of fabric that are the same size. If you use a woven fabric, make sure the threads run parallel. This will ensure that your blanket is sturdy and does not fray easily.
Using a soft and cozy fabric, like fleece or flannel, is a good idea. This will make the finished product feel extra luxurious. If you are using a fabric that is not pre-washed, it is important to do so before beginning the project. Otherwise, your blanket may shrink once it is washed later on.

If your chosen fabric is not pre-washed, you will need to pre-shrink it. To do this, put the fabric in the washing machine and set it to the highest heat possible. Then, allow it to run through a complete cycle. Once it is finished, please remove it from the machine and allow it to dry completely.
Step Three: Begin Sewing
Once your fabric is prepared and pre-shrunk, it is time to begin sewing. Unfortunately, very little can be done about it if you do not know how to sew. All you can do is hope for the best and use a lot of pins during the sewing process. However, your work will be much easier if you are good with a needle and thread.
Take the top fabric and line it up with the bottom fabric, which is right side together. Pin them securely all along the edges to ensure you do not lose your place during the sewing process. Then, begin sewing on either side of your pinned area, leaving an opening wide enough for your arm to fit through around the entire blanket.
Once you have sewn all the way around, carefully cut away the excess fabric, making sure not to cut your stitches. Next, turn the blanket right side out and iron it flat. If you do not have an iron, you can probably get away with just using your hands to smooth it out.
Step Four: Tuck in the Corners
Tucking in the corners will be the most challenging part of making your woobie blanket. Not because it is hard, but because you must focus on keeping every other row straight so they all look perfect. If you are having trouble with this, using a straight edge and some pins might be helpful.
Take the bottom corner of your blanket and fold it up towards the sewn edge. Pin it in place and do the same for the top corner. Next, sew along both folded edges, ensuring not to sew through the middle of your blanket. Once you have sewn all the way around, remove the pins and admire your work!
You have now successfully made a woobie blanket. Now all you need is a cozy place to enjoy it. If you are looking for a project that is both easy and relaxing, then the woobie blanket is definitely for you! If you have any other ideas about making a woobie blanket feel free to share them in the comments section below.
Step Five: Maintain Your Woobie Blanket
It is straightforward to maintain because you made your woobie blanket. You can throw it in the washing machine and dryer on low heat. Make sure only to use a gentle cycle for both appliances. When cleaning, lay it flat till it is completely dry, and then tuck in the corners.
You will be able to use your woobie blanket for years to come with just a little bit of TLC. If you follow these simple instructions, you will be able to make yourself a woobie blanket in no time! And if you are feeling extra crafty, you can even personalize it with your design.
So, there you have it! A woobie blanket is a great way to keep warm and cozy during the colder months. All you need is a little bit of time and patience, and you will be able to snuggle up in your very own woobie blanket in no time! So, if you are looking for a project that is both easy and relaxing, then the woobie blanket is definitely for you!
Step Six: Tips and Warnings
If you have trouble keeping your row straight, try using a ruler or straight edge to keep them all in line. You can also use some pins if needed! Do not be afraid to get creative with your woobie blanket pattern. Get inspiration from pictures, websites, or even family members!
There is no need to sew your woobie blanket all the way shut. Instead, leave an opening large enough for your arm to fit through so you can easily clean it. Make sure only to use a low heat setting when washing your blanket in the machine. You can either lay it flat or fold it up and tuck it in the corners when scorched.
No matter how much care you put into your woobie blanket, the fabric may begin to the fray over time. Cutaway the frayed parts and continue enjoying your woobie if this happens! This information will help you learn how to make a woobie blanket.
You can check it to Fix Crochet Blanket Curving.
What Is a Woobie Blanket Made of?
A woobie blanket is a simple, cotton-poly blend sheet designed to repel water while retaining heat. The military initially developed the material like a blanket in wet and cold environments, such as when soldiers are in the field.

Today, woobie blankets retain much of their military heritage and continue to be used by campers and hikers who seek a lightweight blanket that is easy to care for and can maintain its insulating properties in wet conditions.
Conclusion
The woobie blanket is an excellent project for both beginners and experts alike. It’s easy to make, it can be personalized with your favorite colors or fabric designs, and it’s completely functional, ensuring you will stay warm and dry in wet weather for years to come.
If you go with a cotton-poly blend, you won’t have to worry about getting it wet and drying it out if you get caught in a sudden rain shower. If the blanket gets dirty over time, throw it into the washing machine, and it will come out looking as good as new. We hope you enjoyed this article on how to make a woobie blanket.
You may read it also – How to Fix a Hole in a Knitted Blanket


