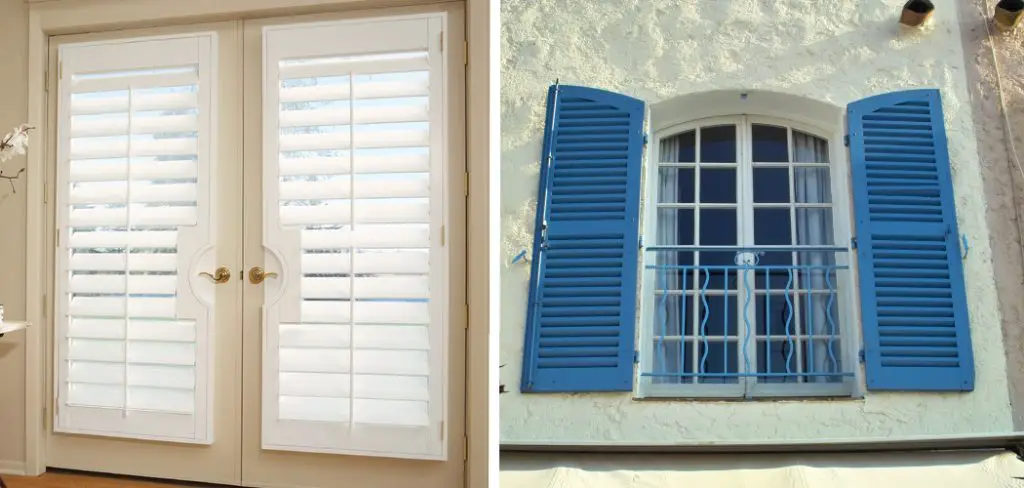
Shutters are a great way to add character and charm to your home and protect it from the sun. In this blog post, we will be going over how you can make French shutters for your home with materials around the house.
You will need newspaper, aluminum foil or tin foil, scissors, rubber bands, and a ruler. These instructions come courtesy of our friends at Home Depot.com, who have created their DIY video tutorial on making these charming window treatments!
Start by folding up a sheet of newspaper into strips about an inch wide, then cut them into squares using scissors or a paper cutter. So, this article is for you. You will learn how to make french shutters with just one simple trick!
Step to Follow on How to Make French Shutters
Step One: Determine the Size of Your Shutters.
The size of your shutters will depend on several factors, including how many you are making, where they are being installed, and aesthetics. For this tutorial, we will assume that you will be making one shutter to fit a window that is 30 inches tall by 22 inches wide.
First you need to determine which direction your slats will go. In the example, we have chosen to have the slats run horizontally from side to side. This means that our board length will be 22 inches, and the width of each slat will be 7 inches.
Step Two: Cut Your Boards for the Frame
Cut each piece that will make up the frame out of your 1×4 (or 2×4, depending on how big you want your shutters) board. We used a table saw to cut our boards because we had them available in the exact widths needed, but you can use any method you feel comfortable using to get the correct size.
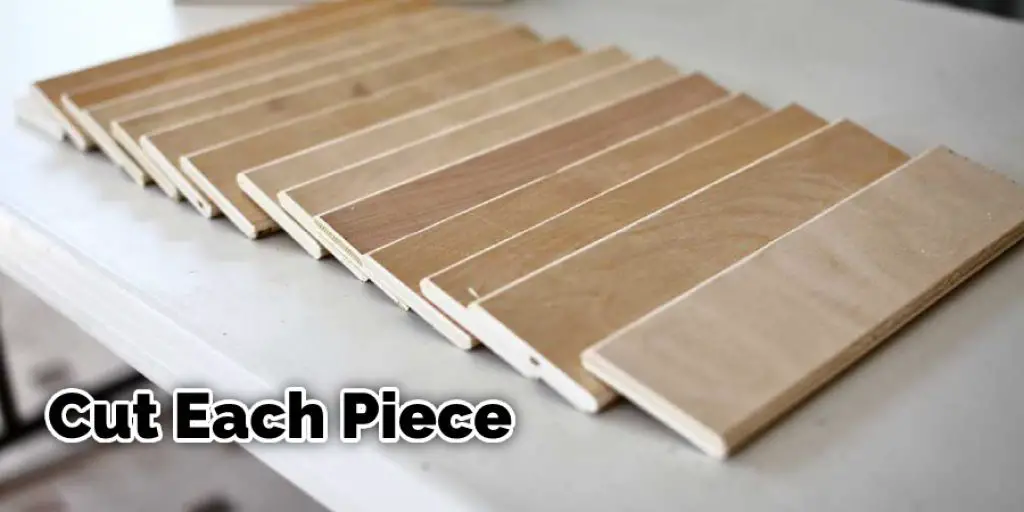
Make sure that each board is cut perfectly square before moving on. In total, you will have seven pieces: four for the top and bottom rails, two for the center stiles, and one for the threshold at the bottom. Thresholds are the pieces of wood that span the distance between the window sill and the window frame or wall.
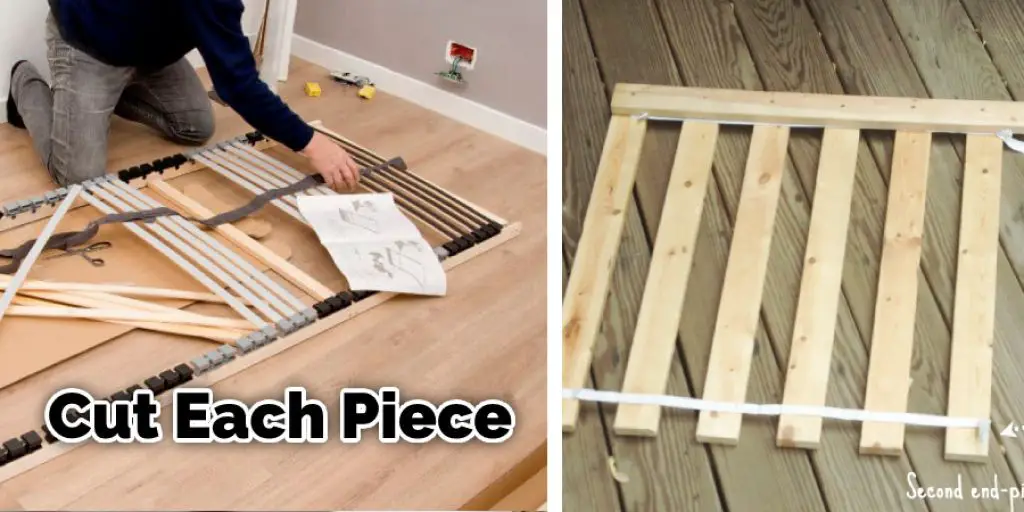
Step Three: Mark Your Boards for the Slats
Use your pencil and ruler to divide each of your center stiles into four equal sections. Each line you make should be 7 inches from the previous so that there will be a slat on each side of the center stile.
This process will be similar for the top and bottom rails, except that you should not cut through your boards. Instead, once you have drawn a line from one end to the other of each board, use your saw to carefully cut about halfway through each piece of wood so that they can be easily broken off.
Step Four: Assemble the Frame
Lay your frames on a flat surface, such as the ground or a workbench. Begin by placing one of your center stiles at each corner with slats going in alternating directions. Make sure that your boards are flush with the outside edge of the stile and secure them in place using four screws per board.
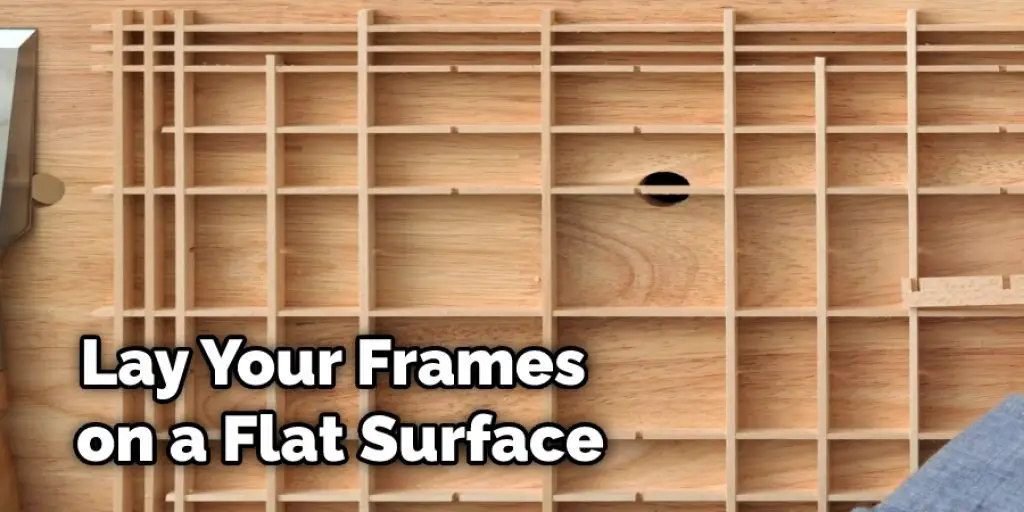
The top and bottom rails should also be flush with the outside edge of your center stile. Secure them in place using two screws at each end, making sure to use a different board on each side so that they do not split when you drill in the screws.
Step Five: Attach the Threshold.
The threshold piece will run between the window sill and the window frame. On the bottom end, it should be flush with the outside edge of your bottom rail. To attach it to the window sill, you can use four screws or nails to secure it in place.
If you plan to paint your shutters, we recommend using caulking of silicone sealant between this piece and the window sill. This will allow you to remove the piece when it comes time to paint easily. This will help in This will help in.
Step Six: Attach Slats to the Frame
Begin by measuring the exact distance between each slat on the front of your shutter. Write down this measurement and then subtract one-eighth of an inch. This will ensure that the slats are snug against each other without putting too much pressure on the frame itself.
Once you have your measurements, lay your ruler between two of your slats and make a mark at the correct width. Remove the slat from the frame and use a piece of sandpaper to smooth out the edges. Use your ruler to mark where the slats will be positioned on one of your center stiles.
Step Seven: Maintaining Your French Shutters
To maintain your shutter, be sure to wipe it down with a damp cloth every once in a while. This will help to remove any dirt or grime that may build up on the surface. Also, make sure to add weather stripping around the inside of your window frame so that you can lock it shut when necessary for extra protection.
So there you have it. A little bit of hard work plus some time is all it takes to make your very own French shutter. You can then use them to decorate your home, an exterior wall, or even as a functional window. One nice feature of French shutters is that they are extremely durable and long-lasting.
Frequently Asked Question
Can You Make Your Own Window Shutters?
Yes, you can make your own window shutters. It is a fairly easy DIY project that can be done in about two hours or less.
To make the shutters, you will need:
- Wood
- Hammer
- Drill with bits
- Screwdriver and drill bit
- 1-inch screws (or another screw size)
What Type of Wood Is Used for Shutters?
It is important to know what type of wood is used for shutters because the proper choice can be very important.
The most common types of wood used for shutters are redwood, cedar, and mahogany. These woods are high-quality and strong, making them suitable for many different applications.
Is Pine a Good Wood for Shutters?
Pine is a good wood for shutters because it has a lot of open grain and it is lightweight. It also resists decay and insects well, which makes it an ideal choice for shutters.
Some other types of woods that are not as good to use for shutters are oak, mahogany, cherry, birch, ash, walnut, and poplar.
Do Shutters Increase Home Value?
As a homeowner, you might be interested in adding shutters to your home to increase its value.
There are many reasons why adding shutters can increase the value of your home.
- The first reason is that they can give a unique look and style to your property which will attract more potential buyers who may want to live in or buy from a property with such features.
- They also add a touch of elegance and grace that is typically associated with properties that have been designed by experts who know what it takes to create beautiful houses for sale.
- They help improve the overall curb appeal of your house which is something most sellers want their buyers to notice and appreciate when viewing the property for sale, especially if it’s on the market for more than just one day or even hours at a time during peak traffic times like weekends or holiday seasons when people are actively looking for homes for sale near them!
Conclusion
At this point, you should have a good idea of what French shutter hardware looks like and how to install it. You also understand the basics of installing your shutters or hiring someone who does them for a living.
Some of our previous articles might be useful if you need more information about making custom-sized window panels. The conclusion paragraph is informative and provides information on how to make french shutters.
You can also check it out: How To Know That Your Home Needs A Window Replacement?


