Introduction
Rabbit fur is a natural and sustainable material that has been used for centuries, and it’s still highly sought after today. It can be worn as clothing, converted into hats and gloves, or processed to create wool.
Rabbit fur blankets are also popular because they’re warm without being too heavy to carry around. In this article, I will discuss how to make rabbit fur blanket. So let us get started.
A Detailed Stepwise Guide on How to Make Rabbit Fur Blanket
There is nothing as soft and cuddly as a rabbit fur blanket. If you are one of those people who love the feel of rabbit fur, then you can make your rabbit fur blanket at home. Here Is a Detailed Stepwise Guide on How to Make a Rabbit Fur Blanket :
Step 1: Get the Supplies
The first step is to get the supplies needed for making the rabbit fur blanket. You will need a piece of fabric big enough to fit the size of the veil that you want to make, thread, scissors, pins, a sewing machine, and a needle. You will also need some rabbit fur. The amount of skin you need will depend on the size of the blanket that you want to make.
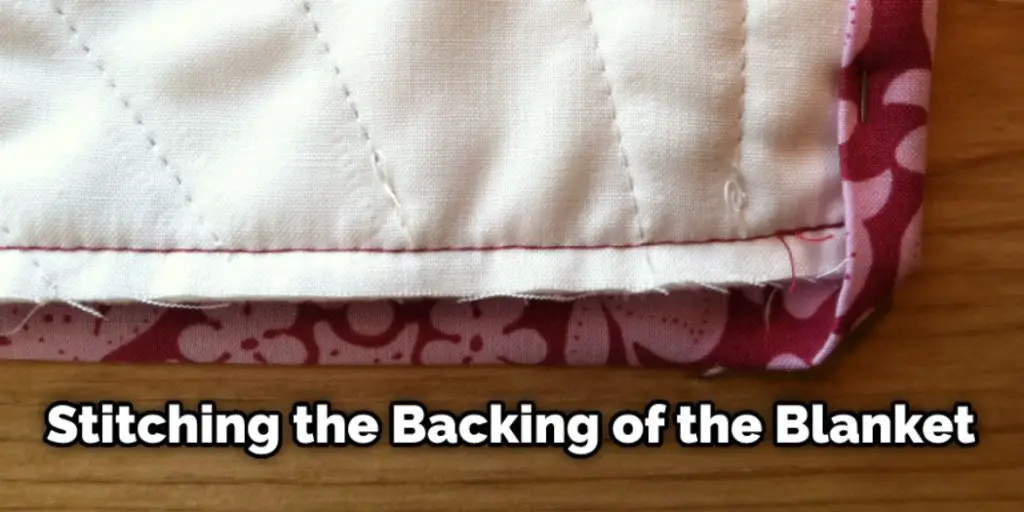
Step 2: Stitching the Blanket’s Backing Together
To make your rabbit fur blanket, you have to stitch the backing of the blanket together first. Therefore, the fabric you are using for the back should be more significant than the one used to fold the cover to complete the simple stitching.
It is now time to attach your rabbit fur to this backing fabric. Make sure that your rabbit fur is cut into equal sizes. If it is not, you need to trim or shave off any long pieces before attaching them to the backing fabric. It is also essential that all of the short hairs are facing inwards towards each other because if they’re not, then your finished blanket will look baldy and scruffy.
Once you have done that, you can now attach the rabbit fur onto the backing fabric using straight stitches and a needle. A simple whip stitch is most accurate for this part of your project, so always use it to secure your fur correctly. Remember to leave some excess on the sides of the blanket because you will need it when sewing the sides together later on in this process.
Step 3: Sewing Together Two Sides of Fabric with Fur Attached
The next step is to sew together both sides of the fabric and attach them with your fur attached already. First, pin down one end of each side and start stitching at this point, as shown above. Make sure that you do not catch any fur pieces in these stitches.
Once you have stitched both sides together, you will now have a big rectangular piece of fabric with rabbit fur attached to one side. The next step is to fold this fabric in half so that the skin is now on the inside and sew along the open edge to close it up completely.
You can check it to Make a Woobie Blanket
Step 4: Finishing Touches
The final steps are to give your rabbit fur blanket some finishing touches. You can do this by adding a nice border around the edge of the blanket or even adding some ribbon or lace. You can also choose to stitch down the middle of the blanket for added decoration. However, make sure that you do not put any stitches too close to the edge, as they might show once you’ve finished your project.
You can check it to Crochet a Lap Blanket
Precautions While Making Rabbit Fur Blanket
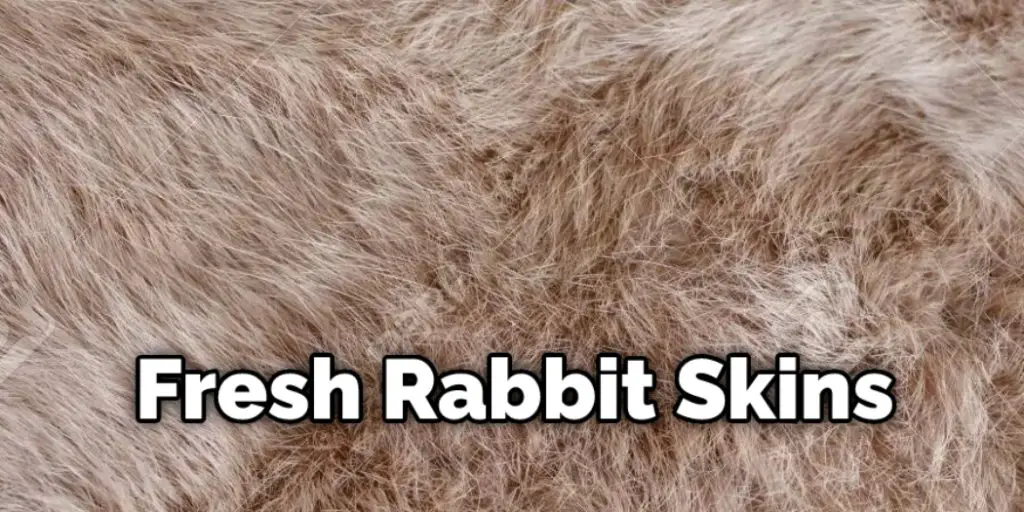
Wash the rabbit skin twice before removing the dirt and blood. Wash thoroughly, especially if you are using frozen skin. It is easy to work with fresh rabbit skins that have just been shot or trapped, but they may be too bloody and greasy for your first project. The hair of some varieties of rabbits will slip off easily. If this happens, you can’t make a fur blanket of them unless you plan to sew in new hair after it dries or boils the hide to remove all the flesh.
Boiling not only eliminates the meat but also releases the fibers of the pelt, which makes it easier to spin into yarn later on (see below). Sometimes soaking hides in water overnight helps release those fibers too. Rabbit fur is hot and can be used as an insulator. Soaking the pelt also reduces its size, making it useful for small projects like hats, mittens, or purses.
Processing Rabbit Fur
Harvesting Rabbit Hair :
Cut around the rabbit’s foot at the joint closest to the fur, then pull off that part of hiding by hand or with pliers. The skin will usually come right off if you do this quickly before any damage to the hide. Be careful not to cut into the meat on both sides of where you are cutting, though, because there are often glands on either side of the leg which smell bad when cut open.
If you want hair from all four legs, leave them attached at their thickest part. If you are only taking hair from one side of the rabbit, cut the hide off at that point. Cut the fur close to the hide on the back, sides, and stomach but don’t go too deep, or you’ll damage the skin.
Stretching and Drying Rabbit Fur :
Rabbit fur should be stretched out flat before it is dried. Otherwise, it will become curly. One way to do this is to attach it to a board using tacks or staples. Another way is to sew it onto a piece of cloth (or use a large zip-lock bag), making sure that there is plenty of slack in the fur so it won’t rip when it dries. The best way to dry rabbit fur is to hang it up in a place with a lot of air circulation. A fan can help speed up the process.
It can take several days for the fur to dry completely, so be patient. Once it is dry, you can brush it with a wire brush to make it soft and fluffy. If you will store the fur for future use, put it in a plastic bag or container and keep it in a cool, dry place.
Now that you know how to make a rabbit fur blanket, you’ll be nice and warm all winter! Just be sure to take precautions while harvesting the hair and drying the fur to don’t damage the hide. Crafting!
Conclusion
I hope you have obtained all the information on “How to Make Rabbit Fur Blanket.” Ensure all the precautions while performing the process. Thank you and have a nice day!
Check it out also – How to Fix Crochet Blanket Curving


