The best way to measure a bathtub is to take the measurements from inside the tub. This will give you the most accurate results and ensure that you order the correct size replacement for your current tub. If you have an old, broken-down tub in your bathroom, consider replacing it with a new one.
A new bathtub can add value and enjoyment to your home while also increasing its resale or leasing price if necessary. The cost of replacing your tub varies based on the size, style, material, and other factors. The shape of the bathtub determines measurements.
For example, if you have a slipper tub, you’ll need to measure its circumference using a tape measure or ruler to determine its length. So, this article is for you. You will learn how to measure a bathtub with just one simple trick!
Step to Follow on How to Measure a Bathtub
Step One: Determine
First, you should establish the depth, width, and length of the bathtub that is to be measured. Establishing these measurements will help you know how long your tape measure needs to be or which measuring tool to use. You may also ask for guidance from someone who has already measured the tub before.
If you are measuring a bathtub that you intend to install, then ask for the dimensions of the bathroom. This will allow you to measure the exact size and purchase materials properly. If you’re like me and like to take things apart and put them back together, then you can measure it yourself and only ask the dimensions of the bathroom.
If there is a showerhead on top, use that as a guide to tell which end is up and which end is down; it’s usually the bottom edge and not necessarily facing you. Use this guideline for laying out your tape or measuring tool to ensure proper measurements.
Step Two: Marking
Use a marker or anything that can be seen under the tub. This is because the flooring itself will hide your mark, and you do not want to go back and redo it. Use this guideline for laying out your tape or measuring tool to ensure proper measurements.
You can use your marker or measuring tool to mark the bathtub’s length, width, and depth. The best way to do this is by marking where to you it’s starting. Keeping where it’s beginning about the floor only makes sense, but if I’m wrong, please correct me!
You should also mark the width and depth, especially if it’s a pedestal or clawfoot tub. If you have a pedestal bathtub, you should measure from the floor to the top edge of the tub that can be marked on your wall; bare concrete will work as well. This will help in how to measure a bathtub.
Step Three: Measuring
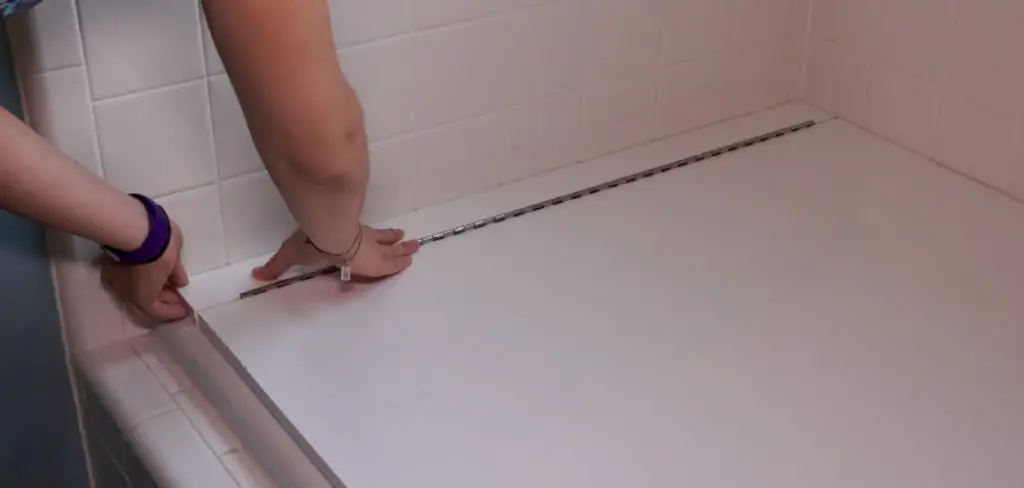
When you finally get your tape measure and open up the measurement, push down on the lock button to set it. Then take out your measuring tape and make sure that both ends are locked; if not, unlock it and make sure they’ve locked again before taking off making any marks.
Push down on the lock button to secure your measurement. Then take out your measuring tool or tape measure, set it down, and make sure both ends are locked. If not, then unlock it and make sure they’ve locked again before taking off making any marks.
With the bathtub measured, you can now cut out the holes for your drain and faucet. Ensure that the measurements are exact so you do not waste time installing or removing them when you could be using this time for something more fun, like actually taking a bath!
Step Four: Removing Faucets and Drains
Before removing the faucets and drains, cover them with cloths to protect both yourself and the floor. This is because sometimes they can still drip or spill water after draining it into a bucket until you can replace them. When you’re done covering them up, use your screwdriver to unscrew any screws attached to the faucet and the tub itself.
Next, remove the pipes by unscrewing them from both ends of the tub. Finally, put a cloth over any left holes to prevent it from dripping into your basement floor or bathroom floors if you don’t have a basement. You can then cover up those with tape before you start the drilling.
After you have removed the faucets and drain, it should look like this: You can then start to measure the depth of the tub so that you know where your studs are resting in line with your drain hole. Again, you can use a level here if need be because the last thing you want is for your bathtub to crack after you’ve installed it.
Step Five: Maintain a Level Surface
Once you have the studs marked, drill a couple of holes on each stud and make sure they go all the way through. To make your placement easier, put down painter’s tape on the floor and place the base of your bathtub there – this will assist in ensuring that you don’t drill too high or too low for the drain and faucet.
After you drill the holes, use a piece of wire or twine to tie together the two studs so they can support the weight of your bathtub. Make sure that you reinforce it with screws as well! This is because we don’t want all our hard work going down the drain after we’ve installed it or, worse, having it fall on top of us!
Once you have tied the studs together using your wire, reinstall the faucet and drain back in place to have minimal working space. If you need to attach any valves or parts required for installation, put them aside before carrying on with the next step.
Conclusion
You can measure a bathtub by measuring the length and width of the tub, which is also called its perimeter. This will tell you how many square feet it occupies in your space. Consider these general guidelines to get an idea of what size to buy for your home or bathroom.
A child’s bathtub should be about four inches shorter than their height, while adults need at least 18-inches of clearance from head to toe when sitting down. The conclusion paragraph is informative and provides information on how to measure a bathtub.
You may also read: How to Fix a Dip in a Bathtub


