It can be a pain to take down your ceiling fan for routine maintenance. Read below how you can oil the blades without taking them down. The process is simple and should take less than 10 minutes, and all you need is an old rag and vegetable cooking oil.
It’s best to do this when the fan isn’t in use so that the oil doesn’t get on clothes or furniture. Take hold of one blade at a time with your left hand while holding the base with your right hand, then turn it slowly until you feel resistance from moving through any dust or dirt that may have accumulated on top of it.
With just two pumps of cooking oil onto each blade, spin it a few times to spread the oil all around. So, this article is for you. You will learn how to oil a ceiling fan without taking it down with just one simple trick!
Step to Follow on How to Oil a Ceiling Fan Without Taking It Down
Step One: Prepare for The Job
You need to assess how bad the situation is. If you haven’t been changing your ceiling fan’s oil regularly, the process might be a little more labor-intensive than if it were an easy fix from day one. Make sure to have a stepladder handy and that there isn’t any danger of breakage or other complications to you or your fan.
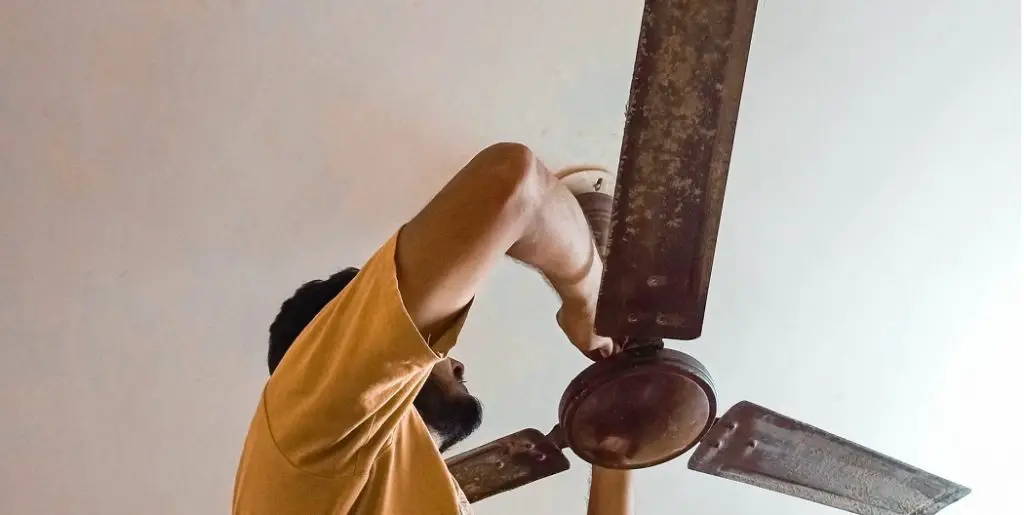
Step Two: Remove Ceiling Fan Cover
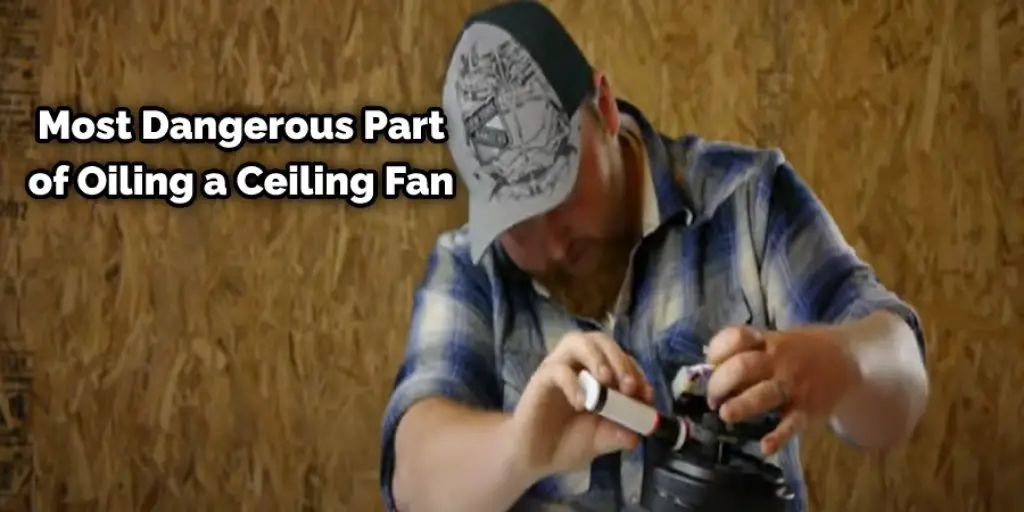
This is the hardest and most dangerous part of oiling a ceiling fan. Takedown your fan and carefully place it on the floor. Use a Philips head screwdriver to unscrew each blade from its housing and remove any other parts that look like they might come loose during the procedure. This makes it much less likely for you to damage your ceiling fan during the process.
Step Three: Oil Ceiling Fan Motor
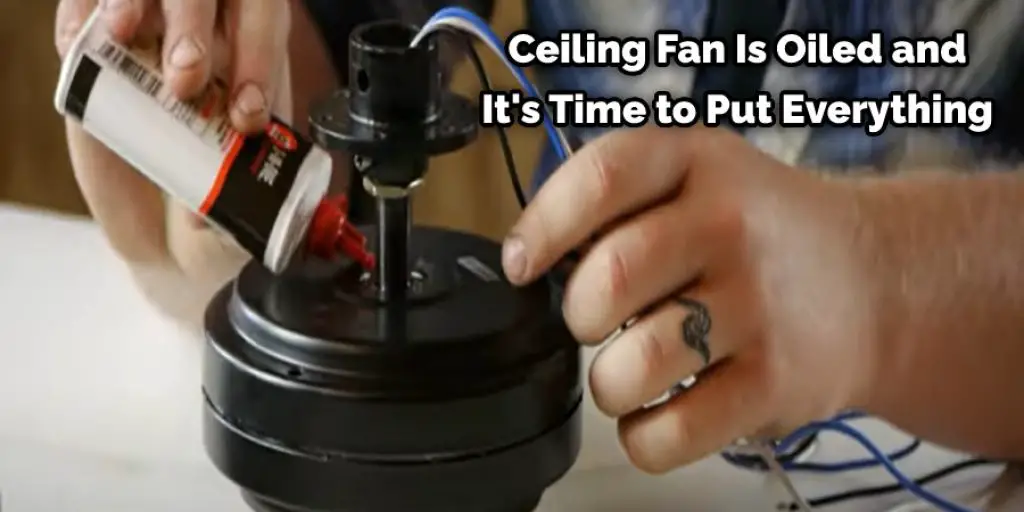
After you’ve disassembled everything that can be, it’s time for oiling. Most models of ceiling fans use mineral-based oils, but make sure to read up on your fan’s model before you head off to the store. There are different kinds of oils for different types of fans. Using the wrong kind will lead to damage, so be careful if you’re doing this yourself.
Step Four: Reassemble Ceiling Fan
Once your ceiling fan is oiled, it’s time to put everything back together. Make sure to tighten all the screws until they are perfectly in line with the structure of your fan, but don’t over-tighten them. You risk stripping some of the parts or even breaking your ceiling fan if you screw too tightly. After the screws are all in place, you can reattach any additional parts removed for disassembly.
Step Five: Prime and Test
Once your ceiling fan is assembled, it’s time to prime it. Before turning it on, make sure to add your extra oil (if needed) to the motor housing. You can use a turkey baster or anything else with a spout to do so. Some fans include this oil, but most require you to purchase it separately. Ceiling fans are heavy, so be careful when priming and testing your fan after reassembly.
Step Six: Show Off Your Handiwork
You’ve just successfully transitioned from oiling a ceiling fan without taking it down to oiling a ceiling fan, and you’ve saved yourself hours of effort. Now go breezily about your day, secure in the knowledge that you’re MacGuyver with even better hair.
Step Seven: Clean Up
Go ahead and clean up the mess that you’ve probably made. Put your fan back where it belongs, reattach any decorative elements, vacuum up loose screws or other debris, and admire your handiwork. Of course, you originally wanted to oil a ceiling fan, so you wouldn’t have to face all these tasks after getting home from work. Maybe you can put off dusting for a couple more weeks now.
Step Eight: Maintain Your Ceiling Fan
Oil your ceiling fan regularly to ensure that it’s always running smoothly and efficiently. This will prolong your fan’s life and save you some time in the long run, not to mention effort if reassembly is required. If you do need to take apart your ceiling fan for another reason, make sure to learn from your mistakes and devote extra time to the disassembly process, so it’s less of a hassle in the future.
Step Nine: Keep Your Ceiling Fan Running Smoothly
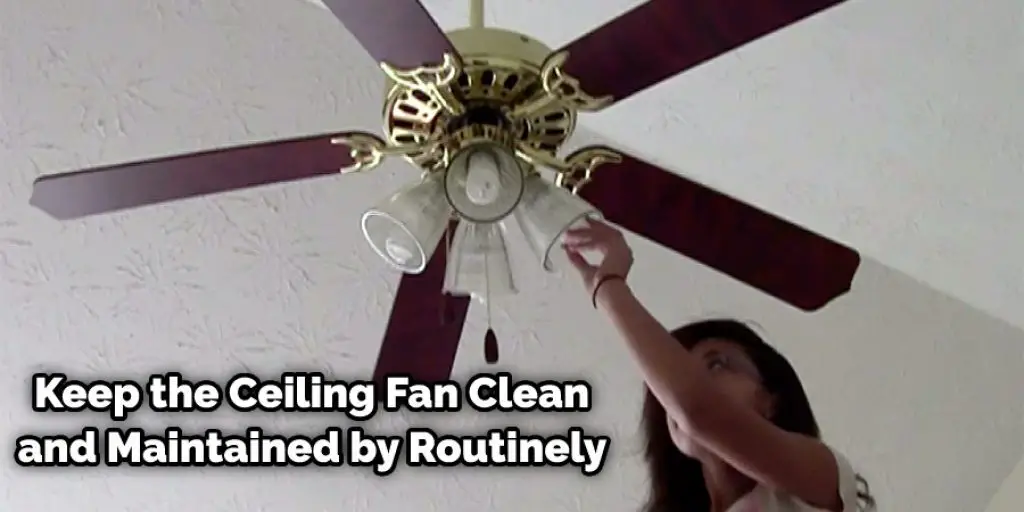
Keep your ceiling fan clean and maintained by routinely cleaning off dust, dirt, and debris. Use a damp microfiber cloth for normal maintenance, but scrub harder with a dry cloth and steel wool if you see any rust developing. When you oil your ceiling fan, be sure to use the appropriate type of oil for the motor housing.
Step Ten: Keep Your Ceiling Fan Running Efficiently
If your ceiling fan is making strange noises or running sluggishly, it might be time for a professional to take a look. Hire an electrician to come and check out your fan before any damage can be done. If you need to replace parts of your ceiling fan, keep the old ones as backups. You never know when you might need them. This will help in how to oil a ceiling fan without taking it down.
You Can Check It Out To Know What Does CBD Oil Treat?
Can You Lubricate Ceiling Fans Without Taking Them Down?
Yes, you can lubricate ceiling fans without taking them down. The best way to oil a ceiling fan is from below while it’s still installed in the ceiling. Oil lubricates the central rotating mechanism of a rotating device and prevents rusting and corrosion because this oil has been specially formulated for maximum effectiveness.
Frequently Asked Questions
Where Do You Put the Oil in A Ceiling Fan?
If you have a ceiling fan with an electric motor, the oil is usually put in a reservoir that is located near the motor. The reservoir may be on top of the motor or inside it. The oil should not be put too far into the motor because it can create excessive friction and heat up too much.
Do All Ceiling Fans Have Oil Holes?
All ceiling fans have oil holes, but the size of these holes can vary. The bigger the hole, the more quickly the fan will cool down after you turn it on. The smaller a hole is, the longer it will take for your fan to reach its desired temperature.
Which Oil Is Best for Fan Motor?
If you want to buy the best oil for your fan motor, you need to understand what type of oil it is and how it will help.
Oils Can Be Divided Into Two Categories : mineral oils and synthetic oils. Mineral oils are usually made from crude petroleum or coal tar, while synthetic oils are created in a laboratory.
Mineral oils typically have lower viscosity, higher pour points, greater lubricity, and more resistance to oxidation than synthetic oils.
These properties make them perfect for use in fans as they provide long-term lubrication without the need for frequent re-lubrication that could lead to expensive repairs.
Can We Put Coconut Oil in Fan?
It is not advisable to put coconut oil in a fan. Coconut oil may clog the fan’s blades and cause it to malfunction. Let us know if you have any other questions related to content writing.
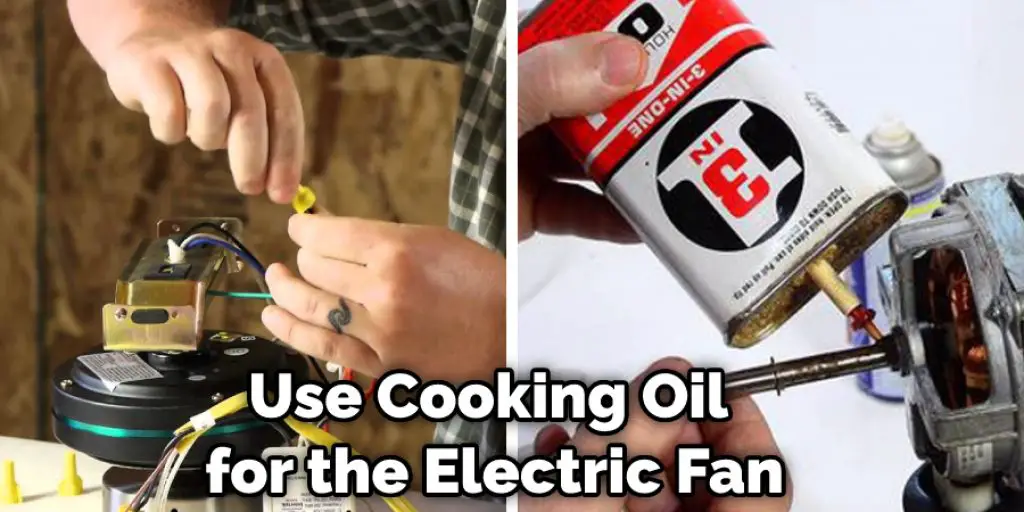
Can I Use Cooking Oil for Electric Fan?
Yes, you can use cooking oil for the electric fan. The best type of cooking oil to use is vegetable oil because it doesn’t have any chemicals or additives.
For a more efficient and cleaner electric fan, you can also use soybean oil, sunflower seed oil, corn oil, peanut oil, or cottonseed oil.
Conclusion
You’ve probably had this question before, and we hope that our guide has helped you find the answer. We know how frustrating it is to have a project with no clear instructions or guidance on what to do next- especially when it’s something as simple as oiling your ceiling fan!
If you’re not sure which direction to go from here, contact one of our experts for help finding a solution. Our team will be happy to walk you through any steps in between where you might still need assistance. In the end, we also offer some practical tips on how to oil a ceiling fan without taking it down.
You may also read it – How to Lubricate a Table Fan


