A vintage fan is an antique that can be found in many homes. This article will provide information on how to oil a vintage fan to operate efficiently and safely. The first step of this process is to unplug the power cord from the wall socket. Next, remove the fan blades by loosening them with pliers or screwdrivers, depending on their style.
Pour clean motor oil into the hole where you removed the blade and then replace it onto its axis before securing it tightly with screws or bolts if there are any present. Afterward, wipe off excess oil before re-inserting plugs back into sockets and turning on your appliance for testing purposes. This blog post will show you how to oil vintage fans.
Step to Follow on How to Oil Vintage Fan
Step One:
The fan should be disassembled. The feet, blade guards, and lamp finial can usually be removed by hand after the screws are taken out. In some cases, a screwdriver may need to help by twisting/unscrewing something. If it is still stuck or stubborn, do not use force to try to loosen it! Instead, strike the object in question with a rubber mallet to loosen it up. You can do some extra job to clean your fan parts with a wet cloth and you can also do a paint job too.
Step Two:
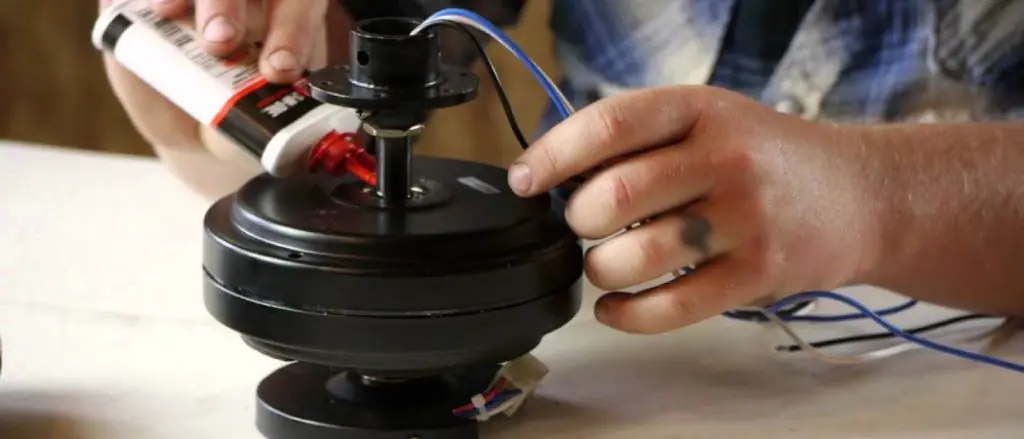
After the feet have been removed, take off the motor cover. Then, remove any screws that are securing the blade guards and lamp finial in place. The lamp finial can be turned counterclockwise to loosen its grip on the wire that connects it to the power source. There may be a few screws inside the center of the cage at this point.
After those have been removed, you should be able to take off the cage from its base. Next, please do not throw out those old feet, as you can use them as a template for making new ones. Remove any rust from them with steel wool and
Step Three:
Take out the fan blades. The blade assembly should come apart by loosening the screws that hold it together and then lifting on the ends of each blade until they detach entirely from each other. The lower wiring for each blade needs to be removed as well.
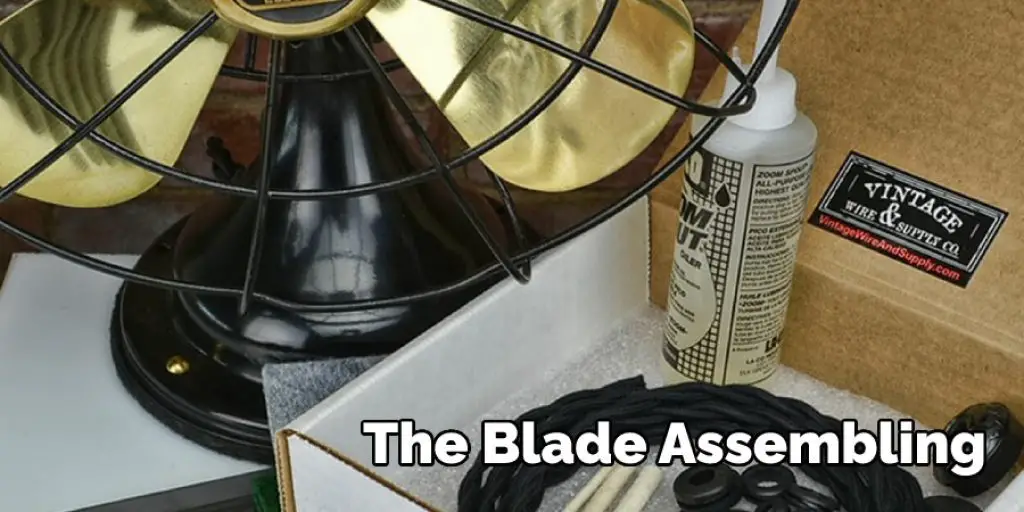
To remove the lower wiring on each blade, pry the metal piece attached to it away from the base of each blade. Each lower wire can then easily be removed by pulling it out of the base. Next, unscrew the screws that hold the blade assembly to the motor and remove the fan blades.
Step Four:
Once the fan is completely disassembled, all of its parts can be oiled. The motor and electrical components should not need to be oiled; only do this step if you feel like it will make a difference in how well your newly refurbished fan operates.
For the frame, take out any screws that are holding either part of the base in place. Then, spread the halves of the base apart and rub a small amount of WD-40 into each gap with your fingers. This step is to lubricate the fan’s hinges that allow it to hang vertically or horizontally.
Step Five:
Attach the fan blades to the blade assembly. Then, reattach the lower wiring to each blade. To do this, take out the screws holding each wire in place on the base of each blade. Insert one end of each wire back into its respective screw and twist until it is tight. Do not over-tighten!
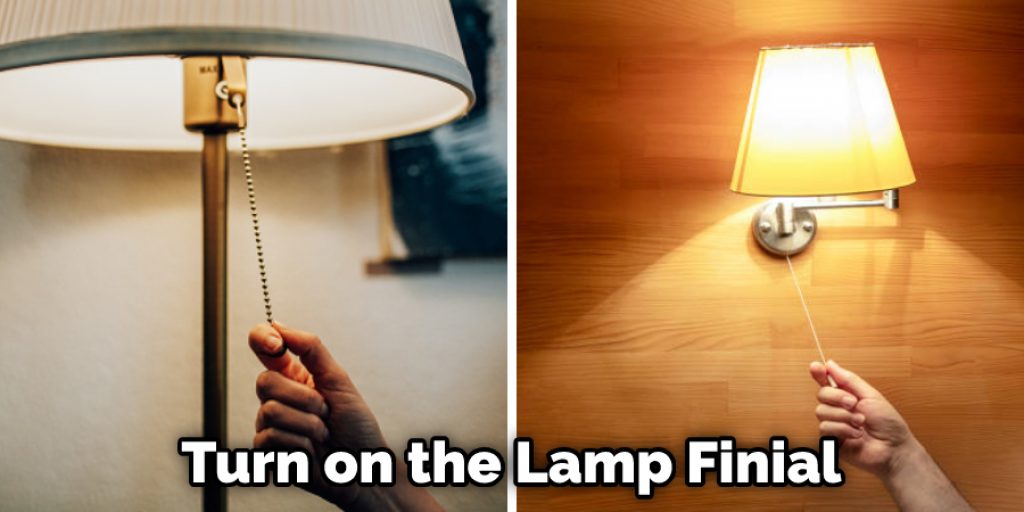
The fan base can then be reattached by placing the two halves back together and screwing in each screw to tighten it. The blade guards are the next to go on, with their screws being tightened back in place as well. Finally, attach the lamp finial to its wire and reattach that wire to the power source.
Step Six:
To attach the feet, first, wipe down all of them with a rag. Then, take each foot and move it back and forth until it’s attached securely to the fan base. Finally, wipe off any excess lubricant so that it doesn’t get on your new flooring or furniture.
Finally, reassemble the fan by putting together each piece in the reverse order that you took them apart. This is to make sure that everything fits securely back together. Once everything has been put back to its original place, turn on the lamp finial and plug the fan into a wall outlet. It should be great as new!
Frequently Asked Questions
Do Old Fans Need Oil?
No, old fans do not need oil. Old fans use electricity to move air around. The movement of the fan causes friction that creates heat, and this heat is used to power the fan. As a result, there is no need for oil on an old fan.
What Oil Do You Use to Lubricate a Fan?
Oils That Are Used to Lubricate Fans Include :
- Amsoil Lubricating Oil – “Expertly formulated for all oil-lubricated engines, including those with wet clutches and/or dry sump systems.”
- Amsoil Synthetic Blend Motor Oil – “Expertly formulated to provide the ultimate in protection and performance.”
- Mobil 1 Extended Performance 15W-50 Full Synthetic Motor Oil – “A premium blend of high-quality synthetic base oils specially blended for demanding conditions.”
Can You Oil a Fan With Wd40?
No, wd40 is not an oil, and it does not work as an oil. WD-40 is a multi-purpose lubricant that has been around since 1953. It was initially formulated to be used on jet engines. WD-40 can clean, protect, lubricate, preserve, and even waterproof items like your fan.
WD-40 works by creating a thin film of fluid between the parts that makes them slippery, so they are less likely to get stuck together or break down from friction. This also helps prevent rusting or corrosion from occurring due to humidity and rainwater.
Can I Use Cooking Oil to Lubricate Fan?
In general, you should never use cooking oil to lubricate a fan. If the fan is still spinning and it is making noise, stop immediately and clean out the machine with soap and water.
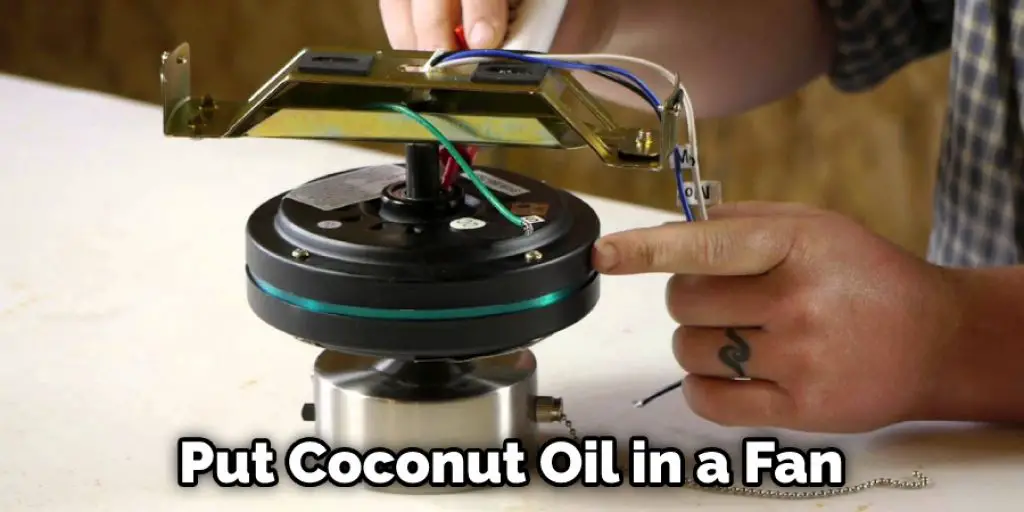
Can We Put Coconut Oil in Fan
We can put coconut oil in a fan, but the lubrication will make it less efficient. It’s not recommended to use oil for anything other than greasing or hand-lubricating the parts of a machine that require it.
Conclusion
The instructions provided in this blog article should help you get started on the process of oiling your vintage fan. If for some reason, we missed anything or if there’s something you’re still unclear about, feel free to ask us!
We’ll be glad to answer any questions and provide more information so that by the time you finish reading our blog post and following these steps, your old dusty fan will be looking like new again. The conclusion paragraph is informative and provides information on how to oil vintage fans.
You may also read-How to Make a Desk Fan Spin Faster


