How to Paint Plastic Tiles
Are you looking for a new and unique way to update your home’s decor? Plastic tiles may be the perfect option for you! Unfortunately, finding the right flooring for your home can be challenging. You want something stylish and affordable, but you also need something that is durable and will last. This blog post will guide you on how to paint plastic tiles.
With a little time and effort, you can achieve a beautiful and unique look for your home that will last for years to come! If you are considering plastic tiles, read on to learn more about painting them, so they look like natural stone. Then, with a little bit of work, you can create a beautiful floor that will last for years.
10 Easy Steps on How to Paint Plastic Tiles
1. Laying Out the Drop Clothes:
When you paint your plastic tiles, the first step is to lay out the drop clothes. This will help to keep your work area clean and free of paint drips. Next, you can use old newspapers or a tarp to cover the floor or furniture that you don’t want to get paint on. If you want to be extra careful, you can tape the drop cloths down, so they don’t move around while you are working.
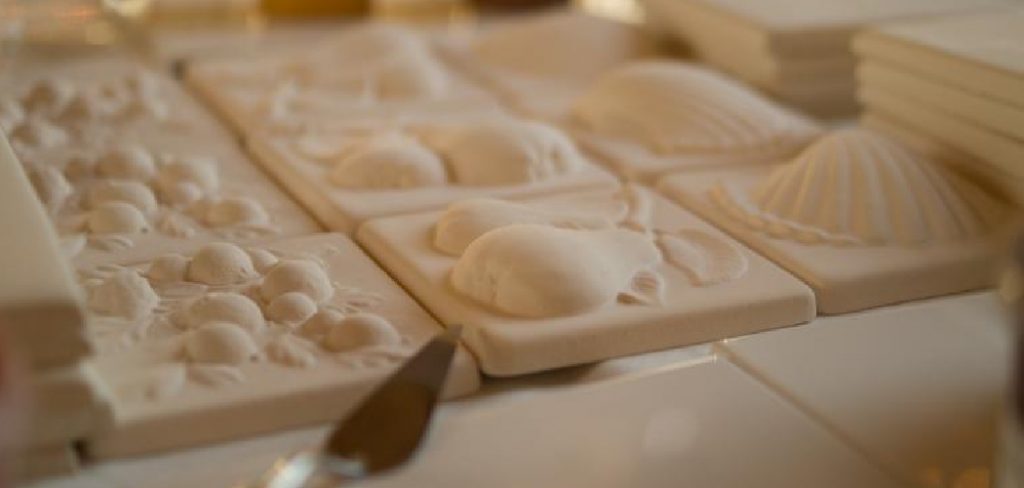
2. Preparing the Tiles for Painting:
The next step is to prepare the tiles for painting. First, you will want to clean them thoroughly with soap and water to remove any dirt or grease that could prevent the paint from adhering properly. Once they are clean, you will need to sand the tiles lightly to help the paint stick better. If your tiles are glossy, you may want to use a primer before painting them.
3. Dry the Paneling:
After preparing the tiles, you must ensure they are completely dry before painting. If they are even slightly damp, the paint may not adhere properly and could cause the tiles to warp or blister. You can use a hairdryer to speed up the drying process if necessary. Also, ensure that the room you are working in is well-ventilated to avoid any paint fumes.

4. Choose Your Painting supplies:
Now that the tiles are dry, you can choose your painting supplies. You will need good quality latex paint, a brush or roller designed for use with latex paint, and painter’s tape. If you paint a design on the tiles, you will need stencils or templates and a small paintbrush. If you don’t have any experience with painting, it might be a good idea to practice on some scrap wood or cardboard before you start working on the tiles.
5. Begin Painting the Tiles:
Once you have all of your supplies, you are ready to start painting the tiles. If you are painting the entire tile surface, you can start with either the top or the bottom row of tiles. You must start by positioning your stencils or templates on the tile surface when painting a design. Once the stencils are in place, you can begin painting around them with your brush or roller.
6. Paint Around the Edges:
Once you have finished painting the main surface of the tiles, you will need to paint around the edges. You can use a small brush to get into all of the nooks and crannies. Remove any paint on the tile’s surface so it doesn’t mar the finish. If you have paint drips, you can remove them with a putty knife or other sharp object. But remember to be careful not to scratch the tile surface.
7. Remove the Stencils:
After you have finished painting, you can remove the stencils or templates. If you are using paint that is not self-leveling, you will need to smooth out any brushstrokes or roller marks with a clean, dry brush before the paint dries. If you have any paint drips or smears, you can use a damp rag to clean them up before they dry. Make sure you allow the paint to dry completely before moving on to the next step.
8. Apply the Second Coat of Paint:
Once the first coat of paint is dry, you can apply the second coat. For best results, you should use the same color paint for both coats. If you use a different color for the second coat, you will need to wait for the first coat to dry completely before applying the second. Once the second coat is dry, you can move on to the next step. If possible, try to apply the second coat within 24 hours of applying the first.

9. Let the Tiles Dry:
Once you have finished painting the tiles, you will need to let them dry completely before moving on to the next step. This usually takes about 24 hours, but it may take longer if the tiles are very thick or if the paint is very dark. You can use a fan or a hairdryer on the low setting to speed up the drying process. But be careful not to blow the paint off of the tiles!
10. Clean the Tiles:
After the tiles are completely dry, you will need to clean them before using them. You can use a mild soap and water solution to remove any dirt or grime that has built up on the surface. Be sure to rinse the tiles well after cleaning them. You can also use a commercial tile cleaner if you prefer. But be sure to read the directions carefully before using it. You can always ask a professional for help if you have any questions.
Some Helpful Tips and Advice:
1. When painting the plastic tiles, use a primer specifically designed for plastic. This will help the paint to adhere better to the surface and will also help to prevent chipping and peeling.
2. It is also a good idea to lightly sand the tile’s surface before painting. This will create a rough surface for the paint to grip.
3. Be sure to use paint specifically designed for plastic surfaces. These paints usually have a high level of durability and are less likely to chip and peel.
4. When painting the tiles, use multiple thin coats of paint rather than one thick coat. This will help prevent the paint from bubbling and give the final product a more even appearance.

5. Be sure to allow the paint to dry before using the tiles. Otherwise, the paint may come off on your hands or clothing.
6. Make sure that your work area has enough ventilation. Paint fumes can be harmful if inhaled for long periods.
7. If unsure about your painting skills, consider hiring a professional to do the job for you. This will ensure that the job is done correctly and that the tiles will look their best.
Conclusion
Are you looking for an easy way to update your home décor on a budget? Painting plastic tiles is a great way to achieve a new look without spending much money. In this article, we have walked you through the necessary steps on how to paint plastic tiles so they look brand new. It’s also a very affordable option, especially if you do the work yourself.
By following these simple steps, you can transform the appearance of your space in no time at all. If you have any questions about painting your plastic tiles or want some advice on how to get started, don’t hesitate to reach out to us. Have you tried painting plastic tiles in your home? What tips would you add? Let us know in the comments below!


