If you’re building a house and want to save space, then an attached garage is the way to go. However, if you have more space on your property or just think it’s essential for cars to be sheltered from the elements, you may want to construct a detached garage instead of an attached one.
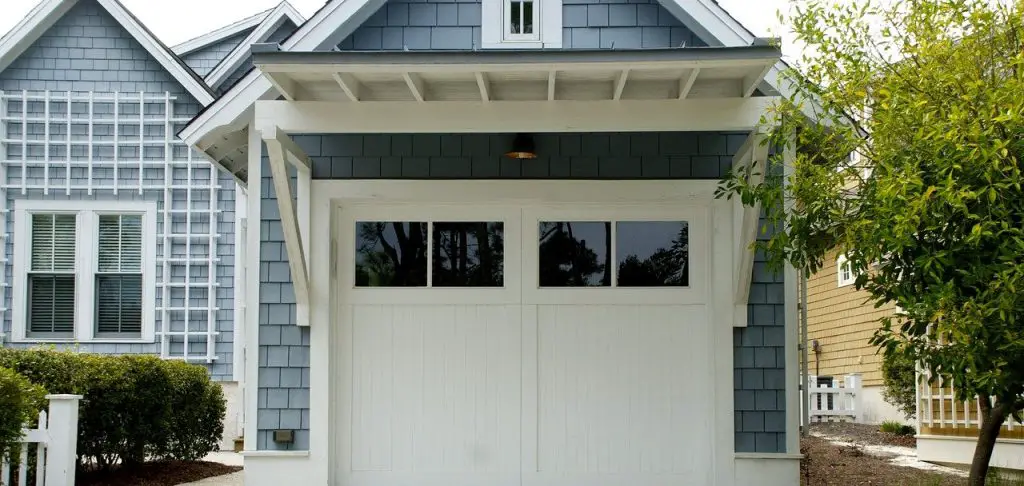
However, if you are determined to build an attached garage onto your new home, there are some things that will need to be considered before designing this addition. So, this article is for you. You will learn how to raise a roof on a garage with just one simple trick!
Step by Step Guide on How to Raise a Roof on a Garage
Step One: Choose A Roof Raising Plan
There are many various plans on how to raise a roof on a garage, and they all depend on which one you find most efficient. The most common ones include: Raise the Peak in One-Piece, Raise the Side Walls in One piece, and Let it Sink In. For this article’s purposes, we will be using the first plan.
Step Two: Measure the Garage to Find the Ridge Angle
Find the angle of your garage by measuring both the side walls. The ridge will be at this point where they meet mid-point. Use a protractor to find an accurate measurement if you need one or estimate it. Be sure you measure each wall to get the most accurate measurement. For this example, we will say it is 20 degrees.
Step Three: Measure and Mark Each Wall at the Ridge Angle
Use a carpenter’s square to mark each wall where it meets the ridge angle. Make sure you leave plenty of room for error, as well as extra height added on top later, so measure up higher than necessary. For example: if you measured the 20-degree angle mark at 18 inches, measure up 24 inches and mark it there. Be sure to do this for both sidewalls.
Step Four: Cut off the Ridge Angle on Each Wall
The ridge angle is cut by taking a circular saw and making a series of cuts back and forth along the line you drew until it can be snapped or pried off. Be sure to remove as much as possible from one side first, as you will need a stable wall to raise the roof on. Take your time, and be sure to aim the saw away from you. When done, round off any jagged edges with sandpaper or a file.
Check it out: How to build a ridge beam roof.
Step Five: Spread Out Support Beams on Each Wall
Decide where you want the support beams on each wall, but make sure they are not in line with one another. For example, one beam should be as close as possible to the front of the garage and one as close as possible to the back. Pre-drill holes for each shaft and use a drill with a socket wrench to drive them into place. Be sure they are securely fastened before continuing.
Step Six: Place Timber Jacks on Each Side of the Roof
Decide what part of the roof you want to raise. Usually, this is between two beams, but it can be done in more areas depending on how high you plan to raise it. Each jack should have a thick board with pre-drilled holes attached for stability. For added support, be sure to use a wrench or socket wrench to drive each jack into the ground.
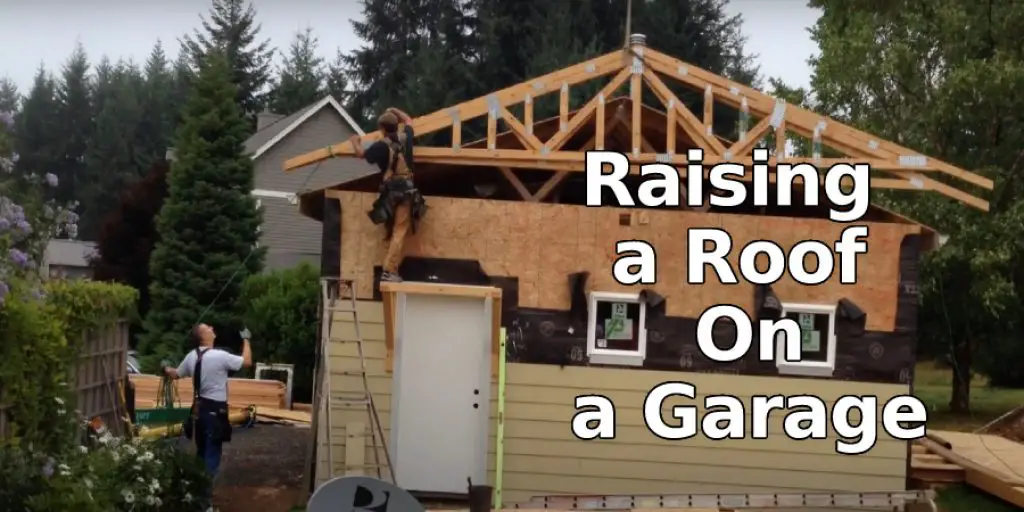
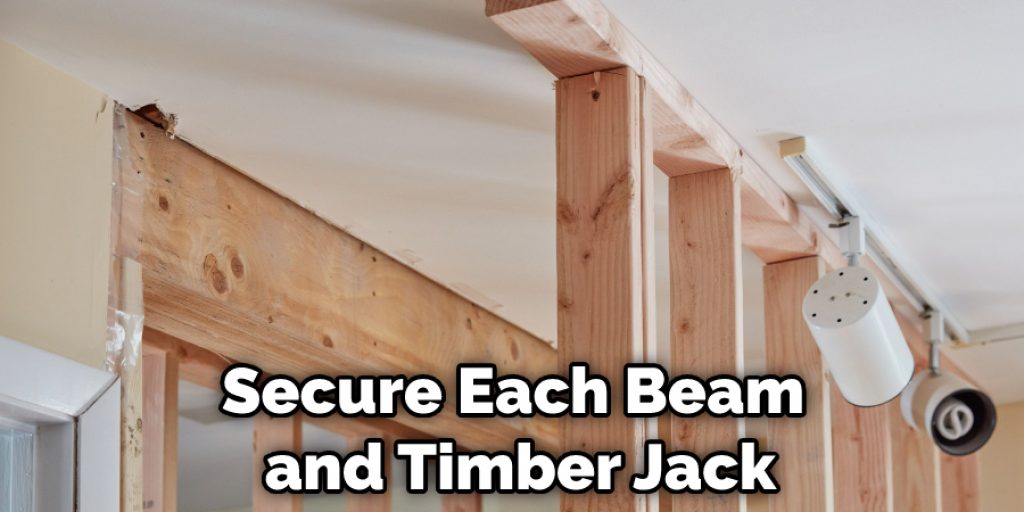
Step Seven: Raise the Roof Piece by Piece
Now that all your support beams and jacks are in place, it is time to raise the roof piece by piece. Start with one side of the garage, and raise it with a scissor jack. Secure each beam and timber jack while doing so, and be sure to stop all movement once the roof piece has been leveled.
Step Eight: Complete the Other Side of the Garage
Repeat step seven with the other side of the garage. Once leveled, check for large gaps or holes between pieces and fill them in as necessary. Again, be sure to use a filler that is non-combustible and does not weaken support beams and jacks.
Step Nine: Raise the Ceiling of the Garage
Now that both sides of your garage have been raised, you can work on lifting the section in between them to form a domed ceiling. Again, use smaller jacks than when raising one side at a time and secure beams/supports to prevent pieces from shifting again.
Step Ten: Add a Layer of Sheet Rock to the Ceiling
After all, jacks have been removed, add a layer of sheetrock to the ceiling. You can also add insulation or vapor barrier if desired at this point, depending on how high you raised the roof and if you live in a colder climate.
Step Eleven: Add Trim to the Outside of the Garage
If you would like, this is a good time to add some trim pieces outside your garage. Measure out where they need to go and screw them into place. If needed, you can use some lumber pieces for more support. The trim pieces don’t have to match up to the ones on the front of your garage, but I did it for a more uniform look.
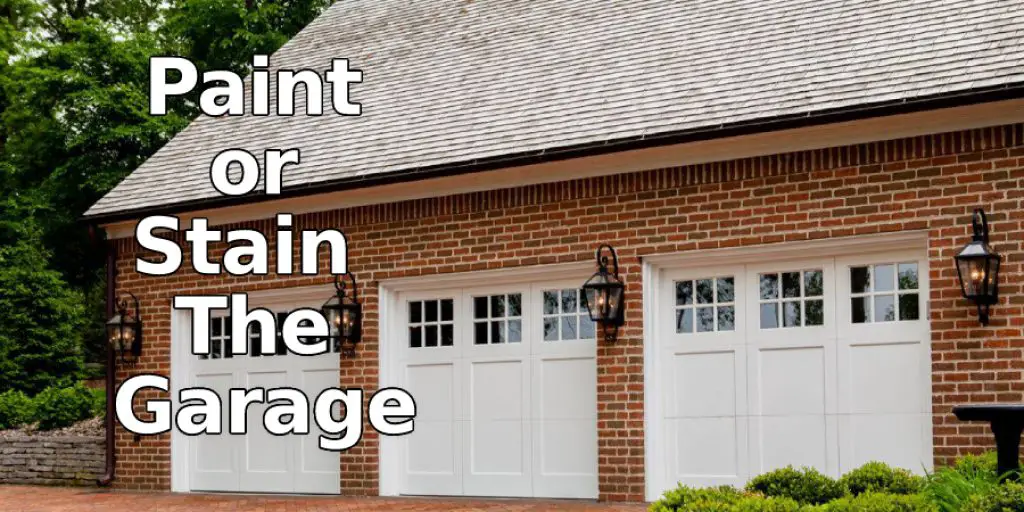
Step Twelve: Paint or Stain the Garage
When all steps have been completed, you can paint or stain your garage. This will help seal any gaps between pieces and give it a more professional look. Using a paint roller or brush, apply the stain in long strokes along the length of the garage. Use overlapping strokes to achieve an even coat without streaks.
Do I Need Planning Permission to Raise My Garage Roof?
It is widely assumed that in order to raise your roof, you need planning permission. But this isn’t true. According to the Department of Communities and Local Government (DCLG), you do not need planning permission as long as your garage is already used for “habitable” purposes.
That means if you have a living room or bedroom which is not weather-tight, then planning permission will be necessary. The only other conditions you must meet are that your garage must NOT be within a conservation area or local designation, and any alterations should not affect the character of the building.
Frequently Asked Question
Can I Raise the Roof of My Garage Without Planning Permission?
If you want to raise the roof of your garage without planning permission, you will need to make sure that it is structurally sound and then apply for building regulations.
It is important to do this before the work starts because if there are any issues with the structural integrity of your roof, then it could be unsafe.
If you don’t have a permit, you may also need to get insurance in case anything goes wrong during construction.
Can You Raise Garage Roof Height?
Yes, you can raise the garage roof height by installing a larger rafter or adding on to the existing rafters. You may also need to increase the size of your floor joists if they are already supporting an adequate amount of weight.
How Hard Is It to Raise the Garage of A Roof?
Raising the garage of a roof is not as hard as it sounds.
First, you need to find out what your garage’s footprint size is. This can be done by taking measurements from the ground up and down the height of the structure. Next, decide how much money you want to spend on this project.
There are many ways to raise a garage:
- You can use an extension ladder and attach it to one side of the roof at a time until you reach the other side or have raised enough room for your car to fit in safely.
- You can hire someone who has experience with raising garages, but they may charge more than you expected, depending on their experience level and skill set.
- You could purchase an industrial-grade forklift or another large piece of equipment that will allow you to do this job yourself in less time and for less money than hiring someone else would cost.

Conclusion
This article has provided some insight into the different roofing materials that are available for your garage. We hope you found this information helpful and informative. Keep in mind, the most important thing to remember is safety which should be a priority when working with any material or product.
Any time you are using power tools, wear the proper safety equipment and remember how to use it properly. It is recommended that you take the time to do your research and carefully plan out your project before starting. If you want to know how to raise a roof on a garage, here are some helpful tips.
You may also like – How to felt a shed roof without nails.


