How to Remove a Curtain Rod
To remove a curtain rod from the wall, you first need to cut it. Depending on the type of rod, this may be easy or difficult. If you are using tension rods, then all you have to do is grab them and pull them down, but if they are screw-on rods, use pliers to turn off the screws that hold them in place on either side of your window frame or door frames.
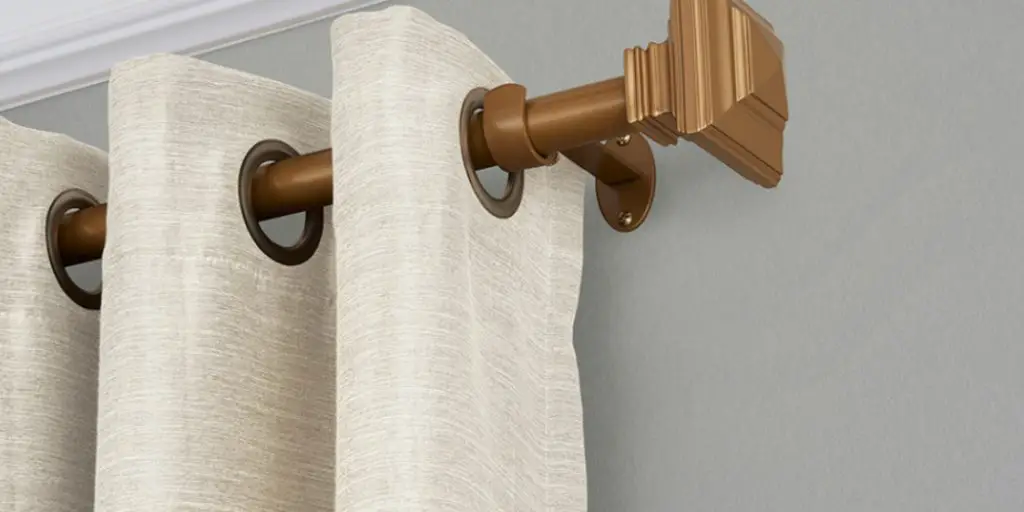
Once these are removed, take out any brackets holding up your curtains before taking down the actual curtain hooks themselves by sliding them over one another until they come free. So, this article is for you. You will learn how to remove a curtain rod with just one simple trick!
Step to Follow on How to Remove a Curtain Rod
Step One: Determine
First, you need to determine whether or not the curtain rod needs to be removed for good. Removing a curtain rod is often as simple as unhooking it from both ends and taking it down. But sometimes, especially if the existing rods are bent somehow, removing a curtain rod can be much more involved than just pulling it out of place.
Sometimes a curtain rod will come out when you least expect it. Try to hook the curtain rod before taking the rod down to avoid having it fall and break. This is especially important if there are glass ornaments or other breakables on the curtains.
Step Two: Unhook Curtains from Rod
Unhook any curtains that may be attached to the rod, along with any other valuables that might be hanging on the rods. Make sure to note where you hooked up each item so you can easily place them back in the same spot after removing the rod.
Two or more people are recommended to remove curtain rods. You need someone to hold one end of the curtain rod up while another person unhooks the hook from it. If you can’t find your curtain rod, look in the basement or attic first. This is often where they end up hiding if no one wants them around anymore.
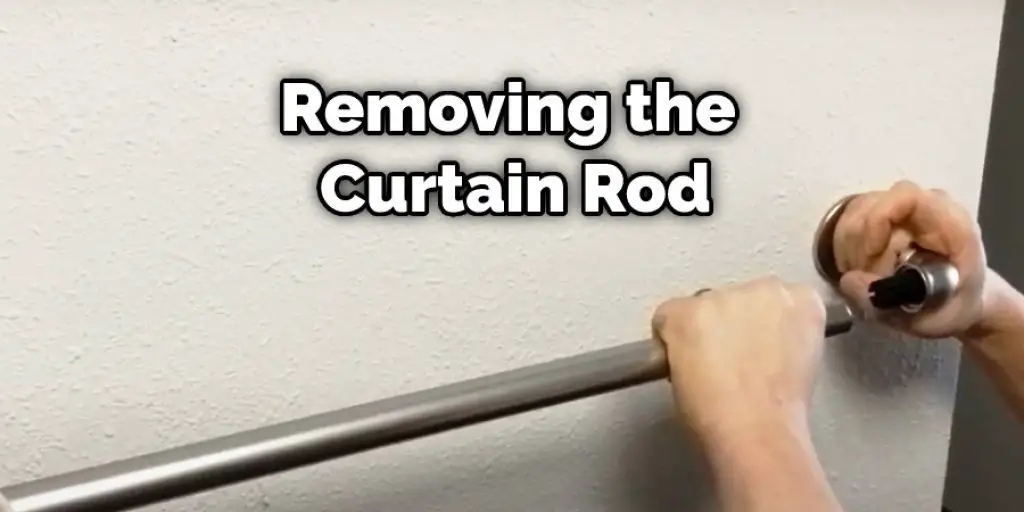
Step Three: Remove Corner Holders
Remove all of the corner holders for the curtain rod. These will be at each end of the rod, where it connects to wall mounts or ceiling mounts. There are often two screws involved with this step since one screw holds the rod in place while the other holds on a corner holder.
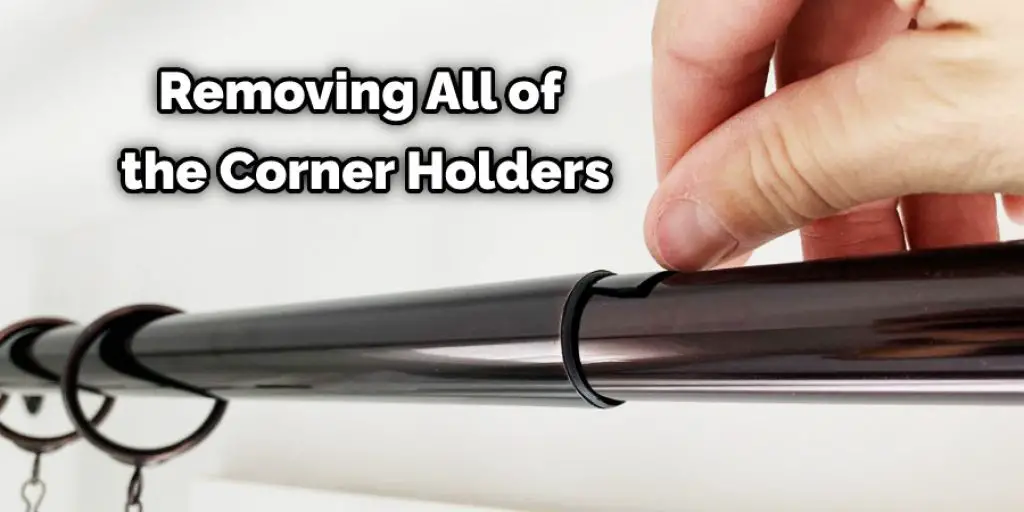
Loosen both screws with a screwdriver to the point where you can easily take them out of the wall with your fingers. The screws will probably have a flat head, so be sure to use a screwdriver that matches this shape. Once you have both screws removed, you should be able to lift the curtain rod right off of the wall simply.
Step Four: Take Curtain Rod Down
Take down the curtain rod. If you are dealing with a ceiling mount, slide the corner holders off it and let it fall to the floor. Again, the rod will probably be very long, so several people might be needed to do this safely without anything losing or getting damaged.
If you are dealing with either wall mounts or another type of mount, slide the corner holders off and set them on a table or other surface where they won’t be damaged. Then, take down the curtain rod by unhooking it from both ends. Hopefully, this will end your journey toward removing your curtain rod.
Step Five: Remove Other Mounts
If you still can’t find your curtain rod, it’s time to move on to the next step: removing any other mounts or holders, it might have. You may need a screwdriver for this or several people. Make sure that everyone is clear of each end of the rod when you start rotating them to release the mounts.
If the mounts are challenging to get off, try looking for a nut or other type of screw holding them in place. If you find the fastening hardware, keep in mind that you will have to remove it with a screwdriver. These steps should help you in learning how to remove a curtain rod.
Step Six: Take Down Curtain Rod Hardware
If the curtain rod mounts are attached to something other than another piece of hardware, you can expect them to be fastened by screws. Takedown each end of the rod by removing the hardware, then proceed to step seven. If bolts are holding your mounts in place, you will probably need a wrench or pliers for this step.
Put on safety goggles and gloves optional before you start working with tools like wrenches. Work carefully and slowly because having an object fall on your head or hands can lead to serious injury, especially if you are working high up off the ground. Work your way around each mount until it loosens and falls.
You can check it to Remove Rust From Shower Curtain Rod.
Step Seven: Maintain Balance of Rod
If you have a very long curtain rod connected to a large ceiling mount or another type of support, it may be too heavy for one person to hold up. Work with at least two people to maintain balance and prevent accidents. One person holds the top bucket of the curtain rod while the other takes apart the bottom bucket.
Ensure you are far enough away from the wall that both sides of the curtain rod can be easily taken down. Next, have the person holding the top bucket remove all the mounts until they cannot be loosened any further. At this point, both buckets should be easy to take down and separate from each other.
You can check it to Close Curtain Gaps.
Conclusion
All in all, removing a curtain rod is not too difficult of a task. With the right tools and some patience, you can remove your old window covering without any trouble at all. Now that you know how to go about this project, it’s time for you to get started with your removal process!
Suppose there are any questions or difficulties along the way, please don’t hesitate to contact us to help out. In addition, if you want more information on other home improvement projects, feel free to check back here often, as we will be adding new articles soon! Finally, we hope you enjoyed this article on how to remove a curtain rod.
You may read it also – How to Hang Curtains Around a Window Air Conditioner .


