How to Remove a Fixed Shower Curtain Rod
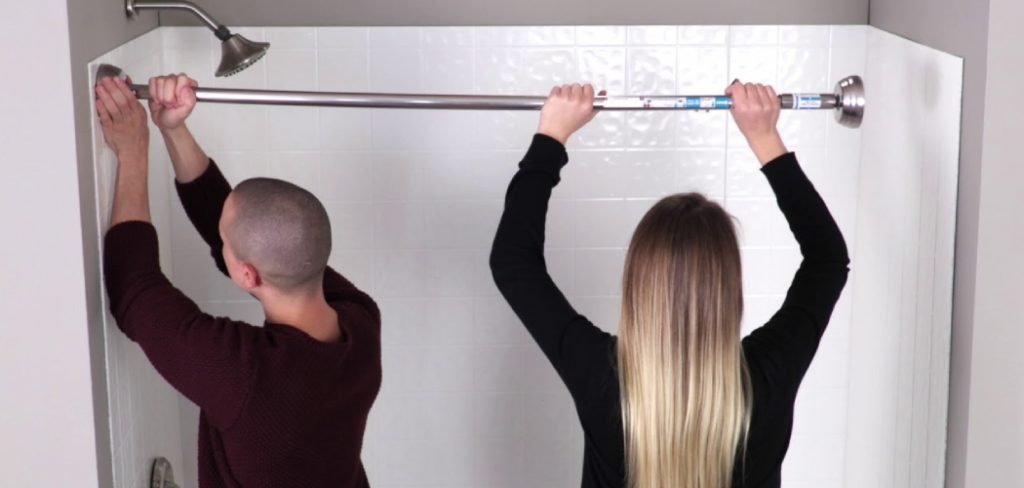
I know you’ve seen it. The shower curtain rod has been there for years and is now bent or rusty or otherwise not looking very nice. You want to replace the old one with a new one, but you’re afraid of breaking the tile in your shower if you mess up.
Well, I’m here to tell you how easy it is! I’ll show you how! We all have those moments where we need some quick advice on something, so this blog post will discuss some tips on removing an old fixed shower curtain rod from your bathroom wall without damaging your ceramic tiles.
The old shower rod looks like this, and it’s rusted at the end where you attach your curtain rings. You can see the old shower curtain rods were screwed into the wall studs if you look closely. So, this article is for you. You will learn how to remove a fixed shower curtain rod with just one simple trick!
Step to Follow on How to Remove a Fixed Shower Curtain Rod
Step One: Determine
First, determine the type of shower curtain rod you have. This is very important as different rods require different preparations to be made. If you do not know what kind of rod your shower curtain has, it will be best to take off the entire rod before starting any other procedures.
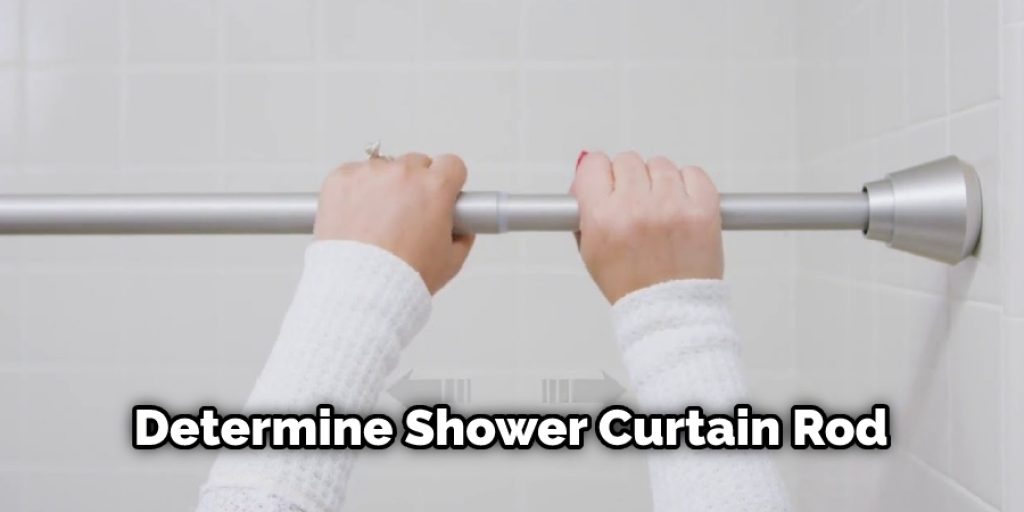
If you know what type of rod your shower curtain has, determine if it is fixed or adjustable. A fixed rod won’t move at all when installed, while an adjustable one will have the ability to change where it is positioned along the length of the shower curtain.
If you do not know what type of shower curtain rod your is, then take it off and check the type of screw holding it in place. If you do not know what type of screws or other hardware your shower curtain uses to connect its pieces, look them up online to determine what they are.
Step Two: Gather Materials
Once you have determined what kind of rod your shower curtain has and what screws and other hardware it is using, you can gather the materials you need to take off your shower curtain rod. If your shower curtain rod has any screws, you will need a screwdriver to remove them.
If some of your pieces are held together with nuts and bolts, you will need a wrench or pliers to remove them. For any types of screws that you may need a screwdriver to remove, make sure that the type of screw is compatible with your screwdriver.
Before buying a new or additional screwdriver, check at your local hardware store and see what types they often carry. If possible, bring in the original screws so you can match the screwdriver to them. Finally, if you cannot get any of your hardware pieces off at all, you may need a hammer to break them apart along the joints.
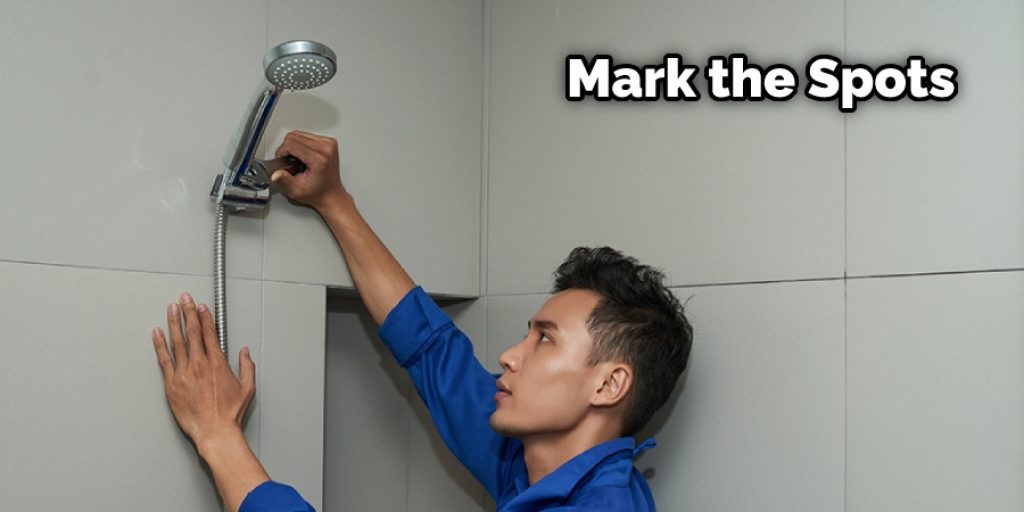
Step Three: Mark the Hardware
Before removing any hardware pieces, you should mark the spots where they are located. This will help to ensure that you can put them back into place easily. For screws, this is easy as long as the screwdriver fits them well. Check the head of the screw for numbers or markings, and make a note of these in a location where you will not lose them.
For nuts and bolts, this will be a little more difficult. You can either use the wrench or pliers to tighten the bolt, which is slightly smaller than before. You can hammer one edge of the head down until it’s smaller, or if that doesn’t work, you may need to cut it off.
If you need to tighten the bolt, then remember that this will be difficult to undo and may even require a new nut or bolt once it is removed. If you need to cut off the head of the bolt, then be sure that your cut is clean and goes through all of the thicknesses of metal so it can be pulled out easily.
Step Four: Take It Out
Once you have gathered your materials and marked the location of all hardware, it is time to remove your shower curtain rod. First, take out all of your tools, and then begin removing each piece. If you have screws that need a screwdriver, check those first, as those are the most accessible pieces to remove.
The following most manageable pieces will be those that use a wrench or pliers. If these pieces are still difficult to remove, try the hammer and hit the joint itself to remove any resistance. If you do not have a hammer, you should replace the bolts with ones of different sizes so you can easily remove them later on.
If you have a piece that is still difficult to remove, then use a saw or other cutting tool to remove the joint from the rest of the rod. Once this joint is removed, the other side should be easier to remove. These steps should help you in learning how to remove a fixed shower curtain rod.
Step Five: Maintain Your Rod
Once your rod is removed, you should put it together again with any replacement hardware if necessary. The easiest parts to replace will be the screw-in or bolt-in types, as these are easily replaced by tightening them back into place.
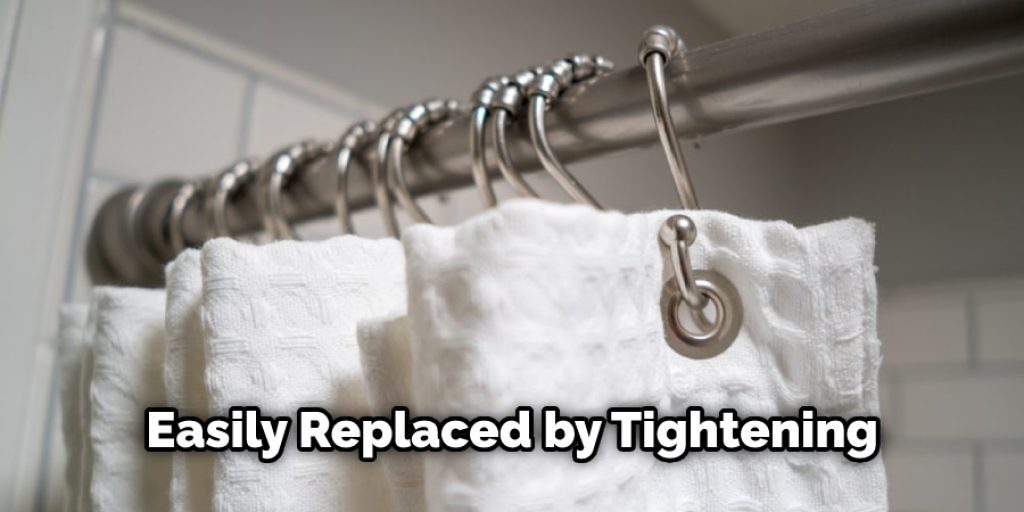
Keeping track of all of the hardware that came off the rod will allow you to determine exactly which parts you need to replace or if you will be able to put it back together without needing any additional parts. If all of your parts are the same size and type, replacing them should be easy.
You Can Check It Out to Install a Shower Curtain Rod on Tile
Conclusion
The next time you are looking to remove a fixed shower curtain rod, follow these steps. Before taking the curtain down, make sure that your drain is open and there are no obstacles in front of it. Remove any screws holding up the top portion of the rod from the wall or ceiling if necessary.
Next, detach the bottom end of the pole by unscrewing it from its mounting point on either side at about eye level. Once this has been done, the rest of the rod should come apart fairly easily. This blog post has given helpful advice on how to remove a fixed shower curtain rod.


