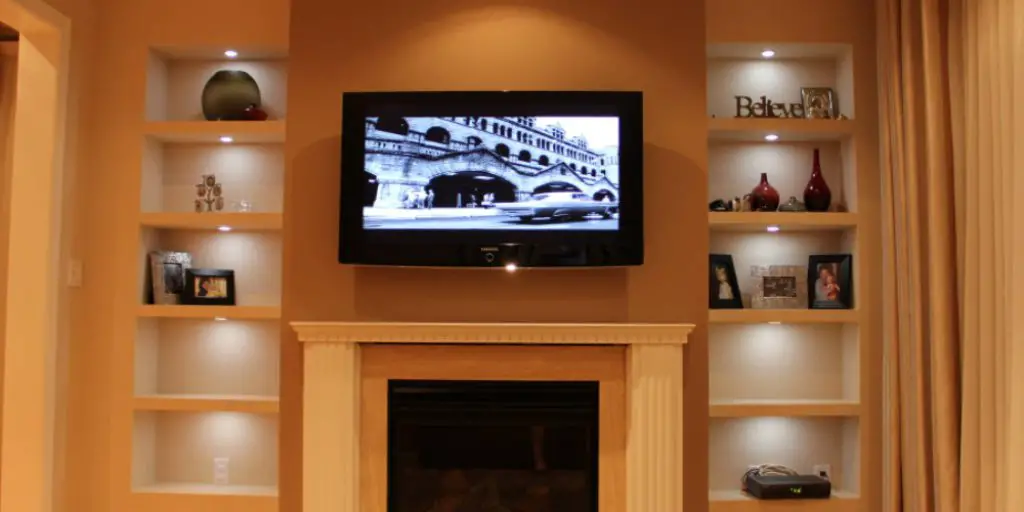
Many people don’t know that drywall shelves are built into the drywall itself. These shelves are usually about 4 or 5 inches deep and can be a great place to store small items. However, sometimes these shelves can be challenging to remove, especially if used for a long time. This blog post will show you how to remove built in drywall shelves. If you have built in drywall shelves, the first thing you need to do is to remove all of the items that are stored on them.
Removing built in drywall shelves can be a daunting task, but it’s not as hard as you might think. With the right tools and some patience, you can have them out of there in no time. First, you need to remove the screws that are holding the shelves in place. You can use a power drill for this, or a screwdriver if you prefer. Once the screws are out, you can gently pull the shelves away from the wall.
Tools and Materials
- Drill
- 1/4 drill bit
- Circular Saw or Rotary Saw (or Jigsaw)
- 4ft Level (or measuring tape and pencil)
- Hammer
- Chisel
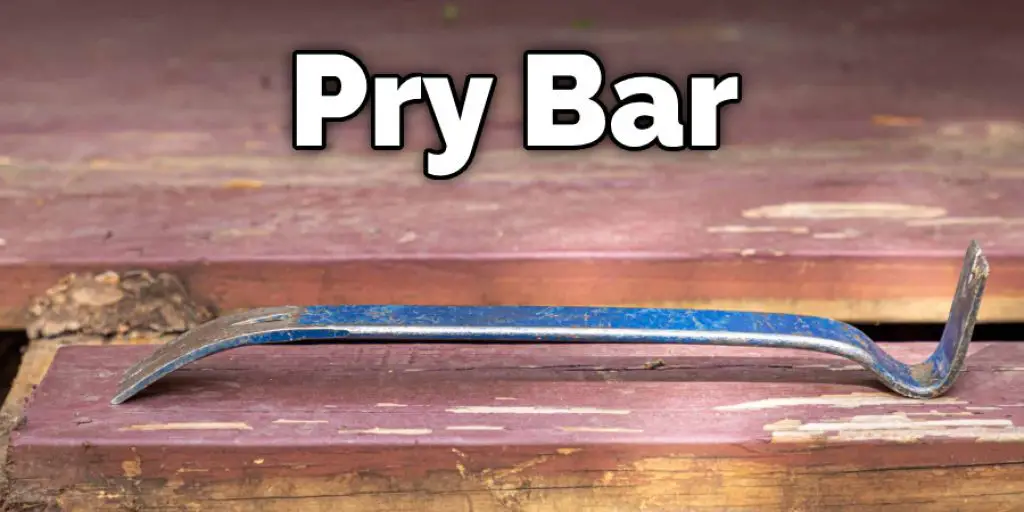
- Pry Bar
- Square
- Safety Glasses
A Step by Step Guide on How to Remove Built in Drywall Shelves
Step 1 : Determine
To do this, use a drill and 1/4 inch drill bit to make a small hole in the center of each shelf. If you can see the wall studs behind the drywall, then the shelves are likely anchored to them and will need to be removed to take them down. If you cannot see the wall studs, the shelves are probably not anchored to them and can be taken down by simply prying them off the wall with a pry bar.
Step 2 : Mark the Location
Once you have determined if the shelves are anchored, use your level to make a line on the wall where each shelf will be located. Use this as a reference point when prying down the shelves. Mark each shelf separately to track which shelf is next concerning the previous one. If you do not have a level or measuring tape, measure out six feet from the ground and make a mark. Use this mark to draw a line across the wall where the first shelf will be located.
Step 3 : Drill
Use a drill with a 1/4 inch bit to drill holes into each of the marks you made in Step 2. Be sure to drill through the drywall and into the stud behind it. This will be your guide as you saw off the shelves.
Step 4 : Saw
If you are using a circular saw, use it to cut along the lines you just drilled in order to remove the shelves. If you are using a rotary, saw or a jigsaw, make sure that the blade is facing down so that it cuts into the shelf and not into the wall. After you have cut the shelves, pull them out of the wall and set them aside.
Step 5 : Pry Off Each Shelf
Use a pry bar to pry off the first drywall shelf slowly. If it does not give way reasonably easily, try inserting another pry bar between the wall studs and continue until you can get enough leverage to start pulling away from the studs. Once you have pulled that piece of drywall away, move on to the next section. Do not entirely remove any piece until all components have been removed and you have fully breached the wall cavity.
Step 6 : Mark and Cut Openings for Electrical Outlets
Once all shelves have been pried down, it is time to mark and cut out the openings for any electrical outlets. Use a flat head screwdriver or drill with a tiny drill bit (approximately 3/32) to make a small hole in each corner of your drywall opening where you want the outlet to be located.
Once you see your guide holes, use a jigsaw or circular saw with a fine-tooth blade to cut out the drywall without cutting into the electrical wiring inside. Make sure there is enough room between both pieces of drywall so that an outlet can fit through without having to force it open. This will help in how to remove built in drywall shelves.
Step 7 : Remove Excess Drywall and Repair With New Sheet
Once all of the shelves have been removed, and the outlet openings have been cut, you will need to remove the excess drywall. Use a hammer and chisel to break the drywall into small pieces that can be easily removed. Remove all of the drywall from around the opening. Next, you will need to install a new piece of drywall that is the same size as the old one. Now that the drywall has been replaced, it is time to install the new shelves.
You can also use a vacuum to clean up the mess. Once all of the drywall is removed, use a new sheet of drywall to repair the opening. Tape and mud the seams just like you would any other drywall repair. Allow it to dry completely before painting or finishing.
You can check it To Sand Drywall Fast?
Additional Tips
- If the shelves are not too heavy and you do not have any health concerns, you can try to remove them yourself.
- There may be screws or nails holding the shelves in place. If so, you will need to remove these before taking the shelves down.
- Once the shelves are removed, you may want to patch up the hole left behind. You can use drywall compound or spackle to do this. Once it dries, sand it down until it is smooth. Then, paint over it with a matching color.
- If you are not going to be using the shelves anymore, you may want to consider donating them to a charity or recycling center.
Precautions
- If you are not comfortable doing this project, please call a professional to help you.
- For safety reasons, turn off the power in the area where you will be working.
- Because of dust and particles that can damage the TV or computer monitor, make sure they are turned off before doing this project
- Make sure your work area is well lit
- Always wear gloves when touching chemicals like glue, paint, varnish, etc.
- Avoid contact with skin
- Wear a mask to avoid breathing harmful fumes from chemicals used on the wall’s surface.
How Do You Remove Built in Closet Shelves??
Removing built-in shelves from a closet is a fairly straightforward process. However, there are a few things you need to consider before beginning.
First, it’s essential to determine if the shelves are anchored to the wall or simply sitting on the top of the drywall. If they are anchored, removal will be more difficult. If they do not arrive, you can simply pry them off the wall with a screwdriver or pry bar.
If the shelves are anchored, you’ll need to remove the screws that hold them in place. Once the screws are removed, you can pry them off the wall. Be careful not to damage the drywall while doing so.
Once the shelves are removed, you can begin patching the wall to get it ready for paint or wallpaper.
Conclusion
Follow the article on how to remove built in drywall shelves. You can remove drywall shelves with a bit of elbow grease and patience. It is time to get rid of those ugly, non-functioning built in shelving units you have on your walls!
Removing them will not be difficult because the process only takes an hour or less, depending on how many there are. Let’s take a look at what it takes to remove these unnecessary items from your home.
You may read it also – How to Install Floating Shelves on Plaster Walls


