Introduction
Clip Lock roofing membrane is a type of heavy-duty synthetic sheeting used as a waterproof layer. It has ribs and clips on all four sides, which enables it to be fitted over the joints between sheets of plywood, fiber cement boards, or tiles. Clip lock membrane and nails form a secure weather-tight bond holding your roof together and stopping rainwater from getting in. In this article, I will discuss how to remove clip lock roofing. So let us get started.

Stepwise Guide on How to Remove Clip Lock Roofing:
Step 1 – Prepare Your Roof For Removal
Investigate your roof carefully before taking out the tiles by looking at things such as ventilation, chimneys, and dormer windows. Check whether you can quickly get access from above or below or if you will have difficulty reaching certain areas. Remember that safety should come first! If you are not confident with how to do this, we suggest that you find a professional roofer or follow our DIY steps and let somebody close help you.
Step 2 – Remove Clip Lock Roofing Tiles
Take out all of your nails and cut the pins around the edge of each tile so that they will be easy to remove one by one. You can use a pneumatic drill for this as it will speed up the process and reduce any risk of injury from using manual tools such as crowbars and hammers. Once all tiles have been removed, inspect them for damage. If there is any slight damage to a few tiles, these can still be used again on the next part subject to inspection after removing clip lock roofing. To remove nails from the board, take a plastic bag and a piece of wood. Place the plastic bag over the pin and hit it with a bit of wood until it pops out.
Step 3 – Remove Clip Lock Roofing Boards
To get access to your roof beams or rafters, you will have to remove all boards from underneath any tiles meaning that you will get access to these areas quickly and easily instead of wasting time trying to get at them without taking everything apart. To do this, you will need either an electronic saw or simply some good old-fashioned muscle! Again, it helps if more than one pair of hands for this part as one person pulls while another cut, making it much quicker and easier.

Step 4 – Clip Lock Roofing Material Check
Once all of your boards have been removed, inspect them for any damage, whether this is slight discoloration or if the wood has started to rot. If you come across any damaged areas, they must be replaced immediately before re-roofing as these areas will cause water to leak through and so can lead to severe interior damage! The same goes for nails that may need replacing after being pulled out by either a roofer or yourself.

Precautions While Removing Clip Lock Roofing
- The roofing materials are heavy, so use proper safety equipment.
- Wear protective glasses and gloves.
- Make sure the ladder is positioned securely before you climb it. Do not place a ladder on snow-covered roofs due to the added weight of the snow. Consider having an extra person for assistance.
- If you have to move around on top of the roof, tie one end of a rope to your waist and another back to a secure spot or structure on the roof itself (preferably something that will not blow away). This will keep you from falling off if you lose your balance.
- Please make sure there are no dogs inside before doing this project, as they may escape through an open door or window while you are working outside! If you have a curious dog, confine them in a separate room. It is best to keep your pets inside while working on your home so they won’t get underfoot or distracted!
Frequently Asked Questions
What Are The Advantages of Clip Lock Roofing?
There are many reasons for installing clip lock roofing, but here are three of the main benefits:
- Easy Installation – Clip lock is slid into place and clipped down. As a result, it’s much quicker than having to nail or screw each shingle in place. And with a team working together, it can be installed in 1/3 to 1/2 the time.
- Efficiency – With 24-inch multi-directional lugs along with multi-fold technology allows you to easily remove and reuse old shingles making your job easier and more efficient (less waste). This also allows you to remove material without worrying about leaving behind old nails.
- Environmentally Friendly – Clip lock eliminates the unnecessary waste created by traditional shingles, which are thrown away whole at the end of each roofing job. By using clip lock, you can save significant landfill space and reduce your impact on the environment.
Does Clip Lock Roofing Have Disadvantages?
Many homeowners are afraid to use clip lock type of roofing because they think they will not be able to remove it without damaging the roof. The fact is, if you know how to remove clip lock type of roofing and handle it without proper care, you can save a lot of money since this type of roofing has a meager cost comparing to other types.
But it would help if you remembered that for you to remove it successfully, your hands should be skilled enough and strong enough so you won’t ruin the surface area while removing it. It requires time and patience too, which means that you don’t have any second thoughts about doing such a task since one failed attempt may cause irreparable damage to your expensive material or, even worse – to your whole roof.
When to Remove Clip Lock Roofing?
If you already meant this question by yourself, then you should read the answer below:
- If it is causing leakage or any visible signs of damage.
- The shingles are turning grey, and there is moisture inside the attic area, which indicates that there might be leakage coming from the clip lock part of the roof.
- If you plan on selling your house soon and would like to avoid any potential problems in the future, then replace the clip lock type of roof with another type such as rubber tile or metal tiles. Having a new style will increase home resale value. But before doing such a task, make sure that no repairs are needed to prevent further damage inside your house.
- If you plan on installing cedar planking to your roof, it is best for you to remove the clip lock area first since dark shingles will interrupt the beauty of wood’s natural color.
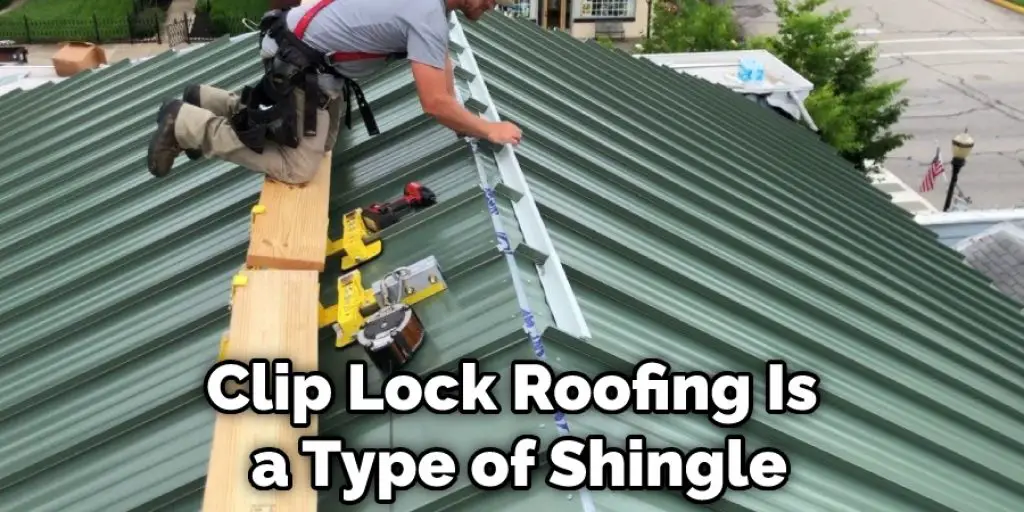
How Wide Is Clip Lock Roofing?
As the name suggests, Clip Lock roofing is a type of shingle that uses clips to secure it to your roof. Each metal clip is roughly 2 inches long and 1 inch wide. The clip’s length varies depending on the brand of roofing you have.
How Thick Is Clip Lock Roofing?
Most brands of Clip lock roofing come in at around an eight on the Dade international durability scale, meaning they are suitable for wind speeds as high as (and including) 130 miles per hour. The metal used in the construction of these panels is relatively thin but strong enough for most weather conditions you might encounter with this shingle style. This relates to how thick each board is; For example, on a three-tab installation, it’s only .39″ wide and (after first calculation) doesn’t get much denser than .78″ on a five-tab facility.
Conclusion
Lastly, I hope this article has been beneficial for learning how to remove clip lock roofing. Maintain all the precautionary measures properly. Thank you and have a nice day!
Check it also – How to Remove Roofing Tar From Metal Roof .


