Light fixtures are a home’s first line of defense against insects and bugs that may be flying around. It is essential to keep them clean for this reason and increase the lifespan of the fixture itself. However, some people have difficulty removing glass shades from light fixtures.
This article will provide instructions on how to do so without damaging either the shade or fixture. In addition, there will be helpful suggestions on how to remove stubborn shadows from hard-to-reach places, such as recessed lighting and ceiling fixtures.
The final section of this blog post will cover what products can be used in place of a glass shade if one cannot be removed due to breakage or damage. Finally, this article will teach you how to remove glass shade from light fixtures with simple methods.
Step to Follow on How to Remove Glass Shade From Light Fixture
Step One: Turn Off the Power
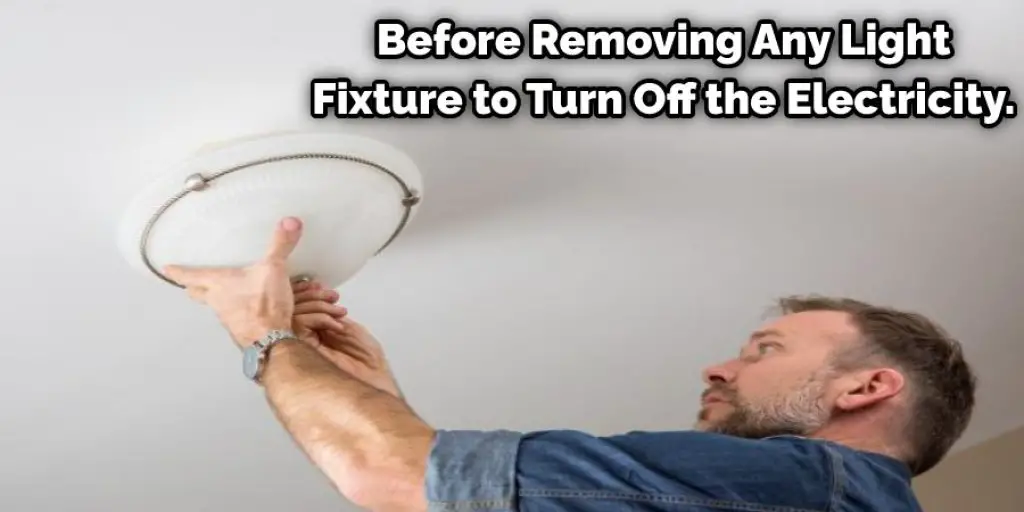
Before removing any light fixture, be sure to remove its light bulb and turn off the electricity. This is required for safety purposes to prevent serious injury from any electrical shocks. In addition, you might need to shut off the circuit breaker of the power source of the light you want to fix before starting the repair project itself.
Step Two: Unscrew the Light Fixture’s Cover.
After turning off the power to the light, you can start unscrewing its metal or plastic cover. Sometimes it is attached by screws or rivets, depending on what kind of design it has. However, be careful as there may be electrical wire connections underneath, so wait until they are unplugged before attempting to remove the cover.
You can look for an electric box usually hidden underneath and undo it from there after finding it. Otherwise, you will need a tool such as pliers to help with removing any attachments discovered on the fixture’s cover.
Step Three: Remove the Light Shade Itself
After removing the cover, you will then need to remove the actual glass shade. Most of them are held by clips or clamps that can be found on their rims. Use your hand to feel for these fixtures if they are present and carefully twist them loose until you hear an audible click. Keep in mind that if they are not clipped or clamped, they may be affixed to the clip.
After identifying them, you can carefully twist them until it is removed from the fixture. Please take note that you will need to remove any remaining pieces of wire still attached on its end before completely taking out the glass shade itself.
Step Four: Clean the Light Fixtures
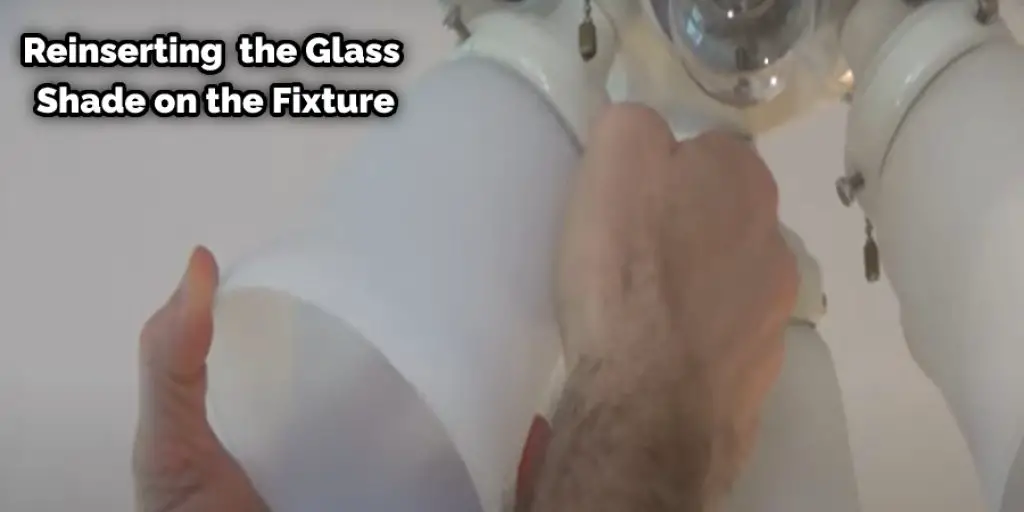
After removing the shade, you can now clean out any dirt or particles found inside using your hand or any soft-bristled brush. You can also use a wet cloth to wipe its interior before letting it dry completely. Afterward, reinsert the glass shade on the fixture, then screw back together with its cover and electric box respectively. Lastly, turn back on the power source and test to see if it is working.
You can go over the same steps again to remove the glass itself from its fixture. However, you must be careful not to damage any of its parts for it to work once again after putting it back together. You can also choose to replace a broken or cracked glass shade with a new one to freshen up the look of your light fixture.
Step Five:Re-attach the Glass Shade
After cleaning out any dirt and particles found in your fixture, you can then reinsert the glass shade back into its place. Make sure that it fits perfectly on its rim and twist it into position until you hear an audible click. Re-attach the cover to its light fixture before turning back on the power source and testing the light on and off to see if it’s working.
That is all for this article on removing glass shade from the light fixtures; we hope you enjoyed and found the helpful information. If you want to find out more about how to remove glass shade from light fixtures, keep reading.
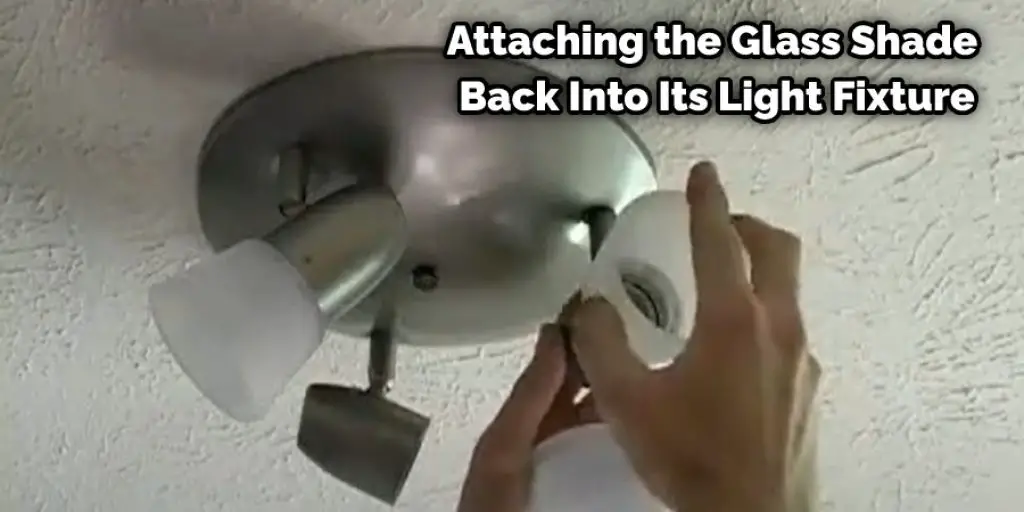
Step Six: Secure the Glass Shade
After attaching the glass shade back into its light fixture, you can now secure it in place using wire or string that is tied around its rim. You can then twist them together until it stays in place tightly to prevent the glass from falling off.
This way, it will be simple for you to unscrew when you need to clean it out next time. Some attachments can be placed on the rim to make this task easier for you if there is no wire or string available.
Conclusion
While the process is not complex, you will need to take your time and ensure that you don’t break anything or create a more complicated problem by rushing through it. A good rule of thumb for this type of project is to measure twice before cutting once.
This way, if something does go wrong, all you have lost is some extra time instead of an expensive fixture! You can get started by turning off power from the breaker box then remove any screws holding the shade in place on both sides with a screwdriver.
You may also read this – How to Ground a Fluorescent Light Fixture


