Many people are unaware that you can take the blade off of your old hunter ceiling fan without buying a new one! All you need is some simple tools and about 5-10 minutes. You will want to start by removing the light kit or fixture from the top of the fan, depending on where it’s located in your house.
Once this has been done, there should be two screws holding down each blade bracket onto either side of the motor housing. After removing these, use pliers or something similar to pop out each clip that holds each blade into place. This blog post will show you how to remove hunter ceiling fan blades with clips.
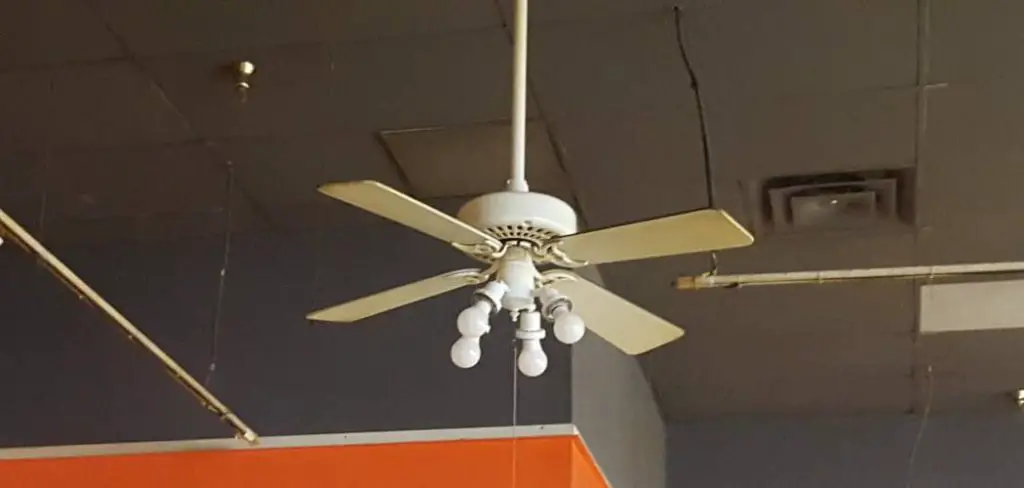
Step by Step Guide on How to Remove Hunter Ceiling Fan Blades With Clips
Step One: Turn off the Power
Make sure that you have turned off the power to your fan. If you are unsure, go down to your breaker box and turn off the switch for the ceiling fan. This is essential because you need to ensure no power flows through your fan while performing work on it. Not only will this protect you from electrocution, but it will prevent damage to your fan as well.

Step Two: Determine the Type of Mounting System You Have
To figure out what mounting system is used for your fan, remove the mount bracket from the blade arm by sliding it down and away from the motor. To do this, you must turn the blades until you can see that they are just slightly offset from each other with enough room to start sliding the hooks off.
If the system uses a plastic mount, you need to find a way to hold it or remove it from its current position while you turn the blades. The two most common systems that use this type of mount are Hunter / Craftmade: Pull out on one blade and press in the push button on the other blade. If one blade won’t budge, try pushing in on the second blade first and then pulling out the first blade.
Step Three: Remove the Mounting Bracket
Once you have determined what type of mounting system your fan uses, you need to find a way to remove the mounting bracket from the blade arm. Luckily, most fans can be removed by simply sliding them up and away from the motor.
Once you’ve found this spot, slide it over until you can see that it is just slightly offset from the other blades with enough room to start sliding it up and off. Once you can see that there is enough room to slide it off, lift it on one side of the mounting bracket and then slide it over until it comes off.
Step Four: Remove the Blade
Once you have removed the mounting bracket from your fan, you can remove your blade. First, you need to make sure that all of your blades are at precisely the same level as each other. If one is sticking out higher than another, it will throw off your balance. To ensure this does not happen, press down on the blade sticking out higher than the other blades until it drops to the same level as the others.

Now that all of your fan blades are at the same height, look at how they attach to your motor and then remove them just like you removed the mounting bracket by sliding up and away from the motor. Make sure you hold onto your fan blades as you remove them to ensure they don’t fall.
Step Five: Attach the New Blades
Once you have removed all of your ceiling fan blades from the motor, you will need to attach the new ones so that they can be balanced and put back on. Again, you will want to press down one blade at a time and ensure that it is perfectly level with the other blades.
Once you have them all level, it’s time to put everything back together. You will start by attaching the mounting brackets to the blade arm at their precise position before removing them. Once you’ve gotten this right, slide down each mounting bracket until it ‘clicks’ into place.
Step Six: Attach the Blades
Once you have your blades back in place and attached to the mounting brackets, it is time to put them all back on. Start by sliding one end of the blade into the corresponding blade bracket and then push down or slide forward until it locks into place. Again, you will want to ensure that every blade is locked firmly before moving on to the next one.
Once you have all of your blades firmly locked into place, turn on your ceiling fan and see if it is running properly. If it is not, then you will need to balance the blades. If balancing your fan does not do the trick, you may need to replace some broken parts on your fan.
Frequently Asked Question
Can You Change Out Ceiling Fan Blades?
You can change the blades on your ceiling fan. Find the screws that hold the blade to the fan motor and remove them. Remove the old blade by unscrewing it from its mounting screw. Attach the new blade to its corresponding screw and tighten it.
Where Is Hunter Fan Reverse Switch?
The Hunter Fan Reverse Switch is an electrical device that helps you control the direction of your fan. To find it, go to the ‘Hunter Ceiling Fans’ page on Amazon and click on the switch in question.
Can I Replace My Ceiling Fan Blades With Longer Ones?
If you want to replace your ceiling fan blades with longer ones, you can, but you will need to have them re-balanced. This will cost around $100.
What Is the Best Way to Clean Ceiling Fan Blades?
There are other ways that you can clean the blades of your ceiling fan as well:
- Use a cloth and water mixture on the blade to remove dust and debris.
- Place small drops of dish soap on the blade and then wipe with a damp cloth to remove grease, grime, or stains from your ceiling fan blades.
- Spray a light mist of cleaner onto the blade with an aerosol spray bottle, and allow it to sit for about 10 minutes before wiping off any residue with a dry cloth or paper towel.
Are Ceiling Fan Blades Universal?
No, they are not. The blades on a ceiling fan are made to be compatible with the model of the fan. If you have a ceiling fan that is an older model, then the blades may not fit because they were made for that specific model, and there is no way to know without trying it out.
Conclusion
All ceiling fan blades should be removed from the Hunter Ceiling Fan before proceeding with any repairs. If you have a problem getting them off, here’s what to do next. All of the blade clips must be properly engaged, and there aren’t any loose screws or parts on the motor housing cover plate, which could lead to an accident during installation.
This article will help you remove hunter ceiling fan blades with clips, so your new replacement part installs smoothly! The conclusion paragraph is informative and provides information on How to remove Hunter ceiling fan blades with clips.
You may read also – How to oil vintage fan.


