How to Remove Led Strip Lights From Ceiling
Removing led strip lights from a ceiling can seem daunting, but with the right tools and techniques, it can be a relatively easy process. In this article, we will walk you how to remove led strip lights from ceiling, and provide some tips for minimizing any damage that may occur. Let’s get started!
Why Would You Need to Remove Led Strip Lights From Ceiling?
There are a few reasons why you might need to remove your led strip lights from the ceiling. Maybe you’re moving to a new home and don’t want to take them with you, or maybe you’re ready for a change and want to try a new lighting style. Another possibility is that the lights have stopped working properly and need to be replaced. Whatever the reason, removing led strip lights is a relatively easy process that anyone can do.
Things You’ll Need
- Screwdriver
- Pair of pliers
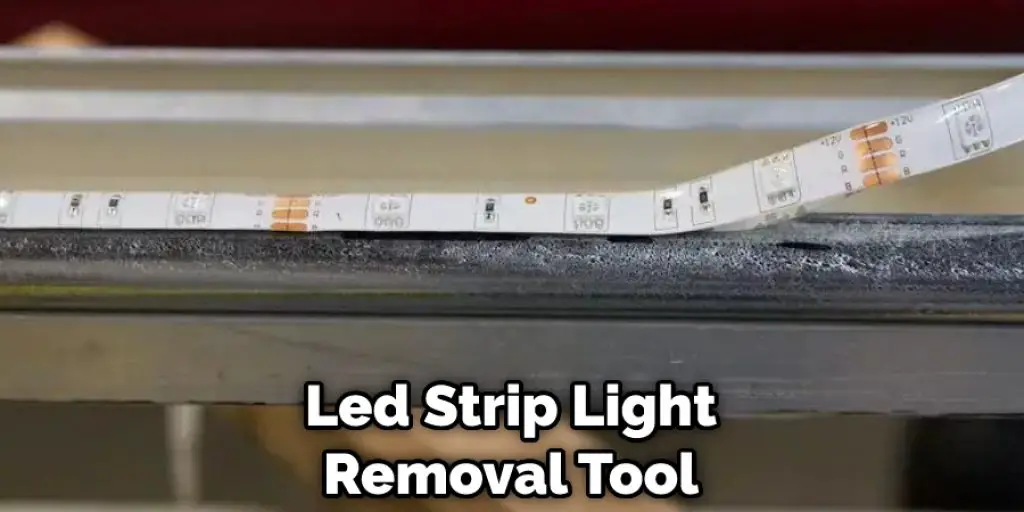
- Led strip light removal tool (optional)
Step by Step How to Remove Led Strip Lights From Ceiling
1. Finding the Power Source
The first step is to find the power source for your led strip lights. This will usually be a switch on the wall, but it could also be a power strip or an outlet. Power source locations can vary, so it’s a good idea to refer to your installation manual for specific instructions.
2. Turning Off the Power
Once you’ve located the power source, the next step is to turn it off. This is important for safety reasons, as removing led strip lights can be dangerous if done while they are powered on. First, flip the switch to the “off” position.
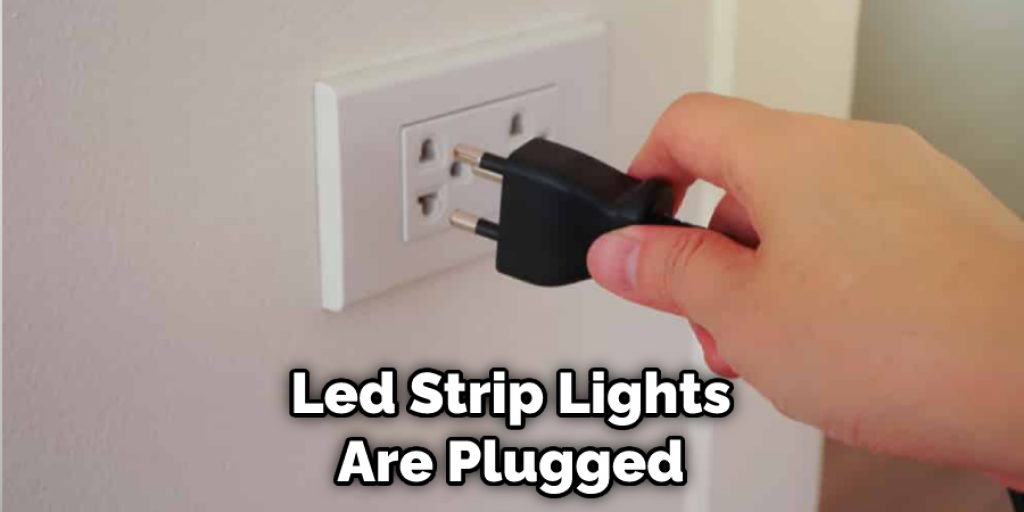
If your led strip lights are plugged into a power strip, unplug them from the strip. If they are plugged into an outlet, you will need to remove the plugs from the outlet.
3. Disconnecting the Wires
After the power is off, the next step is to disconnect the wires that connect your led strip lights to the power source. For this step, you will need a screwdriver. First, locate the screws that hold the wire connector in place.
There are usually two screws, one on each side of the connector. Unscrew these screws and remove the connector. If your led strip lights have a plug, simply unplug it from the outlet.
4. Inspecting the Ceiling for Damage
The next step is to inspect the ceiling for any damage that may have occurred during installation. Led strip lights are typically affixed to the ceiling with adhesive tape, so it’s important to check for any ripped or loose tape. If you find any damage, it’s best to repair it before proceeding.
5. Identifying the Type of Led Strip Lights
There are two main types of led strip lights: those with clips and those without. Clip-type lights have small metal clips that attach the light to the ceiling. Non-clip lights are held in place with adhesive tape. It’s important to identify your light type, as this will determine the best removal method. If you’re not sure which type you have, refer to your installation manual.
6. Preparing to Remove the Lights
Once you’ve identified the type of led strip lights you have, it’s time to prepare for removal. If your lights have clips, you will need to gather a few supplies: a screwdriver, a pair of pliers, and an led strip light removal tool. The removal tool is optional, but it can make the process easier. You will only need the screwdriver if your lights do not have clips.
7. Using a Screwdriver to Remove the Lights (Non-Clip Type)
If you are removing non-clip type lights, the first step is to use a screwdriver to remove the adhesive tape. Start by gently prying up one corner of the light with the screwdriver. Once you have a small gap, insert the screwdriver blade and twist it to create a larger opening.
Continue doing this until the entire light is detached from the ceiling. If the adhesive is very strong, you may need to use a putty knife or another type of tool to help pry up the light.
8. Using a Pliers to Remove the Lights (Clip Type)
If you are removing clip-type lights, the first step is to use a pair of pliers to remove the clips. Start by gently gripping one of the clips with the pliers and twisting it back and forth until it comes loose.
Repeat this process for all of the clips. Once the clips are removed, the light should come loose easily. If it does not, you may need to use a putty knife or another type of tool to help pry it up.
9. Using a Led Strip Light Removal Tool
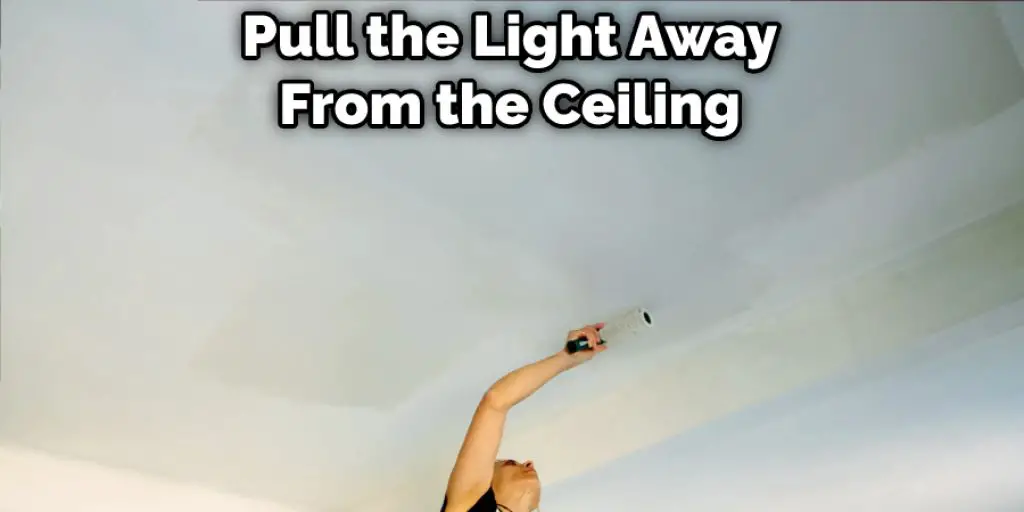
The process is very simple if you have a led strip light removal tool. Start by inserting the tool under one corner of the light. Then, twist the tool to loosen the adhesive and pull the light away from the ceiling. Repeat this process until the entire light is removed.
10. Checking for Any Remaining Pieces
Once the lights are removed, it’s important to check for any remaining pieces. Led strip lights typically have two parts: the light itself and the power cord. Make sure both parts are completely removed before proceeding. If any pieces are left behind, they could cause damage to your ceiling.
11. Cleaning Up the Area
The last step is to clean up the area. If there is any adhesive residue or other debris, use a damp cloth to remove it. First, test the cloth on a small area to make sure it will not damage your ceiling. Once you’re satisfied, proceed to clean the entire area. Once the area is clean, you can proceed with your chosen ceiling repair method.
How Long do Led Strip Lights Last?
Most led strip lights have a lifespan of 50,000 hours. This means that, on average, they will last for about five years with normal use. However, it’s important to note that this is just an estimate.
The actual lifespan of your lights will depend on a number of factors, such as how often you use them and what type of lights they are. If your lights last as long as possible, it’s important to follow the manufacturer’s recommendations for care and use.
How Much Power do Led Strip Lights Use?
The power consumption of led strip lights depends on the number of lights and the length of the strip. For example, a 5-meter strip of 50 LEDs will consume about 7 watts of power.
A 10-meter strip of 100 LEDs will consume about 14 watts of power. The power consumption of your lights will also depend on the type of LEDs used. For example, RGB LEDs typically use more power than standard LEDs.

Tips and Warnings on How to Remove Led Strip Lights From Ceiling
Tips:
- Always unplug the light before starting to remove it.
- Use a soft cloth to avoid scratching the surface as you clean.
- Be careful not to pull too hard on the strip, which can damage both the strip and the ceiling.
- If the strip is difficult to remove, try using a hairdryer on the low setting to heat up the adhesive. This will make it easier to remove the strip.
Warnings:
- Be careful not to damage the ceiling when removing the strip lights.
- Do not use any sharp objects to remove the strip lights, as this can damage both the light and the ceiling.
- Use caution when handling the light strips, as they can be fragile.
- Use safety goggles when working with any kind of electrical equipment.
Can You Cut Led Light Strips?
Yes, you can cut led light strips. Most strips have markings that indicate where they can be cut. These markings are typically located every few inches. When cutting the strip, be sure to use a sharp blade and make a clean cut. Otherwise, the strip may not work properly. Also, be sure to dispose of any sharp objects properly to avoid injury.
Conclusion
So there you have it! The complete guide on how to remove led strip lights from ceiling. We hope this article was helpful and that you are now able to take down those pesky LED strips without any trouble. If you have any questions or comments, feel free to leave them below. As always, thanks for reading!


