If you are thinking about remodeling your home, there is a good chance that at some point, you will have to deal with plaster walls. Plaster is an excellent material for walls because it’s relatively easy to work with and can be molded into beautiful designs. However, over time plaster becomes brittle and cracks or falls off of the wall ultimately.
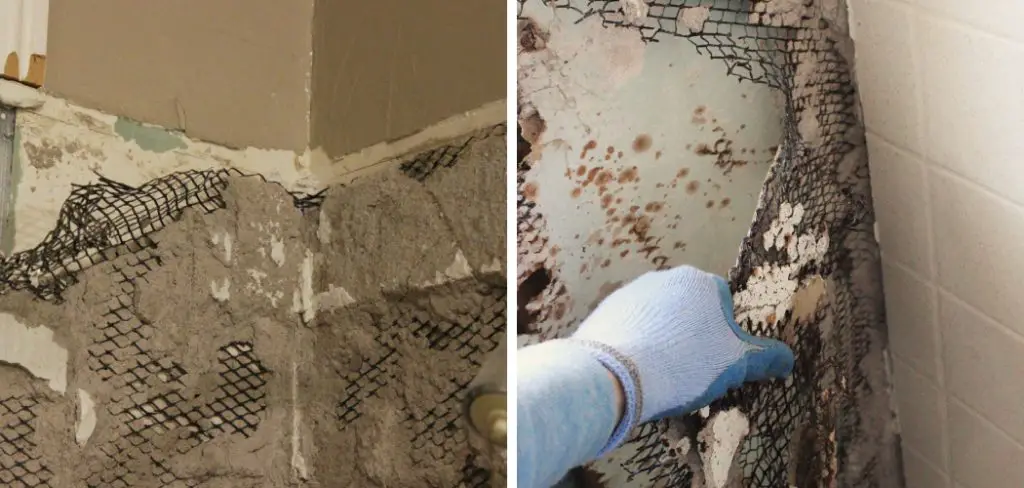
When this happens, you will need to remove the plaster and replace it with drywall. Plaster tends to crumble and fall off the wall in large chunks when you start taking it down. This makes removing it with wire mesh extremely effective because the mesh holds everything together as you pull it off of the wall.
The problem is, that you can’t just drive to your local hardware store and pick up some mesh. So, this article is for you. You will learn to remove plaster walls with wire mesh with just one simple trick!
Step to Follow on How to Remove Plaster Walls With Wire Mesh
Step One: Determine
If you want to remove masonry from your home, first make sure it is coming away from the wood. If it is just drywall, then these instructions will not help you.
It was cheap because it was ugly, falling apart, and had no heating/cooling; it was convenient because medical students need not worry about angering homeowners with loud footsteps or other noises that might disturb the family or other tenants. So my first order of business after medical school was to determine how bad the plaster damage was.
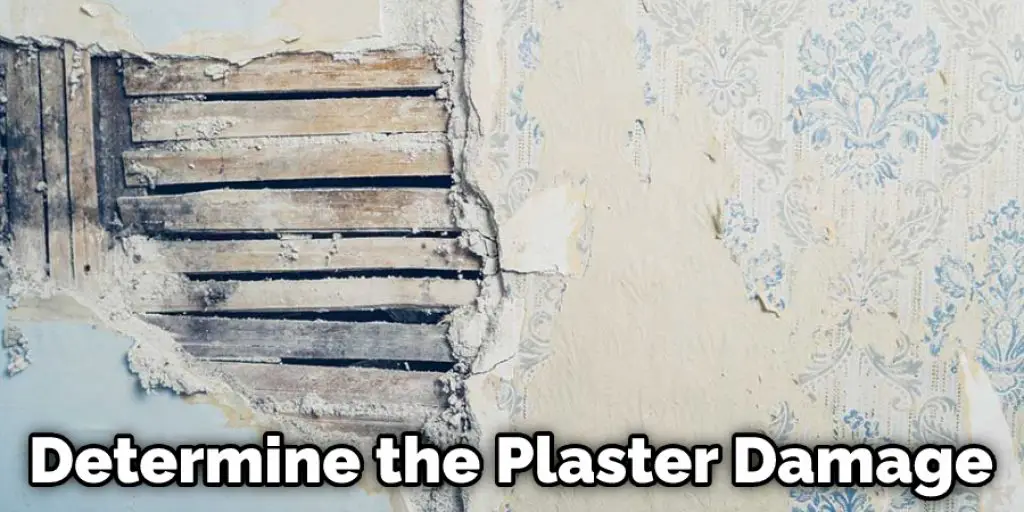
I could tell there were holes because the drywall was darker and cracked. I could tell there were cracks because the plaster would be lighter colored. The gaps stood out from those portions of the wall that were not covered by the wallpaper to begin with, as well as from those portions covered by wallpaper that had been torn off.
Step Two: Use Wire Mesh
I bought wire mesh at the hardware store, as well as a box of drywall nails and a hammer. I hammered the wire mesh into the cracks that separated from the frame, then nailed it in place with two drywall nails per crack. This was very time-consuming work because there were so many cracks to repair.
Now you have to wait until it dries out. When dealing with plaster, it is necessary to let things thoroughly dry out before beginning another step. You can do this in a day or so by simply walking away from the project for the time being. If you are worried about your progress, you can always use a hammer to tap away the mesh slowly.
The paint will flake easily by just scratching it with your fingernail. You might find that some wire appears in places that were not there before. This is because the wire itself expands when it gets wet and often breaks through the plaster. If it does happen, try to remove as much of it as possible by whatever means are necessary.
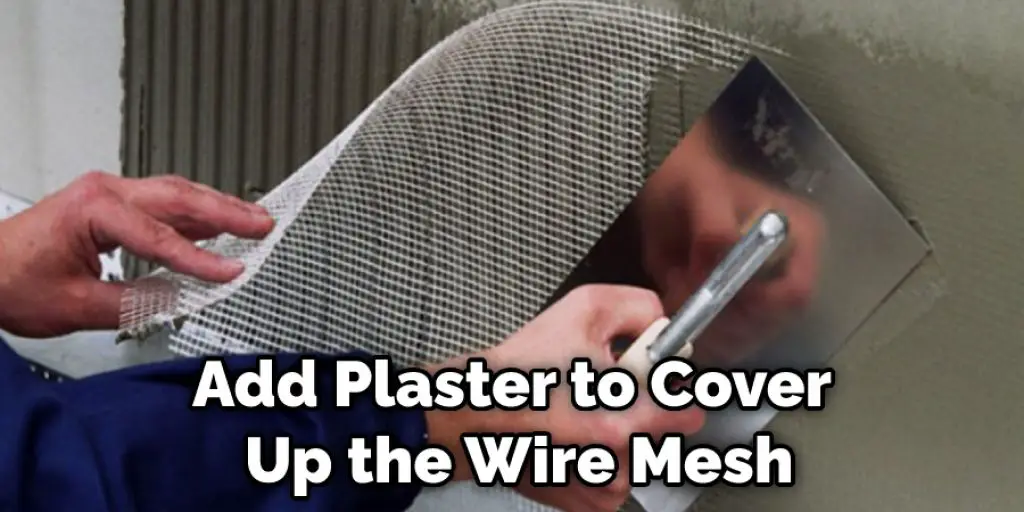
Step Three: Add Plaster
Add plaster to cover up the wire mesh you’ve added. Since I was repairing cracks in the wall, this step wasn’t necessary. However, if you are trying to patch up holes, you’ll have to add some plaster before continuing. After spending three days letting it dry out, there may be no wire mesh visible at all.
If that’s the case, keep plastering until you see something you don’t like, then cut it out with a utility knife before continuing. In some places, the plaster had begun to disintegrate into powder or sand. This is inevitable for old buildings, including homes in urban areas.
Sometimes people do not bother with patching up cracks in their walls because they use a coat of paint to cover it up. In the case where the plaster has been painted, it’s possible that you can scrape away the paint with a putty knife and patch up the hole.
Step Four: Remove Wire Mesh
The only thing left to do is remove the wire mesh you used to put in your plaster. Lastly, use a nail set and hammer it into the hole created by removing the screen mesh you used before. Next, fill up any remaining small holes with spackle or wood putty, then paint over these areas.
Watch out for little holes in the drywall lined by wire mesh, which is somewhat harder to fix. It will be much easier to find a long piece of straight metal piping to caulk over the area. I was lucky because no plaster fell through anywhere in my home, but your mileage may vary.
The wire mesh will often fall out on its own, but you might have to push it back in with a pair of pliers or something similar if this is the case. Clean up any plaster spills on the floor with a wet sponge. These instructions will teach you how to remove plaster walls with wire mesh.
Step Five: Maintain
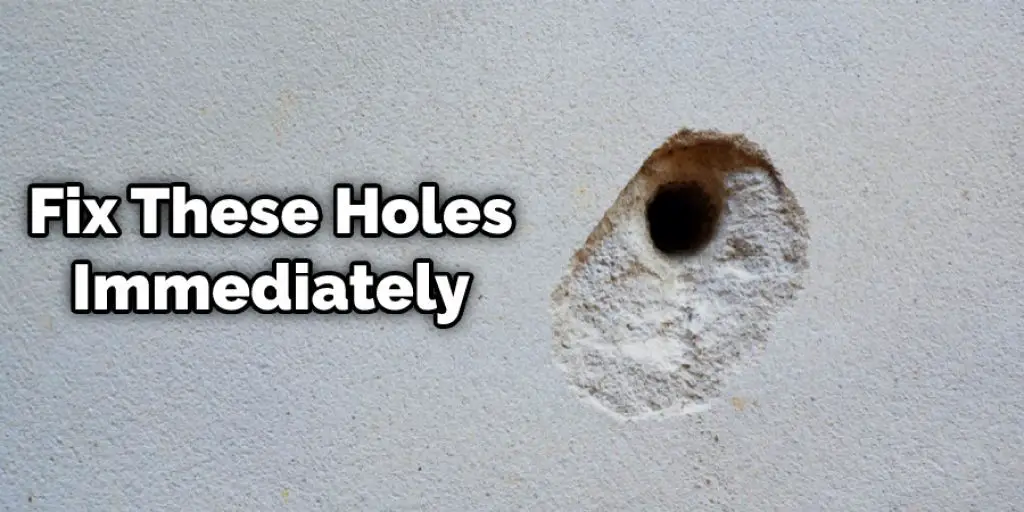
Keep an eye out for any other holes that might pop up in the wall. If you are constantly tearing down wallpaper, it is likely to take chunks of your plaster with it at some point or another. I recommend fixing these holes immediately, so they do not get bigger over time.
If there are more enormous tears on your walls, then you should think about getting some drywall and new plaster. However, wire mesh will do the trick if you have a few tiny cracks that need to be stitched up as fast as possible. Another possible disadvantage of using wire mesh is that it will rust over time if the wall stays wet for an extended time.
Conclusion
The plaster walls should be removed and saved for another time, as they still serve a purpose. This article has provided you with the information needed to remove your plaster wall without damaging it or yourself. You now know how to remove plaster walls using wire mesh and other methods such as sledgehammers, hammers, crowbars, jack boards, and more.
If there is any question left unanswered about removing your plaster wall at home, contact us today! We’ll do all we can to help make this process go smoothly for you, even if that means coming out on-site and doing it ourselves! This blog post has given helpful advice on how to remove plaster walls with wire mesh.
You can also read it: How to Paint Grass on Wall


