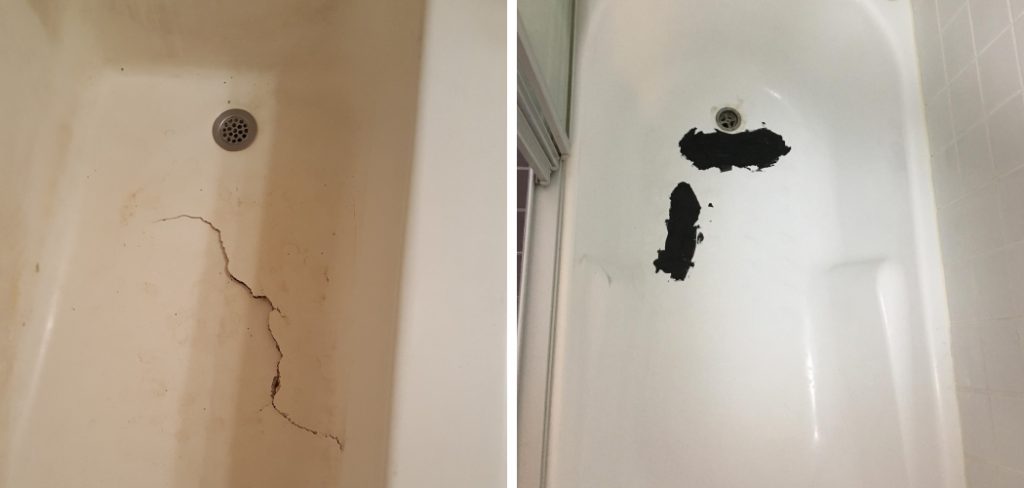
If you’ve ever been faced with a cracked tub floor, then you know that it can be a huge pain. Luckily for you, this blog post will provide some simple steps on how to repair a cracked tub floor and avoiding disaster. Follow these easy steps and enjoy a smooth, crack-free surface once again! The first step is to determine if the crack is still under warranty from the manufacturer.
If so, call them, and they will either send someone to fix it or tell you how much money needs to be sent for them to come and do it themselves. The second step is removing all of the water from your tub. Once that’s done, remove any silicone or other material on top of the crack with a putty knife. Next, apply an epoxy coating over the top of where there was once a crack. Read this blog till the end to know the full step process.
5 Reasons That Causes Cracked Tub Floor
- The water left in the tub after a long time will start to corrode and rust the bathtub floor.
- Hairline cracks in the bathtub surface can be caused by temperature changes when someone steps out of the tub, which urges to contract when it cools down and expand when it heats up.
- Water spilling over the side of the tub while taking a shower is another reason for hairline cracks in your bathroom floor.
- Bathroom flooring that wasn’t sealed properly may lead to a cracked tub surface over time.
- The use of acidic or alkaline cleaners in your bathtub will also cause it to corrode and crack the surface.
So try to avoid these 5 things, so your beautiful bathroom won’t have any cracks in it.
Required Tools and Supplies:
- Bowl
- Putty knife
- Bucket or large container to hold water
- Towels or Shop-Vac
- Silicon Caulk, Epoxy Coating, and Primer
Instructions: How to Repair a Cracked Tub Floor
Step 1:
Take a bowl and fill it with water. Then, place it in the tub where the leakage occurs and let it sit for 30 minutes. This will help determine how severe the crack in your tub really is. If any water begins to seep out, then you should call a plumber and schedule an appointment to get your shower repaired immediately.
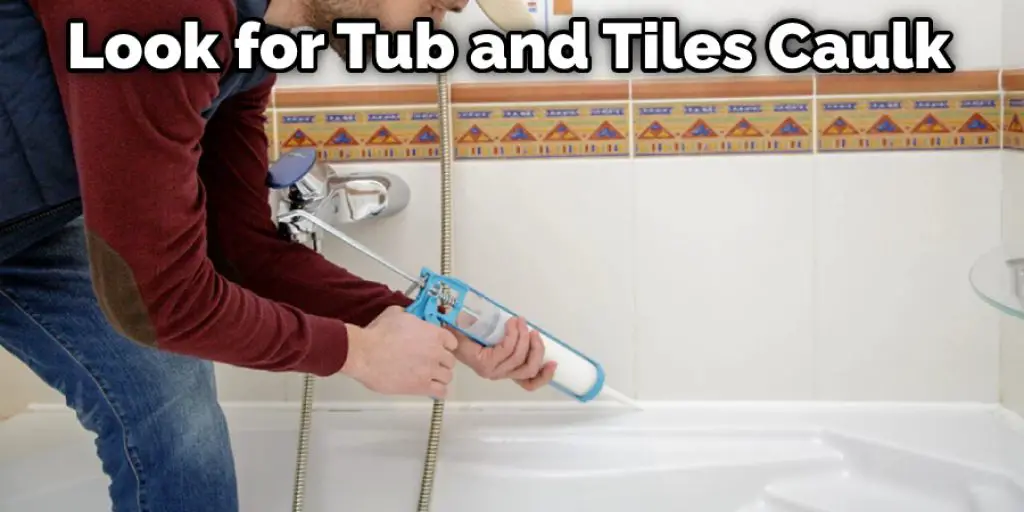
Step 2:
For a small crack where water is leaking at a slow rate, you may be able to save the day with just a tube of bathtub caulk. Look for tub and tiles caulk that’s specially formulated for use around water. This is very important as regular bathtub caulk will not hold up against moisture and is likely to peel away in a short amount of time.
Step 3:
If your shower drains slowly, it could be due to debris caught in the drain, which may also have caused the crack in your tub. Call a plumber and have them snake down the drain. If any deposits come out with the water, this was likely an issue that caused the crack, and you should plan on having a professional take care of both issues at the same time.
Step 4:
If your shower was not draining slowly before the crack formed, then it’s likely that something happened to stress out the plumbing and cause the crack. This could include shifting in the floor, changes in humidity, or faulty sealant around the drain. When these things happen, you may need to call a professional plumber to take care of the problem or make some repairs yourself if you are familiar with basic plumbing techniques.
Step 5:
Suppose you determine that it’s time for a full tub replacement due to your crack not being repaired; set aside time to measure the dimensions of your existing tub. You will want to have this available when you go shopping for your replacement so that you can be sure it fits in the same space!
Step 6:
Once you are ready, head to the hardware store with your measurements. See what’s currently available on their shelves and consider any design features you’d like to have, such as a molded seat or hand-held shower. Ask the staff to help you find any specific selections if they aren’t visible on the shelves and get their recommendations for maintenance and care of your new tub.
Step 7:
Once you’ve chosen your tub, work with the store employees to load it onto a cart and cover it with a sheet to take home. They will cut the drain down for you, allowing it to fit in your car and load up your new bathtub. Don’t forget a bottle of tub-and-tile caulk when you leave!
Step 8:
Once you get home, have someone help you move the old tub out and the new one in while you start working on patching up all of the cracks. Put a drop cloth down around the area for protection from any mistakes or spills.
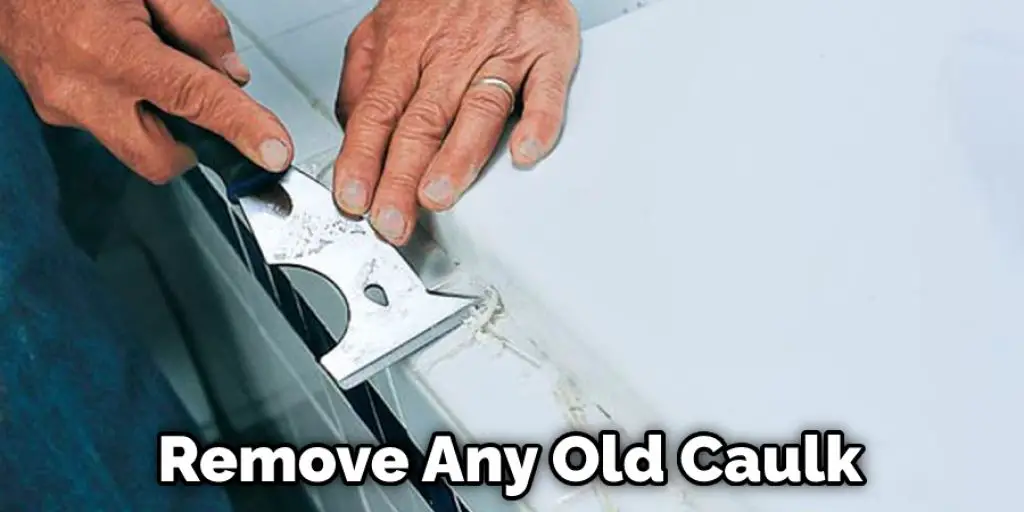
Step 9:
Remove any old caulk from outside of the tub with a utility knife, leaving an even edge to make it easier to match up when replacing it. Next, replace the caulk with a tub and tiles caulk that will hold up against water, using smooth strokes for application for best results.
Step 10:
Remove the old sealant from the bathtub inside around the drain with an awl or screwdriver to expose bare metal. Next, apply a bead of tub-and-tile caulk around the drain, smoothing it out with your finger to remove any air pockets. Let this dry for about 20 minutes before you put the new bathtub in place.
Step 11:
Put the new tub into the space you have cleaned up, making sure that it’s level both fronts to back and side to side. Double-check that it’s in the correct position, and then start setting your tub into place.
Step 12:
Use a hammer to tap around the outside of the new bathtub, making it fit snugly against the walls; if there are any small areas where it doesn’t seem to be working, use a rubber mallet to make adjustments. Then, work your way around the entire tub until it’s secure.
7 Tips To Prevent Cracked Tub Floor in Future
- Test the faucet. Before installing a new tub or sink, turn off the water supply to it and check all the pipes for leaks.
- Ensure there is no weight on the edge of tubs/bathtubs. Do not sit at the edge while children are using it!
- Avoid exposure to rapid changes in temperature (hot to cold, cold to hot).
- Keep the sealant away from the bottom, where it can wear off over time. If you already let these areas wear out, fix them before applying new sealant!
- Stay away from chemicals (such as hair dye, bleach, etc.), which can wear away the tub material.
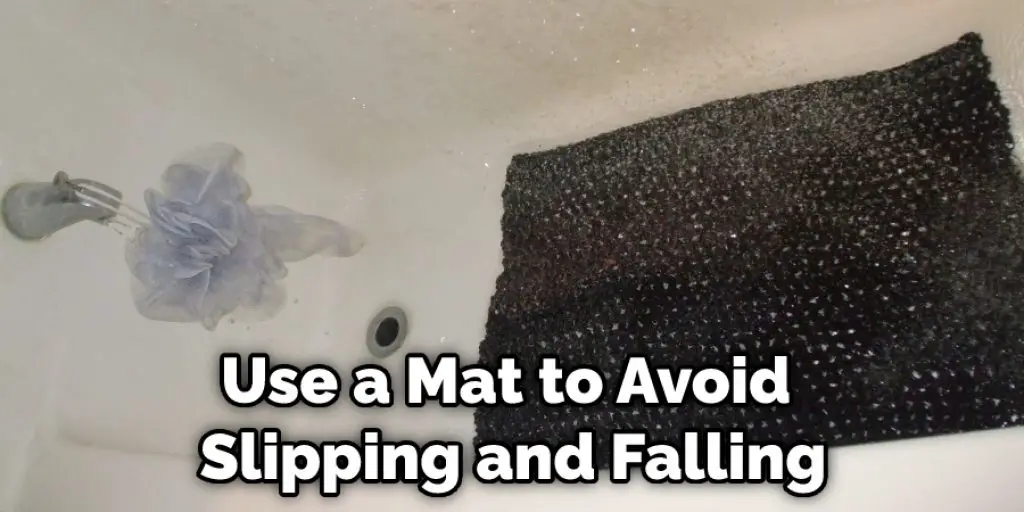
- Use a mat at all times to avoid slipping and falling!
- Do not soak in your bathtub for long periods of time if you have hard water. This will cause mineral build-up that will eat away the surface over time!
Frequently Asked Question
Will Flex Seal Fix a Cracked Bathtub?
Flex Seal is a type of sealant that can be used to fix many types of leaks in the home. It comes in a variety of colors and will work on different surfaces, including vinyl, tile, grout, porcelain, plastic, ceramic tile, and even metal. It works by creating an invisible barrier that keeps water from leaking out again. Flex Seal also provides waterproofing protection for up to 12 months if it is applied correctly.
The benefits of using Flex Seal are:
- It prevents water damage from leaking into your home or office and damaging your belongings.
- It provides complete protection against mold growth due to its anti-microbial properties.
- It’s easy to apply with no mess or hassle because it dries quickly and doesn’t require extra tools like brushes or rollers.
How Much Does It Cost to Fix a Crack in A Tub Floor?
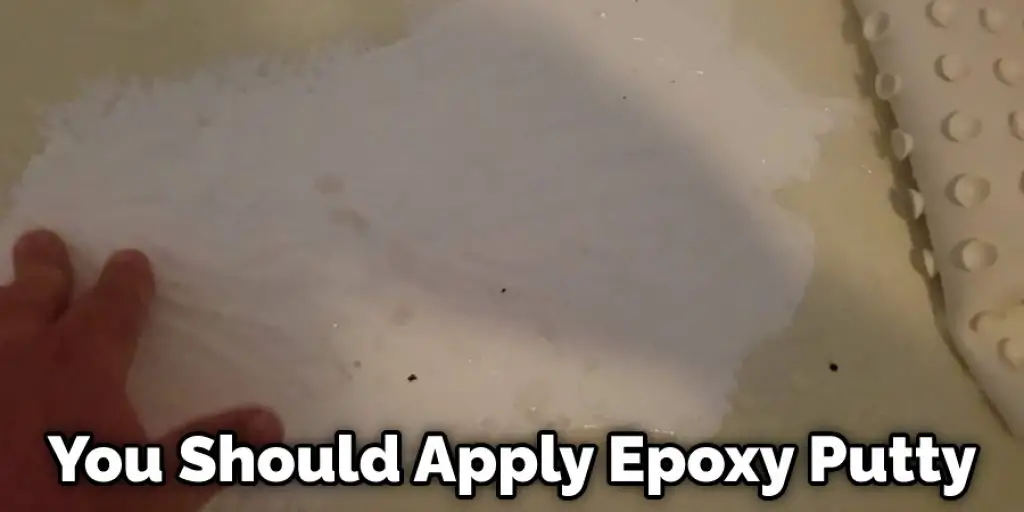
The cost of fixing a crack in a tub floor can vary depending on the size and location of the problem. A professional is recommended to repair small cracks, as this is an easy task for them. However, if you are looking to do it yourself, then we recommend that you purchase epoxy putty from your local hardware store.
Epoxy putty is a type of polymer-based resin that can be used to fill small holes or cracks in a variety of surfaces such as concrete, tile, and stone. It has the ability to bond with different types of surfaces and form a hard protective layer over them. You should apply epoxy putty by mixing it with water and pouring it into the crack until it fills up completely before allowing it to dry for about 24 hours.
What Happens when A Tub Floor Cracks?
If a tub floor cracks, it can result in leakage and possibly cause water damage.
There are two ways to repair a cracked tub floor:
- Patch the area with epoxy or silicone caulk and cover it with tile or carpeting.
- Replace the whole floor with new wood flooring, concrete, or another material that is more durable than vinyl tile.
Why Is My Tub Floor Cracking?
There are many reasons why your tub floor is cracking. Some of the possible causes for this issue are:
- The temperature in your home has been too high or fluctuating throughout the day, causing moisture to build upon the surface of the tub and cause it to expand and crack.
- A buildup of mineral deposits in the water caused by hard water can cause a buildup of pressure which will also lead to cracks.
- Rusting around the drain may have caused it to weaken and allow excess pressure to push up from below, causing bubbles that then break through the surface of your tub floor.
Can a Cracked Tub Floor Be Repaired?
Yes, it can be repaired. To repair the cracked tub floor, you will need to use special concrete or epoxy material to fill in the cracks and create a strong bond between the surface of the tub and surrounding materials.

Conclusion
Cracked tub floors are not an uncommon problem. But, if you have a cracked floor, don’t worry! Repairing a cracked tub floor is not as difficult as it may seem. It just requires the right materials, proper preparation, and patience to get the job done.
To start your repair process, you need to make sure that all of your tools are laid out neatly in front of you on a clean surface. Then, follow the steps we have discussed on how to repair a cracked tub floor for you, and it will be as good as new again. You won’t believe how easy it is to get the job done!
Check it out: How to seal gap between exterior wall and floor.


