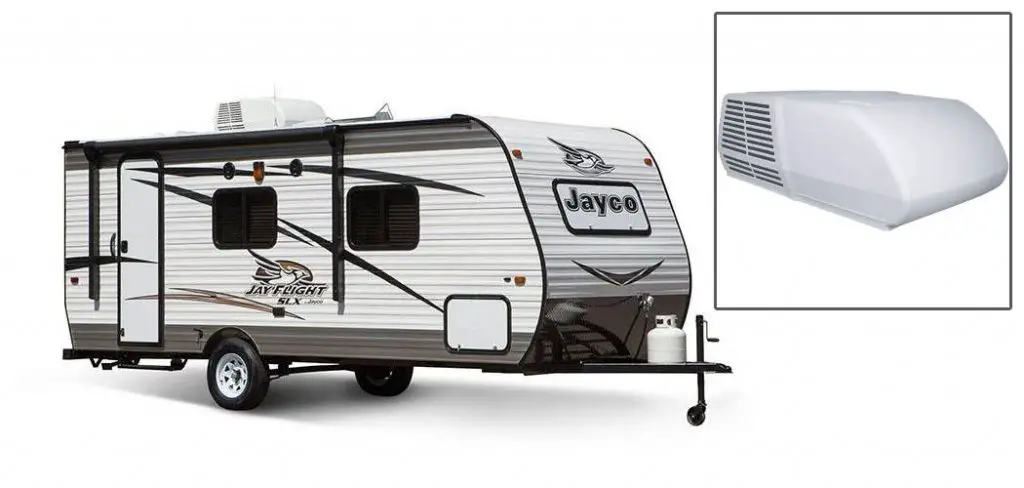
How to Replace a Ducted Rv Air Conditioner
If you’re looking to replace the air conditioner in your RV, you must know some of the basic guidelines for getting started. This article will walk through the basics of replacing an old ducted system with a new one and how to tell if your current model needs replacement.
The first thing you’ll need is a professional installer who has experience with these systems, as they are large and difficult to install without prior knowledge. For many people, summertime means living in their RVs.
One of the biggest concerns for RV owners is how to keep cool. Ducted air conditioners are often used to replace old window units and evaporative coolers. Still, they can be costly to install and maintain if you’ve been thinking about replacing your old system with a ducted one. Therefore, it is essential to know how to replace a ducted RV air conditioner.
10 Steps to Follow on How to Replace a Ducted Rv Air Conditioner
Step One: What tools do you need?
You will need some basic tools to replace a ducted RV air conditioner. This includes a tape measure, lumber or lumber crayon, pencils or pens, a screwdriver, and other screws that go into the air conditioner. Always read through the user’s manual before you install it.

Step Two: Deciding on a location
The next thing you’ll want to consider is where you plan on replacing the air conditioning unit. You will need to put it in an area where there are at least 10 inches of open space around the outside of your motorhome or RV. Keep in mind that a floor drain should be right next to the unit. If you have decided against a floor drain, you will need to put it in an area where the floor doesn’t get wet.
Step Three: Choosing the correct type of RV Air Conditioning Unit
When choosing an air conditioner for your RV, be sure to select one that is designed specifically for RVs. You may also want to read any specific notes about your preferred unit or the manufacturer’s recommended RV size.
Step Four: Removing any obstructions
Clear away any furniture or other objects that might be blocking or impeding your old air conditioners. You’ll also need to make sure the power supply cord is unplugged from the outlet and any other places it might go. Figure out the best way to get rid of all obstructions so you can move on.
Step Five: Making the Air Conditioner Room Ready
To help with insulation, make sure all your doors and windows are closed. To keep your floor from getting too cold, use bedding, pillows, or rugs to cover it. And to keep your RV from getting too hot, set out any other items you have, especially if you are trying to put the A/C in one area.
You Can Check It Out to Install a Hard Start Kit on Air Conditioner
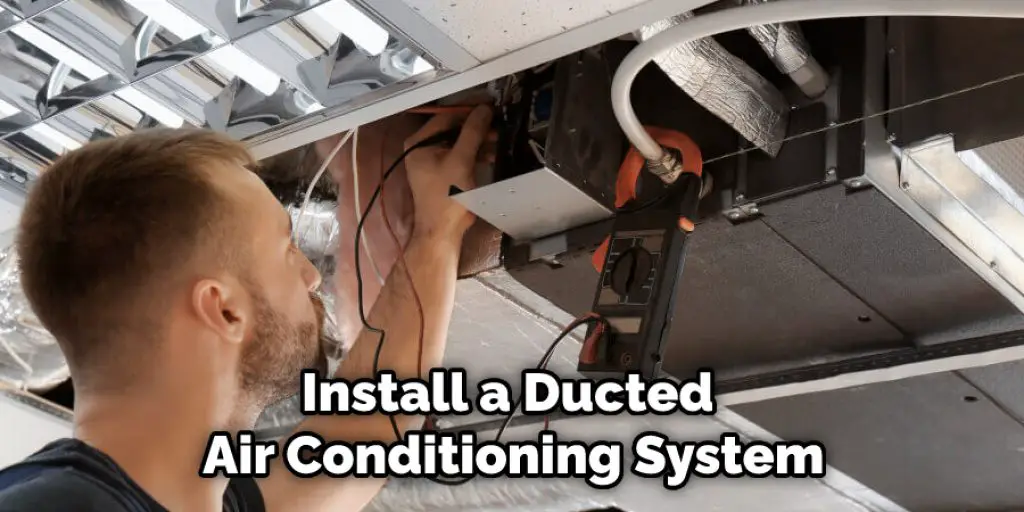
Step Six: Installing the Air Conditioner
You will want to make sure that you lay down the lines with the help of another person. Just make sure it is dragged along smoothly, with nothing pulling on it and nothing getting caught in it. Then, roll out the new lines that you will use to install the A/C.
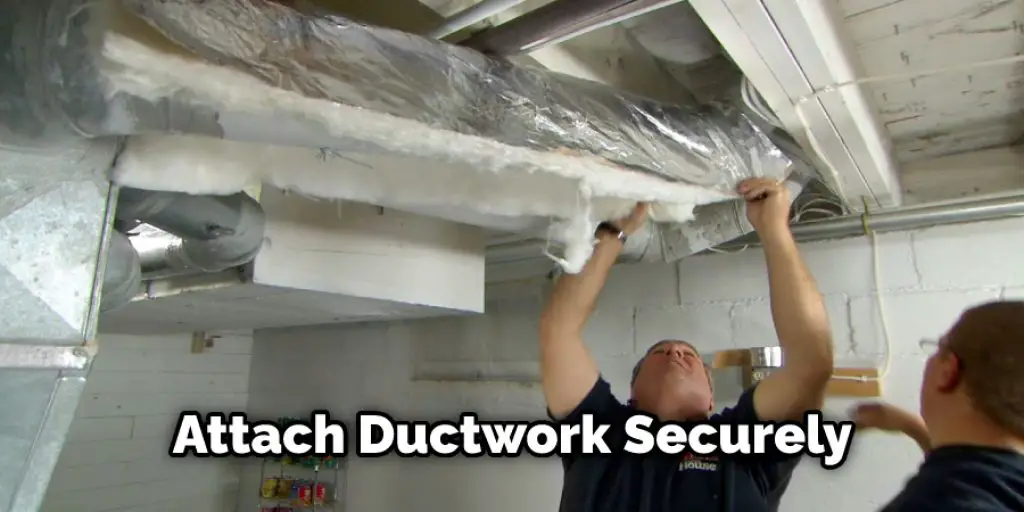
Step Seven: Connecting the Duct Work of the Air Conditioner
You will want to make sure you attach your ductwork securely. You can do this by securing it with screws or certain types of tape, depending on what kind of air conditioner you have. You may need to add extra screws if it is paper or foil. Make sure that you don’t overlap it too much when you’re using tape and put the two ends together when you’re done.
Step Eight: Connecting the Condenser
You should also make sure you connect your condenser to the new air conditioner. Look at the instructions for your specific unit, as each one may be different than others.
Step Nine: Putting in the Drainage
You will want to be sure that you put in a floor drain with whatever type of PVC or ABS pipe you need for your specific unit. You may also want to attach the drainage directly to the wall next to it. However, depending on how old your RV is, this could be difficult, and you may have to make some modifications.
Step Ten: Finishing the Job
After you have completed these steps, it is time to switch on your air conditioner and put in any extra items removed before. If you notice any loose screws or lines, then tighten them accordingly. And remember that if anything seems wrong, don’t hesitate to find someone to help you.
How Long Should a Ducted Air Conditioner Last?
To help with insulation, make sure all your doors and windows are closed. To keep your floor from getting too cold, use bedding, pillows, or rugs to cover it. And to keep your RV cooler, set out any other items you have, especially if you’re trying to use the A/C in one area.
The drain being closed during that work made my AC operate at higher pressure, which is harder on the system. Unfortunately, according to my RV repairman, this lowered its life expectancy from 15-20 years to about ten years. In either case, most people anticipate having this appliance replaced once every 3 to 8 years. How often should RV refrigerators be replaced?
Replacing an AC unit may seem like a daunting task, but it can be a great way to save money and learn some valuable skills. While it may be easier and less expensive for some people to hire someone else to do this work, if you’re up for the challenge, replacing your AC unit can be a great way to go.
Frequently Asked Question
Can You Change Existing Ducted Air Con Systems?
Yes, you can change existing ducted air-con systems. However, this will be a costly and complicated process as the ducts need to be disconnected from the old system and then connected to the new one. It is advisable that you get an expert opinion before starting any project like this as it can cause serious damage if not done properly.
Can You Install Ducted Air Conditioning Yourself?
It is not easy to install a ducted air conditioning system on your own. You need to have the right skills and knowledge in order to do so.
The best option would be hiring a professional who has the expertise of installing ducted air conditioning systems and will know what needs to be done in order for it to work properly.
Are Rv Air Conditioners Interchangeable?
RV air conditioners are not interchangeable. The components of an RV air conditioner, including the evaporator coil and compressor, have specific requirements for mounting to ensure proper cooling performance.
Components of an RV Air Conditioner:
Evaporator Coil: Mounts on top or bottom of the vehicle, whichever is best for your application.
Compressor: Must be mounted securely in a well-ventilated area away from direct sunlight and other heat sources like exhaust pipes.
Condenser Coil: Mounts inside or outside the vehicle, depending on your installation needs.
Conclusion
While this article was mainly about how to replace a ducted RV air conditioner, many other steps need to be taken when replacing the system. The most important step is ensuring you have all of the necessary parts and tools before beginning any work on your coolant system.
Suppose this sounds like something you would rather not do yourself or feel comfortable with due to experience. Then, the ductless air conditioner is an excellent option for the summer months and should be installed by professionals.
You may also like – How to keep rv air conditioner from freezing up.


