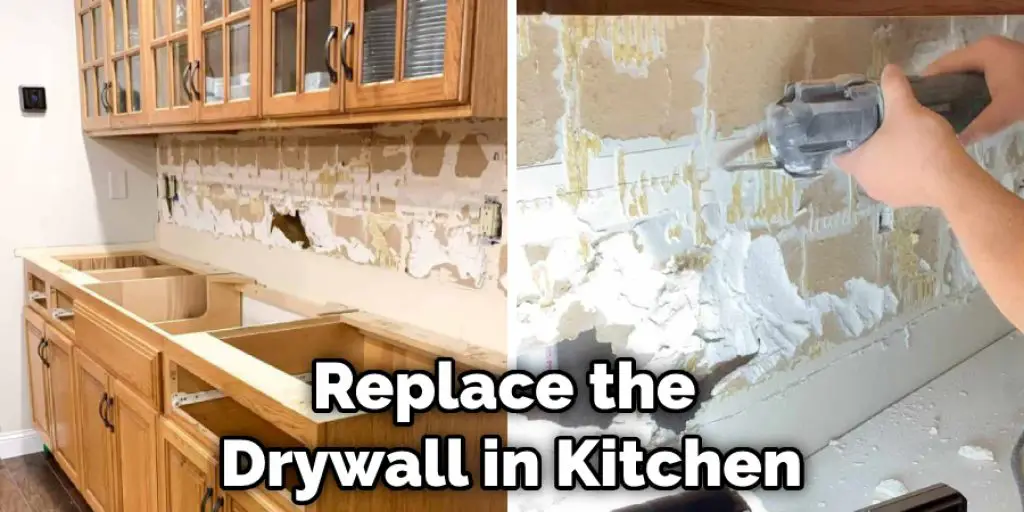
How to Replace Drywall Under Cabinets
Replacing drywall is a fairly common project that homeowners take on. It can be done quickly and easily, and it’s a great way to improve the appearance of your home. In this post, we’ll show you how to replace drywall under cabinets. This is a relatively simple project that can be completed in just a few hours. Follow these steps, and you’ll be able to finish the job like a pro!
Why It’s Important to Replace Drywall Under Cabinets?
Any homeowner knows that cabinets are an essential part of the kitchen. They provide storage space for dishes and cooking supplies, but they also help define the layout of the room. However, cabinets can also be a source of serious damage if they are not properly installed. One of the most common problems is water damage.
When water leaks from the sink or dishwasher, it can quickly seep through the cabinets and cause the drywall to buckle and break down. Over time, this can lead to mold growth and structural damage. That’s why it’s so important to replace drywall under cabinets when it becomes damaged. By taking this simple step, you can help to prevent costly repairs down the road.
Things You’ll Need
- Tape measure
- Circular saw
- Pry bar
- Hammer
- Chisel
- Utility knife
- Cordless drill
- 1 inch hole saw
How to Replace Drywall Under Cabinets Step by Step Guide
Step 1: Determine
In order to properly measure for the replacement of drywall, you will need to know how much drywall needs to be replaced. This can be done by using a tape measure and measuring the height and width of the damaged area. Once you have these measurements, you will need to find a piece of drywall that is the same size or slightly larger.
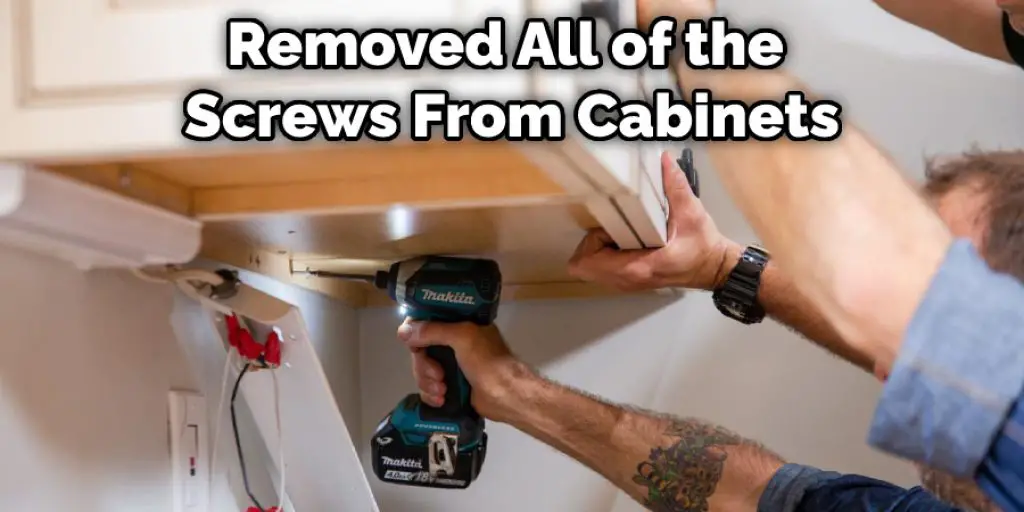
Step 2: Remove the Screws that Hold the Cabinet to The Wall
Next, you need to unscrew the screws or nails holding the cabinet to the wall. You will find them along the top of the cabinet and at the bottom. Once you have removed all of the screws, you can carefully pull the cabinet away from the wall.
Step 3: Remove Cabinet Doors and All Hardware
Use a putty knife to remove any silicone caulk or adhesive around the cabinet doors. If your cabinets are screwed in place, remove the screws. If they’re nailed, use a pry bar to remove them gently. Label each door as you remove it to know where it goes back later once the doors.
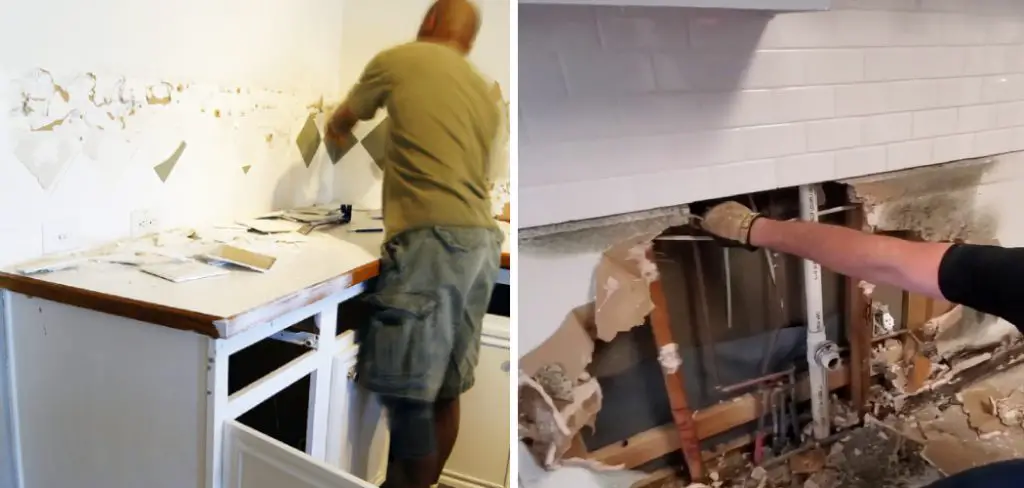
Step 4: Remove the Damaged Drywall
Use a utility knife to score the paint along the drywall seam. Cut through the paper backing, but not the metal lath underneath. Pry up the drywall with a putty knife or pry bar, careful not to damage the lath. Remove any nails or screws holding the drywall in place.
Step 5:Cut Out The Damaged Drywall
Use a drywall saw to cut out the damaged drywall. Be sure to wear a dust mask and safety goggles. You’ll also want to cover any exposed wires with electrical tape.
Step 6:Measure and Cut The Replacement Drywall
It’s important to get an accurate measurement for the new drywall because you want it to fit snugly in place. Use a tape measure to determine the dimensions of the damaged drywall, then transfer those measurements onto the new piece of drywall. Cut along the lines you just drew with a utility knife.
Step 7:Attach The Replacement Drywall
To attach the replacement drywall, use a screw gun to drive 1-1/4 inch screws through the wood cleats and into the framing. Space the screws about 8 inches apart.
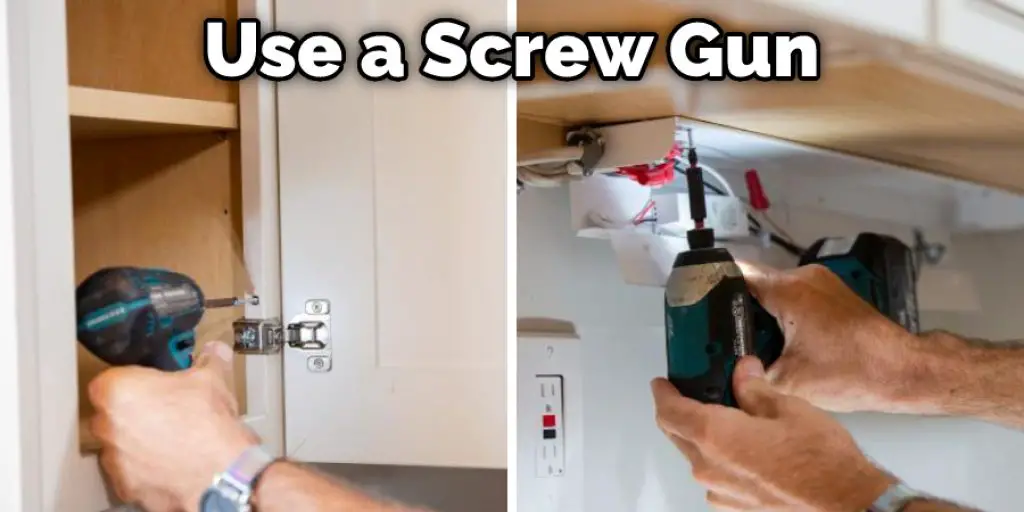
Start in the middle of the drywall and work your way out. Use a level to ensure the replacement drywall is even with the surrounding drywall. If the old drywall was damaged beyond repair, you might also need to patch or replace the surrounding drywall.
Step 8:Tape The Joints & Finish The Surface.
Tape the joints between the new and old drywall with fiberglass mesh tape. Apply a thin layer of joint compound over the tape, then finish the surface as desired. You may need to sand lightly after the compound dries.
Step 9: Reattach the Cabinet to The Wall with Screws
Using a drill, screw the cabinet back into place on the wall. Be sure to use screws that are long enough to go through the drywall and into the studs behind it. Use as many screws as necessary to reattach the cabinet securely to the wall.
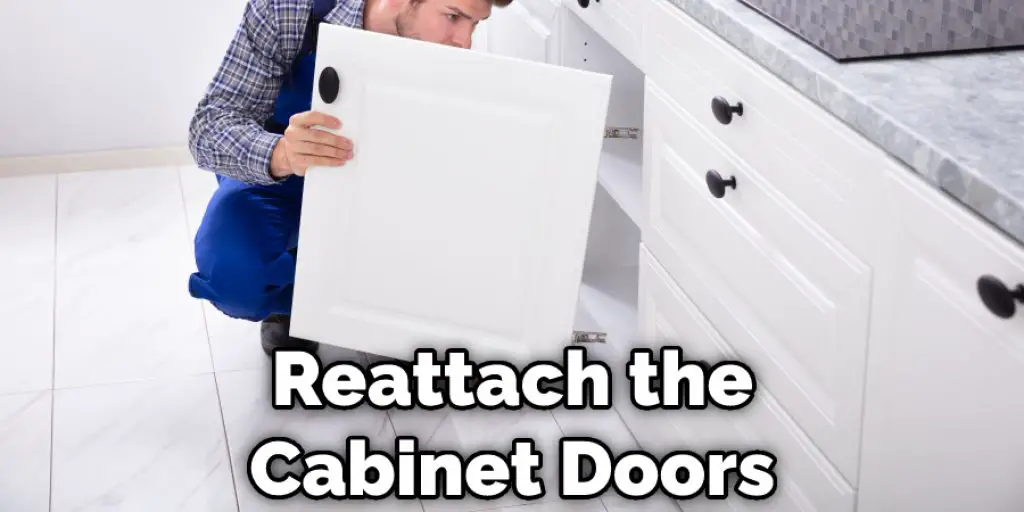
Step 10: Reattach Cabinet Doors and Hardware
Now that you’ve replaced the drywall under your cabinets, you’re ready to finish up the job. Reattach the cabinet doors and hardware, and make sure everything is level and aligned before drilling new holes and attaching the hinges. Also, be sure to use screws or nails that are long enough to go through the new drywall and into the studs beneath. Your cabinets will look good as new with a little bit of work! If you want to know more about how to replace drywall under cabinets, keep reading.
Some Other Consideration Things
If your cabinets are old and need replacement, you may want to consider replacing the drywall under them. This can be a tricky project, but with careful planning and execution, it can be done successfully.
Here are some tips:
- Make sure you have the right tools for the job. You will need a saw to cut the drywall, a screwdriver to remove the cabinets, and a hammer to nail in the new drywall.
- Cut the drywall around the perimeter of the cabinets, being careful not to damage the surrounding wall.
- Remove the cabinets, being careful not to damage the drywall.
- Install the new drywall, using screws and nails to secure it.
- Install the cabinets, using screws or nails to secure them.
- Paint or wallpaper the new drywall to match the surrounding wall.
How Do You Replace Drywall After Removing Backsplash?
If you’re planning to remove your kitchen backsplash, you’ll need to know how to replace the drywall underneath. First, use a utility knife to score the caulk or grout lines around the perimeter of the backsplash. Then, use a putty knife or other flat object to pry the backsplash away from the wall. Be careful not to damage the drywall as you remove the backsplash.
Once the backsplash is removed, you’ll need to patch the drywall underneath. If there are any large holes or cracks, you’ll need to use a piece of drywall that’s larger than the hole. Cut the drywall to size and then screw it into place. Use drywall tape to cover any seams, and then apply joint compound. Allow the joint compound to dry completely before painting or installing a new backsplash. Keep reading for more information about how to replace drywall under cabinets.
How Do You Repair Walls After Removing Cabinets?
- Start by removing any baseboards or other trim around the cabinets. You’ll also need to remove the screws or nails holding the cabinets.
- Once the cabinets are removed, carefully inspect the drywall for damage. If there are any holes or cracks, you’ll need to repair them before continuing.
- Use a utility knife to score the drywall around the perimeter of the area where the cabinets are. This will make it easier to remove the drywall without damaging the surrounding areas.
- Carefully remove the drywall and dispose of it properly.
- Cut new pieces of drywall to fit in the space and secure them in place with screws or nails.
- Tape the seams and apply joint compound to the new drywall. Allow it to dry completely before painting or adding trim.
Frequently Asked Question
Can You Drywall Around Kitchen Cabinets?
Drywall is a great material for many different applications around the home. Kitchen cabinets are no exception. Drywall can be used to create a seamless look around kitchen cabinets, as well as provide extra support for the weight of the cabinets.
Do You Finish Drywall Behind Cabinets?
If you are replacing the drywall, you will need to cut out a section to fit the cabinet. You can use a jigsaw or a circular saw. Once the cabinet is in place, you can tape and mud the joint.
Can You Tile Over Peeled Drywall?
The answer is, it depends. If the drywall is only peeling in a small area and the underlying wall is in good condition, then you can patch the drywall and tile over it. However, if the drywall is peeling in a large area or the underlying wall is in poor condition, then it’s best to replace the drywall before tiling.
Does Drywall Need to Be Sealed?
If you’re planning to replace the drywall in your kitchen, it’s important to know how to seal it properly. Drywall is a porous material that can absorb moisture and lead to mold growth. Therefore, it’s essential to use a sealant when replacing drywall to prevent moisture from seeping through.
What Is a Drywall Patch?
Drywall is a material used to cover the frames and interior walls of a structure. It is often used as an alternative to plaster, a traditional material used for this purpose. Drywall is composed of gypsum, which is a mineral, and water.
Conclusion
Replacing drywall under cabinets can be a daunting task, but it is a project that can be completed by anyone with a few basic tools and some patience. Follow our simple guide to have your kitchen looking brand new in no time! Thanks for reading our post about how to replace drywall under cabinets.


