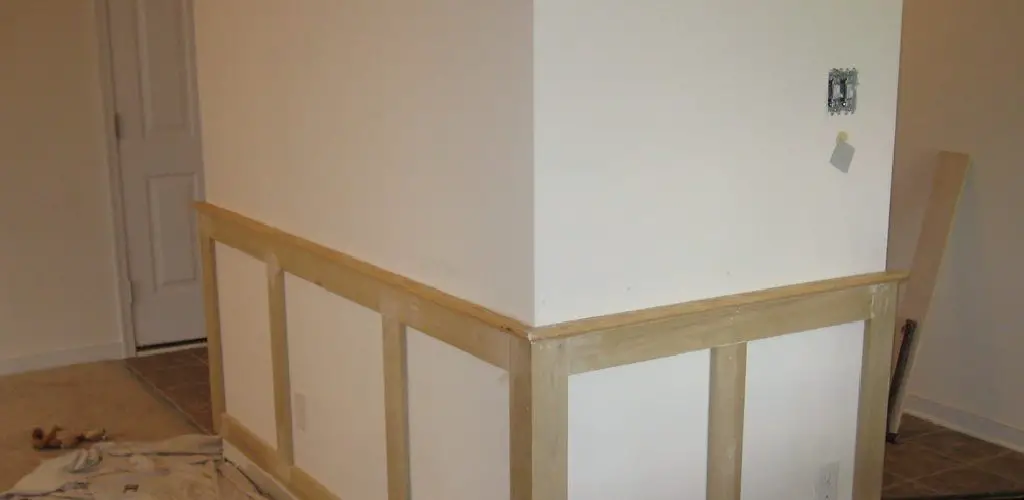
How to Replace Paneling With Drywall
Suppose you are thinking about replacing your paneling with drywall. If so, you’re making a smart decision. Drywall is a much more versatile material than paneling, and it provides a sleek, finished look to your walls. In this article, we’ll show you how to replace paneling with drywall in just a few simple steps. Let’s get started!
Paneling is a type of wall covering that is made from thin, pressed wood boards. While it can be attractive and functional, it is also susceptible to damage and requires regular maintenance. On the other hand, drywall is a much more durable material that can withstand everyday wear and tear. It is also easy to install and repair, making it an excellent choice for homeowners. Many people choose to replace paneling with drywall because of these benefits.
Required Tools and Materials
- Utility knife
- Straight edge
- Drywall saw
- Hammer
- Nail gun or hammer and nails
- Level
- Tape measure
- Square
- Bucket
- Drywall compound
- Sandpaper
A Step by Step Guide on How to Replace Paneling With Drywall
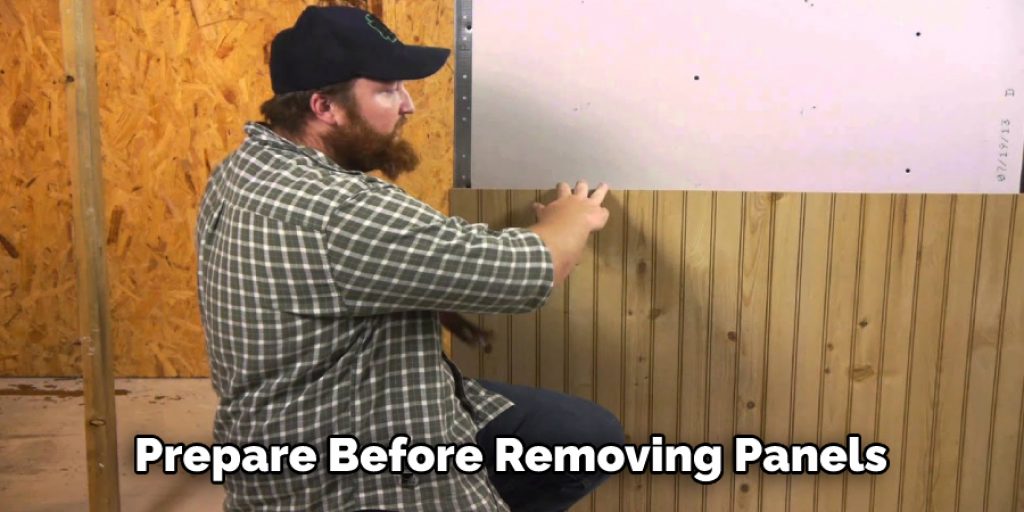
Step 1: Prepare Before Removing Panels
Before removing any panels, you must make sure that all of the necessary tools and materials are ready. This includes gathering a utility knife, straight edge, drywall saw, hammer, nail gun or hammer and nails, level, tape measure, square, bucket, and drywall compound. You will also want to ensure that the work area is cleared and ready to go.
The first step is to prepare the room you’ll be working in. This means removing all furniture and covering any floors or surfaces that may get damaged with tarps or plastic sheeting. Be especially careful when working near windows, as drywall dust can quickly get inside and cause problems down the road.
Step 2: Check What Is Behind the Paneling
You want to know what is behind the paneling before you go ahead and remove it. This is because, in most cases, the paneling was installed over studs. If you don’t take the time to check, you may tear out part of the wall that is not supposed to be removed.
There are a few different ways to check what is behind the paneling in your home. One way is to use a stud finder. A stud finder will help you locate the wood studs in your walls so that you can attach new drywall to them. Another way to check what is behind the paneling is to use a flashlight and look for wires or pipes.
If you can see any of these things, you will need to take care when removing the paneling so that you do not damage them. Finally, another way to check what is behind the paneling is to remove a piece of it and take a look. This may be the easiest way to determine if there is anything behind the paneling that you need to consider before removing it.
Once you have determined what is behind the paneling, you can begin to remove it.
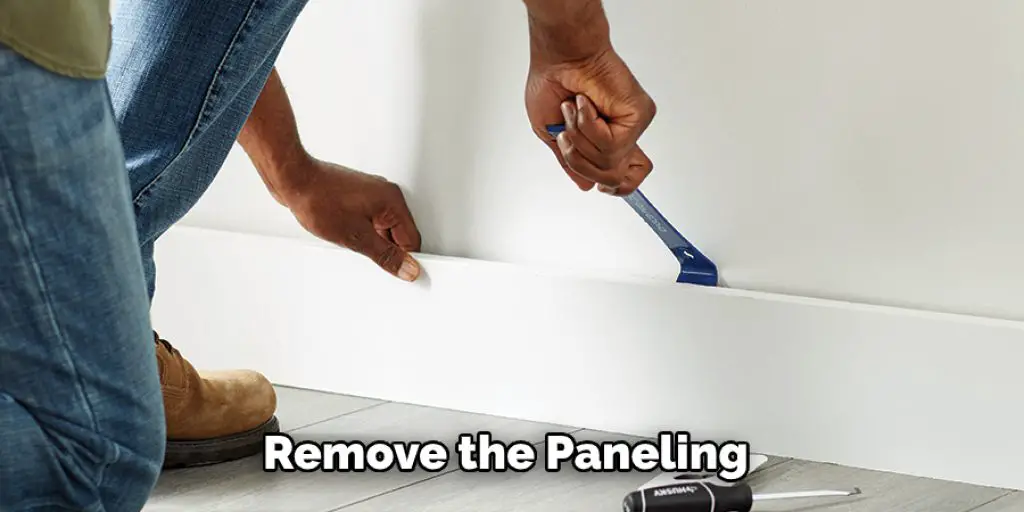
Step 3: Remove the Paneling
The best way to remove paneling is to start in one corner and work your way down. Use a utility knife to cut the adhesive that holds the paneling to the wall. Once the adhesive is cut, use a straight edge to help you pry the paneling off of the wall. Be careful not to damage the drywall or anything else behind it.
If any nails or staples hold the paneling in place, use a hammer or a nail gun to remove them. It is essential to remove all of the nails and staples so that the paneling does not fall off of the wall after you have removed it.
Step 4: Repair Any Damage
Once you have removed all of the paneling, you will likely see some damage to the drywall. This can include holes, dents, or cracks. Use a drywall saw to cut out the damaged areas of the drywall. Make sure that you are careful when doing this not to damage any surrounding areas.
Once the damaged areas have been cut out, use a hammer and nails to attach new pieces of drywall to the wall. Ensure that the new pieces are level and straight before nailing them into place.
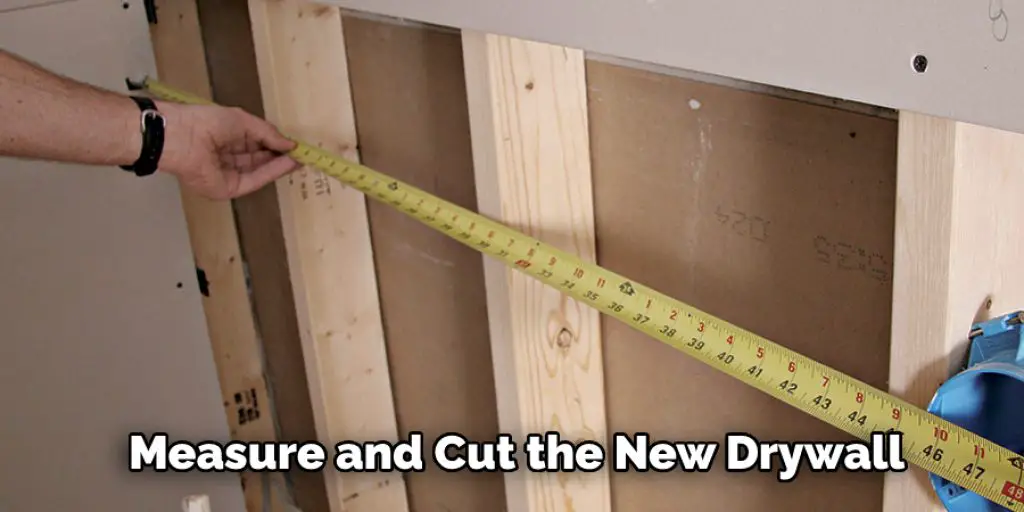
Step 5: Measure and Cut the New Drywall
Once you have all of your materials, it’s time to start measuring and cutting the drywall. You’ll need a straight edge and a T-square or a Carpenter’s Square to do this.
First, measure the height of the wall. Then subtract 1/2 inch from that measurement. This is the height at that you will cut your first piece of drywall.
Next, measure the width of the wall. Again, subtract 1/2 inch from that measurement. This is the width that you will cut your first piece of drywall.
Using your straight edge and T-square or Carpenter’s Square, mark these drywall panels. Then use a utility knife to cut along the marks.
Once you have cut all panels to size, it’s time to start installing them. But before you do, make sure that you have a helper to hold the panels in place while you screw them in.
Step 6: Install the New Drywall
The best way to install new drywall is to use a helper. One person should hold the panel in place while the other person screws it. Start by installing one of the end panels. Then work your way down the wall, installing each panel between the ones you have already installed.
Make sure that the panels are level and screwed in tightly. If there are any gaps between the panels, use a piece of scrap drywall to fill them in.
Once you have installed all of the panels, it’s time to sand them down. Use a belt sander or an orbital sander to smooth out bumps or irregularities.
Step 7: Apply a Primer
Before you can start to apply the drywall compound, you will need to apply a primer. This will help seal any of the holes or cracks in the drywall and help the drywall compound stick better. Apply the primer with a brush or a roller and make sure that it is scorched before moving on to the next step.
Step 8: Apply the Drywall Compound
The best way to apply the drywall compound is with a putty knife. Start by putting some of the mixtures onto the knife and then spreading it over the hole or crack. Make sure that you cover all of the areas that need to be fixed. Once the area is covered, use your hand to smooth out the compound.
Step 9: Sand the Area
Once the compound has dried, you will need to sand it down. This will help to make it smooth and even. Use a sanding block or sandpaper to sand down the area. Make sure that you are taking your time and going over the entire area multiple times.
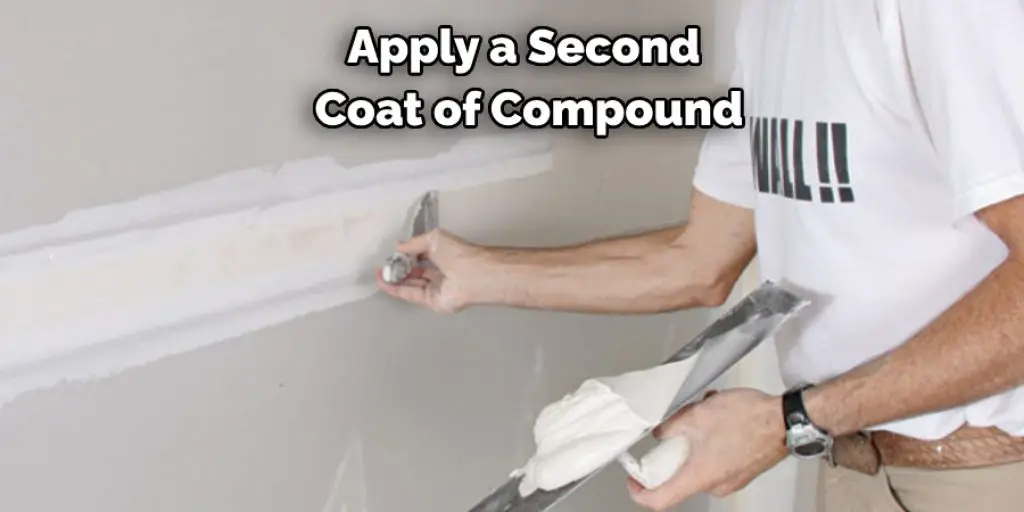
Step 10: Apply a Second Coat of Compound
If the first coat of compound is not entirely smooth, you will need to apply a second coat. This will help create a smooth and even surface for the final paint or wallpaper. Make sure that the compound is completely dry before you start painting or wallpapering.
Step 11: Sand the Surface Again
Once the compound has dried, use fine-grit sandpaper to sand the surface until it is smooth. Start with medium-grit sandpaper and work your way up to a finer grit. Be careful not to sand too hard, or you could damage the paneling’s surface.
Step 12: Paint or Wallpaper the Area
Once the surface has been sanded, you can start to paint or wallpaper it. Make sure that the area is arid before you start.
If you are painting the area, use a primer and two coats of paint to create a finished look. If you are wallpapering the area, make sure that you use a good quality adhesive and careful when applying the wallpaper.
Replacing paneling with drywall can seem like a daunting task, but if you follow these steps on how to replace paneling with drywall, you can do it yourself!
Precautions:
- As with any home improvement project, always take precautions before beginning. Make sure you are aware of the necessary safety measures and have all of the tools and supplies you need before starting.
- When working with drywall, always wear a dust mask to avoid breathing in the dust particles created by sanding.
Ensure the area is well ventilated when sanding drywall, as the dust can be harmful if inhaled.
- Wear goggles when cutting or drilling into drywall to avoid getting debris in your eyes.
How Much Does It Cost to Replace Paneling With Drywall??
The cost to replace paneling with drywall can vary depending on the size of the project, the type of materials used, and the labor costs in your area. However, on average, you can expect to spend between $1.50 and $5 per square foot to replace paneling with drywall.
There Are a Few Things That You Will Need to Take Into Account When Calculating the Cost of This Project:
- The size of the area you are working on: The square footage you are covering, the more expensive the project will be.
- The type of materials you use: Drywall is typically less expensive than paneling, but it also requires additional work (such as taping and mudding) to make it look smooth and finished.
- The type of labor you hire: Professional contractors typically charge more than do-it-yourselfers, but they will likely be able to complete the project faster.
In most cases, hiring a professional contractor to replace paneling with drywall is worth it. This will ensure that the job is done correctly, but it can also save you time and hassle in the long run.
Conclusion
Replacing paneling with drywall is a daunting task, but it can be done quickly with the right tools and instructions. Follow the steps in this article on how to replace paneling with drywall to get started on your home improvement project today.


