Replacing a sill plate may seem like a daunting task, but it’s a project that most homeowners can complete in a weekend. In this blog post, we’ll walk you through the process of how to replace sill plate in basement. We’ll also provide some tips for making the job go smoothly. So if you’re considering replacing your sill plate, read on!
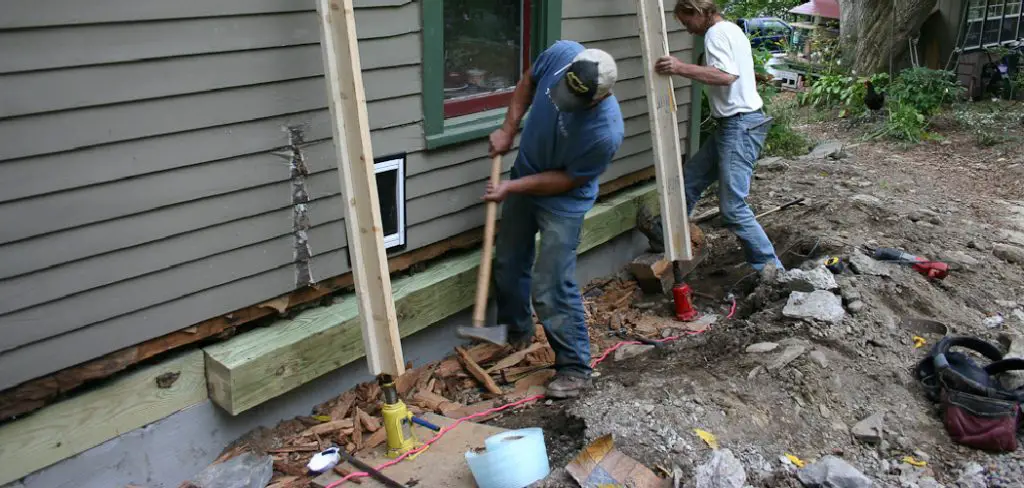
The sill plate in a basement is one of the essential framing pieces – it’s the foundation for your walls. If it’s damaged, you’ll need to replace it quickly to keep your home safe and secure. Here’s how to do it yourself.
Required Tools and Materials
- Mallet
- Pry bar
- Reciprocating saw with a metal blade
- Circular saw or reciprocating saw with a wood blade
- Drill and 1″ spade bit
- Hammer
- Flat pry bar, putty knife, and paint scraper
- Masonry chisel and cold chisel for masonry walls (optional)
- Metal snips for cutting the sill plate if needed
- Acid brush
- Mineral spirits
- Plastic drop cloth and rubber gloves (optional)
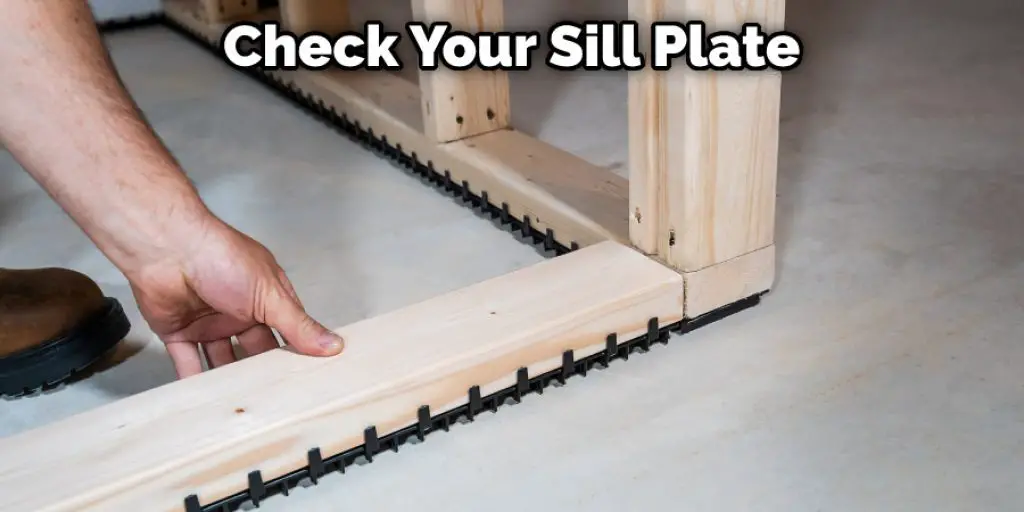
A Detailed Guide on How to Replace Sill Plate in Basement
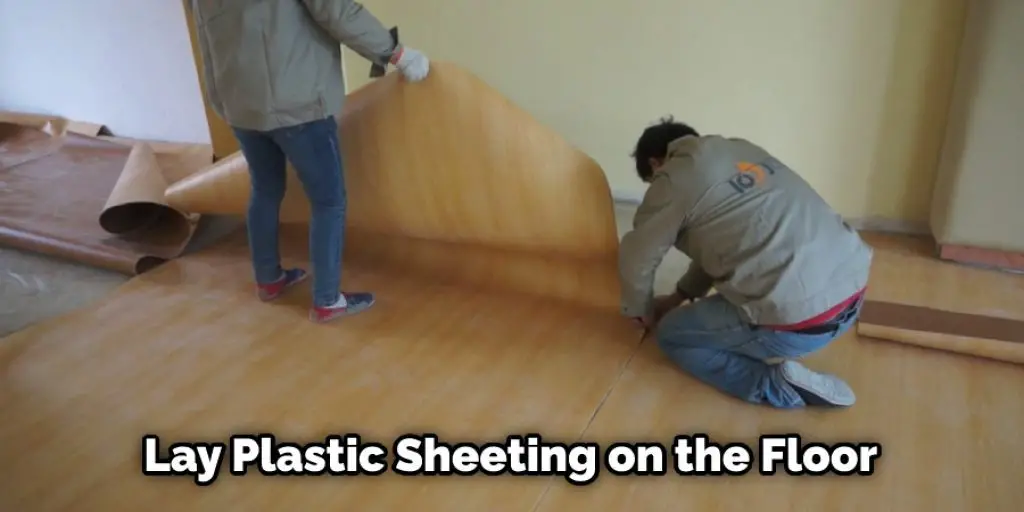
Step 1: Lay Plastic Sheeting
Lay down plastic sheeting on the floor to keep the wood dry while working.
Step 2: Remove Moldings Around Sill Plate
Remove all moldings around the sill plate before removing the sill plate itself. Use a pry bar for the removal of moldings. Place a pry bar between the molding and push it down until it pops off the wall surface. Be careful not to put too much force into the process because you may end up chipping the paint from the wall. Use a hammer to remove any nails from moldings, but do not use it on the surface of walls, or you will scratch them. Once all moldings are released around the sill plate, continue to step 3.
Step 3: Measure the Area Around Sill Plate
Measure the area around the sill plate to determine the size of the new sill plate. You may need a friend or family member’s help because you will have to hold the tape measure in place while someone else records measurements. Then outline your measuring on the wall with a pencil, and be careful not to shift anything you have already measured. Step 4 will cover how to cut out this line when installing a new sill plate.

Step 4: Cut Away Wall Before Replacing Sill Plate
Use a circular saw or reciprocating saw with a wood blade (if using an electric tool, make sure it is plugged into power) and cut along your outlined space by 1/8″. It should be about 1″ away from your drawn line. Next, pry off the cutout pieces to access the area behind it. If there are any plumbing pipes or electrical wiring in this area, make sure to mark them before cutting so that you do not puncture them with your saw when cutting.
Step 5: Nail Steel Strapping Behind Sill Plate
Use a drill with a 1″ spade bit to drill pilot holes through the center of the sill plate, then screw or nail steel strapping onto the wall surface behind it by about 1″. You can use galvanized nails or screws, but make sure they are not too long. They must be short enough so that they do not puncture any pipes or wiring when you push a new sill plate against them.
Step 6: Set the Hydraulic Jack Underneath Sill Plate
If you do not have access to a hydraulic jack, then use a pry bar to separate sill plates from old nails by inserting them into the grooves that hold them together. Pry slowly; if you go too fast, it may cause damage to the new sill plate. When separating, push on a new sill plate instead of the wall to not damage either one. Suppose there is already a hole around nails or screws due to the previous steel strapping separation. In that case, this step will not be necessary unless your goal is to create an even more significant gap for whatever reason (optional). Once steel strapping or hydraulic jack underlayment is in place, continue with step 7. This is a vital step in how to replace sill plate in basement.
Step 7: Hammer Nails Through Steel Strapping Underneath Sill Plate
Once steel strapping or hydraulic jack is in place nail a new sill plate to a wall by hammering nails through the center and into a wall. Make sure to use at least 2″ long nails so that they go all the way in and can support the weight of the sill plate. Nails should be close enough together where you almost cannot fit a pencil between them (about 3″ apart).
Step 8: Check for Stability
After step 7, your sill plate may become loose again; this is usually due to nails not going in deep enough, not pushing against wood strongly enough, or removing old nails or screws before installing the sill plate (optional). If this happens, add more steel strapping underneath the sill plate and repeat steps 6 & 7 until it becomes stable.
Step 9: Place Adjustable Column Underneath Sill Plate
After your sill plate is stable, place an adjustable column underneath it. Adjustable columns can be purchased from any home improvement store. Once it is placed under the sill plate, make sure to secure the two together with a steel strap or bracket on each side of them that goes into the ground and screws on top of the adjustable column (optional).
Step 10: Fill in Cracks Around Sill Plate
You may want to caulk the cracks around the sill plate if they are unsightly, but make sure it is paint-able caulk so that it matches the wall color. A caulk gun should be used to get caulk into cracks effectively. You can also use a toothpick or any other object with a pointy end to do this manually by poking holes inside grooves and filling them up from the inside.
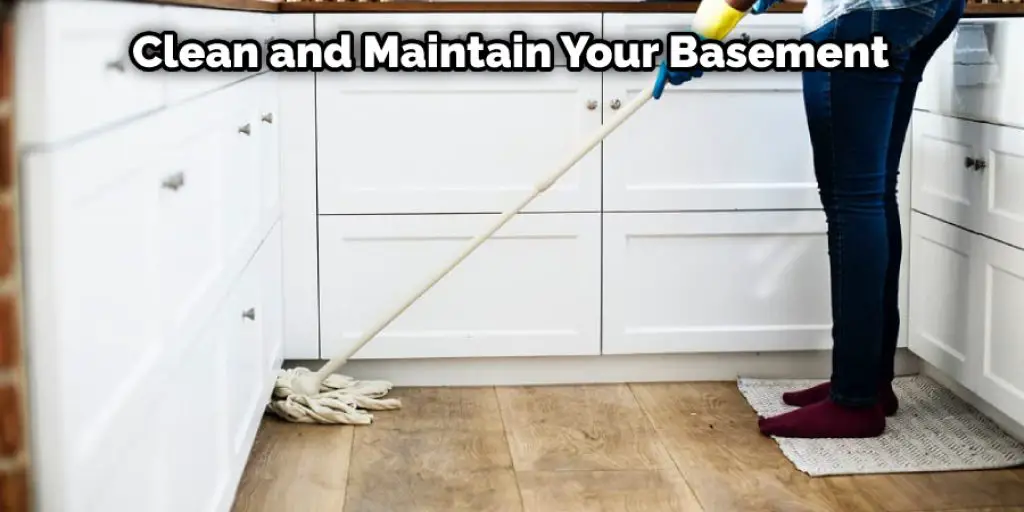
Step 11: Clean and Maintain
Wash your hands with soap thoroughly to avoid getting any dirt or oil on the sill plate if it is newly installed. If you plan to paint the area around the sill plate, there should be no need for cleaning whatsoever; just allow the paint to dry before continuing onto the final step. To maintain your sill plate, periodically check that nails are still in good shape and not rusting or loosening. Remove caulk or paint from this area as necessary to inspect pins and steel strapping underneath them to make sure they are all still secure before re-caulking or repainting. These steps will help in how to replace sill plate in basement.
Tips and Warnings
Tips:
- Some water will still trickle in, even with the best seal. So don’t avoid installing a new one; make sure you put it below any insulation against the foundation walls to limit moisture exposure.
- Make sure the replacement material is compatible with your weather conditions (for example, wood can rot if exposed to constant moisture).
- When replacing sill plate outdoors, use plywood, not dimensional lumber, because it resists warping better than dimensional lumber when exposed to rain and ground moisture.
- For an exterior application, it’s essential to consider using a pressure-treated sill plate so that it will be resistant to insects such as termites and carpenter ants, which can chew through wood.
- The top or bottom should overlap any existing sill plate by at least 2 inches (51 mm) but not more than 3 inches (76 mm).
Warnings:
- When installing a new sill plate, consult your local building inspector to ensure that you’re using approved material.
- Do not use treated wood for sill plates above grade (generally, the home’s first floor).
- Use nontreated plywood when replacing sill plate outdoors; otherwise, chemicals in the treated lumber will bleed into the surrounding soil and may damage nearby plants or materials such as patios or walkways.
- Follow all manufacturer instructions when using chemicals such as fire-retardant paints and caulking compounds.
- Remember always to clean up any spilled paint, drywall compound, or stain before it dries so that you don’t cause a mess on your flooring later on.
- Before replacing the sill plate in a masonry foundation, remove the flashing from around the outside of the wall first because it can often get in the way of installing new sill plates.
- Do not install a metal sill pan over a poured concrete basement slab.
Conclusion
I hope you have gone through the article on how to replace sill plate in basement. The sill plate is a thin piece of wood or metal that sits on top of the foundation, and it’s usually hidden from view. It provides lateral support for the house frame to help prevent cracks in your home’s exterior walls. Because they are so important to your home’s structural integrity, you’ll want them securely fastened – not just nailed into place with nails!
You may also read it: How to Build a Deck Over a Walkout Basement


