Many people do not know that the vent stops on their windows just hold the window open. The real purpose of these vents is to allow for airflow in and out of the house, which can be helpful during certain seasons. The windows should be free to open, but the vents should be able to close in order to keep the weather out.
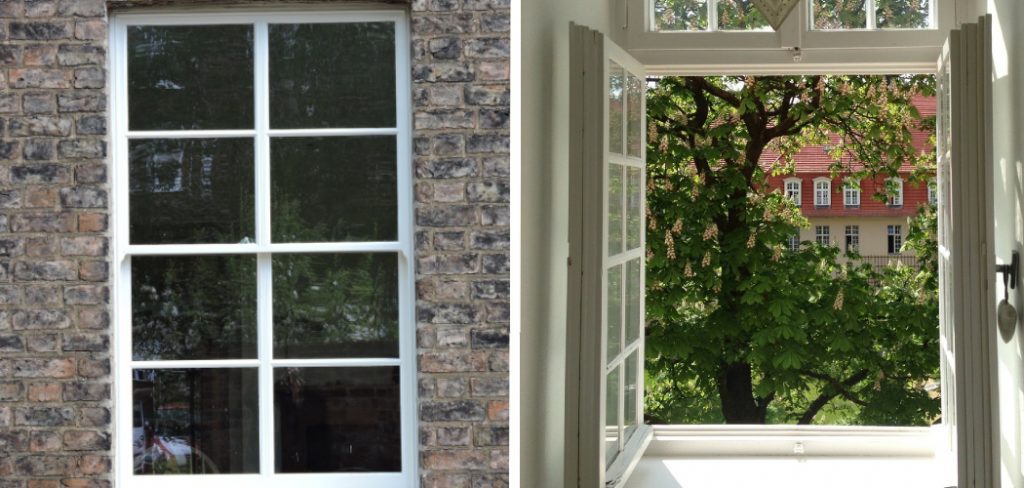
However, they do nothing to keep bugs or other tiny pests outside! If you need help replacing your window sash vent stops, check out our blog post below for some helpful advice! The conclusion paragraph is informative and provides information on how to replace window sash vent stops.
Step to Follow on How to Replace Window Sash Vent Stops
Step One: Dealing With the Existing Stops
If you are dealing with existing sash vent stops, removal is simple. If possible, use a flathead screwdriver to pry out the old stop by sliding it along where the stop meets the window frame or wall. This can be not easy if there is paint present, but sometimes this method will work. Otherwise, you may need to use a utility knife to score the area where the stop meets the window or wall.
If it does not work, use a wire cutter to cut the stop away from the window frame/wall at the point where you are trying to pry it out. You can then remove what is left of this stop by hand with ease if your sash vent stops are in good condition and require no replacement. If your sash vent stops are in good condition and require no replacement. You can then remove what is left of this stop by hand with ease.
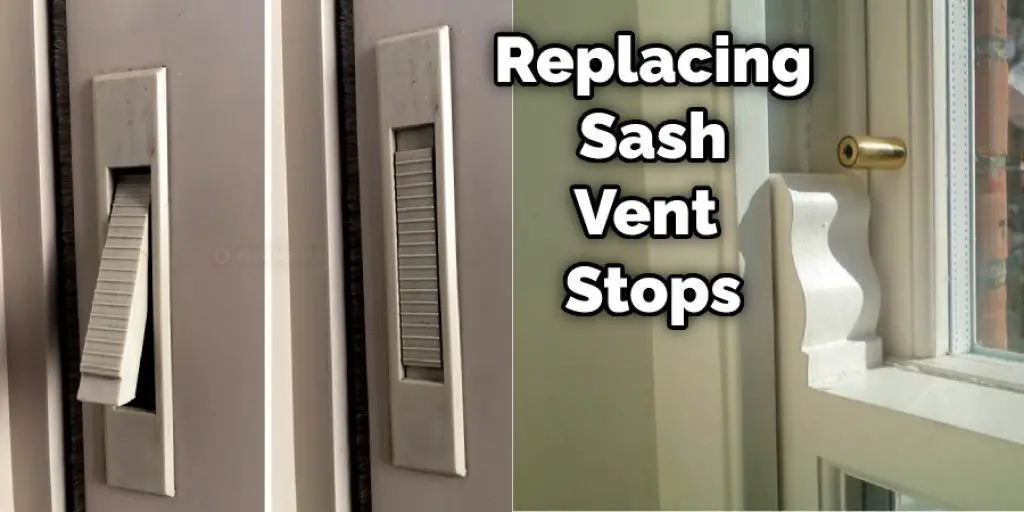
Step Two: Replacing Sash Vent Stops
After you have successfully removed the old sash vent stop, you can replace it with a new one. There are two options: purchase and install a standard metal screw-in sash vent stop or create and install a rubber stop. First, measure the length of your replacement sash vent stop. Second, drill two small pilot holes on each side of the window opening. If you decide to install a metal screw-in sash vent stop, simply twist in the new stop until it is tight against the window jamb.
If you are using a metal screw-in type, cut another section of the same material to this length with wire cutters or tin snips. If you plan on creating and installing a rubber sash vent stop, which will require some additional materials, read on.
Step Three: Material for a Rubber Sash Vent Stop
To create a rubber sash vent stop, there are three items you will need: a section of rubber gasket material, a small piece of wood, and a screw. A metal screw-in replacement is easier to install than the rubber one because it doesn’t require drilling through the window frame/wall.
The rubber gasket material for the stop will come in a roll of sheet metal, so measure out an appropriate length for your replacement sash vent stops and cut it off the roll with wire cutters or tin snips. Next, cut a section of wood smaller than the rubber strip but big enough to prevent the screw from sinking into the window frame/wall during installation.
Step Four: Installation
You can now install your new sash vent stop. First, drill a hole of the same diameter as the screw you will be using in the wood strip to prevent it from sinking into the surface of the window frame/wall during installation.
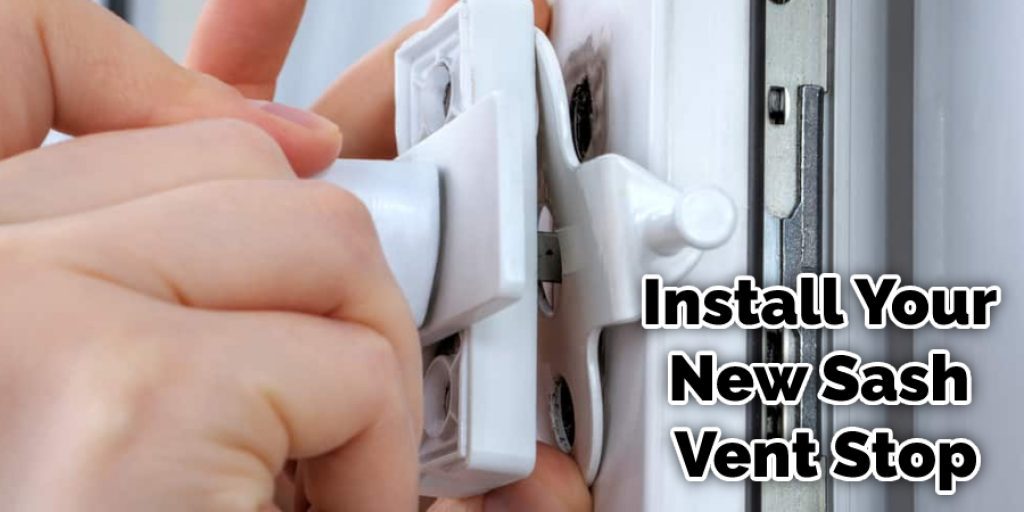
Place this piece at one end of the rubber gasket material with its drilled side up, then place your metal screw from the roll through the drilled hole in the wood strip and into the rubber gasket material. The screw head should be just a bit smaller than the rubber gasket material to sit snugly inside.
Step Five: Installing the Stop
Now that your new rubber sash vent stop has been created, you can install it. Slide this new piece into the window frame/wall groove where the old metal stop was located. Apply a drop of glue to secure it if necessary.
Suppose you install a metal sash vent stop, drill pilot holes into the window frame/wall where you will be inserting it, and screw it into place. Again, I’d recommend using wood screws. Once you’ve secured the stop, slide it to where it needs to be for your window or door to shut properly.
Step Six: Finishing Up
After installing your new sash vent stops, give the area around them a quick once-over with some fine-grit sandpaper to remove any rough edges created by the installation process. After this, wipe down the area with some paint thinner and allow time to dry before attempting to close your window or door.
That’s it! You’ve successfully replaced and installed new sash vent stops on your windows and doors. If you found this article helpful, be sure to share it with friends and family, especially if they need this kind of assistance.
You Can Check It Out to Thaw Frozen Sewer Vent
Step Seven: Maintenence
After installing your new sash vent stop, give the area around them a quick once-over with some fine-grit sandpaper to remove any rough edges created by the installation process. After this, wipe down the area with some paint thinner and allow time to dry before attempting to close your window or door.
Once every six months or so, check your windows and doors to make sure the new sash vent stops are still securing them properly. If they’ve become loose or need replacing with a new one, refer back to this guide for instructions on how to do so.
Step Eight: Enjoy
If you found this article helpful, be sure to share it with friends and family, especially if they require this kind of assistance. In addition, comments posted on the page will enable us to assist better those who need help and allow us to expand on what we know about repairing and maintaining a home.

So, now that you know how to replace window sash vent stops, be sure to take action before it gets too cold outside. Reglazing your windows with a new pane of glass certainly isn’t an easy or cheap task, so get out there and save yourself some money.
You can check it to Hang Blanket Over Window .
Frequently Asked Question
What Is a Vent Stop on a Window?
A vent stop is a device used to keep air from escaping from an opening or outlet. It consists of a flat metal disc that is usually screwed into the wall with screws or glued in place using an adhesive.
A vent stop prevents drafts and unwanted air leakage by closing off openings like window sills, doors, chimneys, and more.
What Is a Secondary Vent Stop?
A secondary vent stop is a device installed in the basement of a building to release air pressure that builds up during firefighting operations.
If the main ventilation system fails, this device releases the air from the underground area so that it does not become pressurized and lead to an explosion.
Are Sash Windows Easy to Break Into?
There are many benefits of sash windows, one of which is that they are easy to break into. If you’re looking for a window that is difficult to break into, it would be better to go with a sliding door or louvered windows.
Can Sash Windows Be Locked?
Yes, sash windows can be locked. However, there are some drawbacks to locking your window.
Firstly, the window will be unable to open or close.
Secondly, the lock may get stuck and not unlock when you want it to.
Thirdly, if a thief does manage to break into your home through a locked window then they will have access to all other rooms in your house because you won’t be able to lock them.
Conclusion
If you are looking for a DIY project, replacing your window sash vent stops might be the perfect weekend home improvement task. You can use this article to determine what size and style of stop are best for your windows so that you don’t have to worry about rain getting in or drafts blowing through during the winter months.
A few tools from your toolbox will get the job done quickly and efficiently! The conclusion paragraph is informative and provides information on how to replace window sash vent stops.
You may also read: How to Fix a Broken Window Lock


