How to Restore a Wooden Bowl
Wooden bowls are beautiful pieces of art that can last for generations when properly taken care of. However, if your wooden bowl becomes damaged, there are several ways you can restore it to its former glory.
In this article, we will discuss how to restore a wooden bowl and the tools and materials you will need to do so. We will also provide some tips on how to prevent your wooden bowl from becoming damaged in the first place. Keep reading.
We all know how to take care of wooden bowls – clean them with a soft cloth, oil them occasionally, and keep them out of direct sunlight. However, sometimes accidents happen, and our beloved bowls get damaged. If this happens to you, don’t despair! There are several ways you can restore your wooden bowl to look as good as new.
What You’ll Need
- Wooden bowl
- Fine sandpaper
- Tack cloth
- Minwax Wood Finish Penetrating Stain
- Foam brush
- Paper towels
- Minwax Polycrylic Protective Finish
- Soft cloth
A Detailed Guide on How to Restore a Wooden Bowl
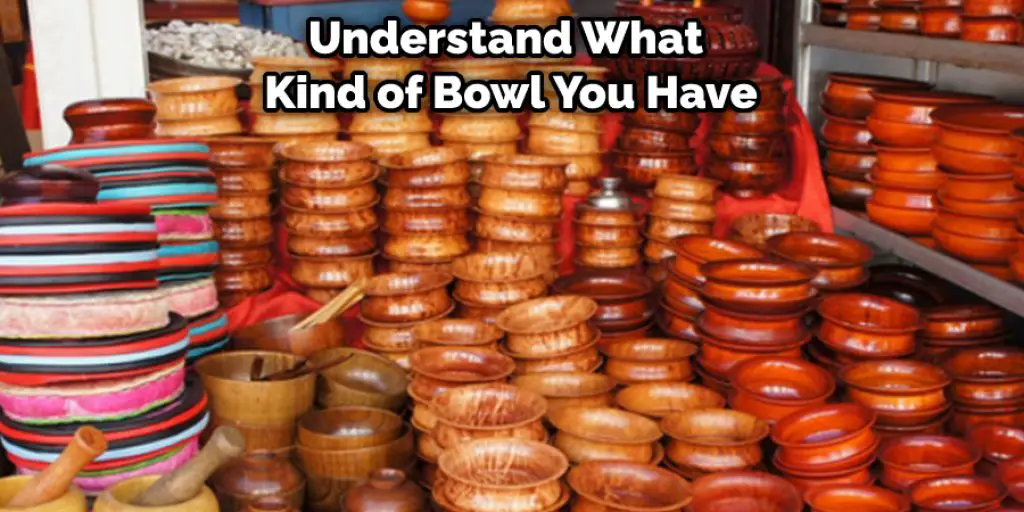
Step 1: Determine What Kind of Bowl You Have
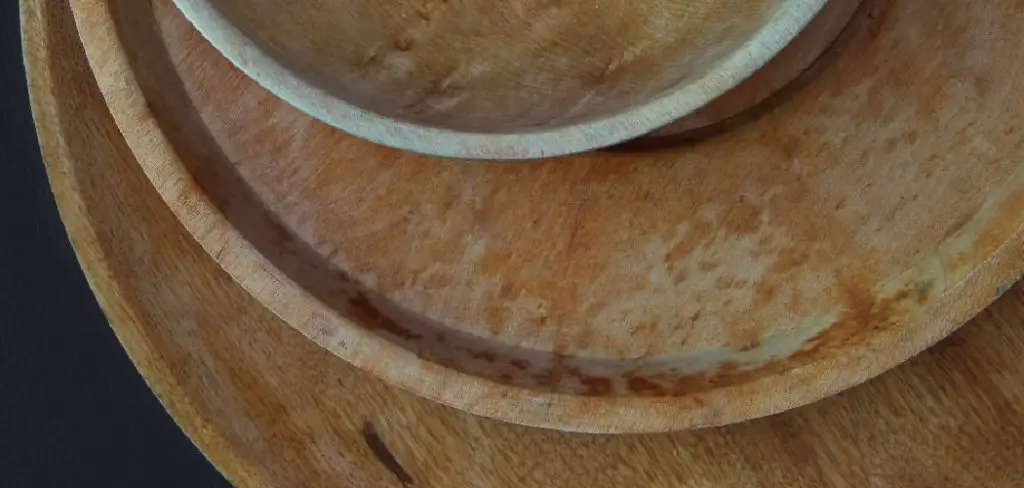
The first step to knowing how to restore a wooden bowl is understanding what kind of bowl you have. There are three different types of wooden bowls: salad bowls, fruit bowls, and serving bowls. Each bowl type has another wood grain and texture, so it’s essential to know which category your bowl falls into before beginning the restoration process.
Step 2: Inspect the Bowl for Damage
Once you know what type of bowl you have, it’s time to inspect it for damage. Look for cracks, chips, or warping in the wood. These damaged areas will need to be repaired before you can move on to the next step.
Step 3: Prepare Work Area
Now that you know what needs to be done, it’s time to prepare your work area. First, clear off a large table or countertop and cover it with a drop cloth or old sheet. This will protect your surfaces from any stains or finishes.
Step 4: Clean the Bowl
The next step is to clean the bowl. Use mild soap and warm water to remove any dirt or grime from the surface. Dry the bowl with a soft cloth when you’re finished.
Step 5: Sand the Bowl
The next step is to sand the bowl. Again, you’ll want to use fine-grit sandpaper to avoid damaging the wood. Sand, the bowl’s entire surface, pays particular attention to cracked or chipped areas. Once you’re finished sanding, use a tack cloth to remove any dust particles.

Step 6: Stain the Bowl
After the bowl has been sanded, it’s time to stain it. First, choose a stain compatible with the type of wood your bowl is made from. Next, apply the stain to the bowl using a foam brush, working in long strokes in the same direction. Once the entire bowl has been stained, allow it to dry for at least two hours.
Step 7: Apply a Protective Finish
Once the stain has dried, it’s time to apply a protective finish. This will help to keep your bowl looking new for years to come. Choose a finish that is compatible with the type of wood your bowl is made from.
Next, apply the finish to the bowl using a soft cloth, working in long strokes in the same direction. Once the entire bowl has been coated, allow it to dry for at least two hours before using it.
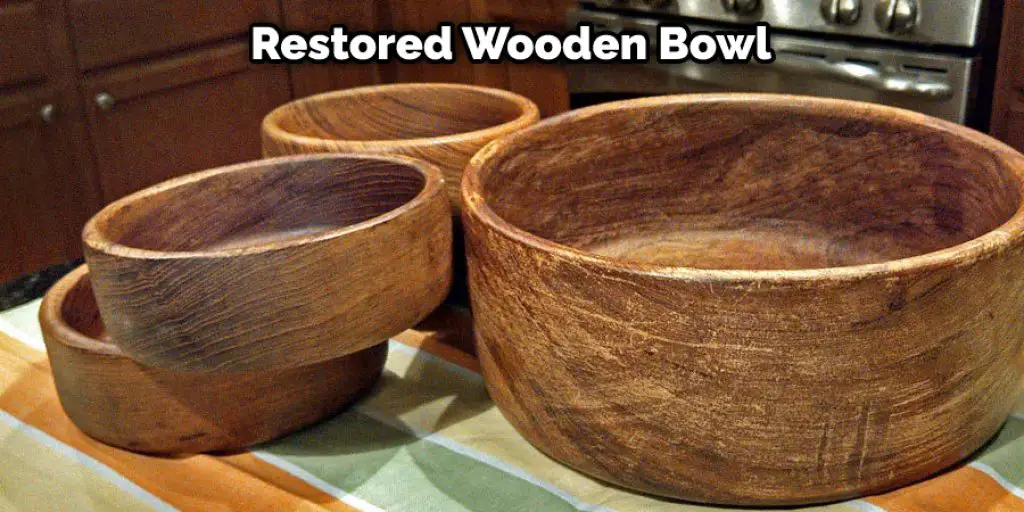
Step 8: Enjoy Your Newly Restored Bowl!
After all of the steps have been completed, your bowl is ready to be used and enjoyed! Please place it in a prominent location in your home and fill it with fruit, vegetables, etc. Enjoy your beautiful restored wooden bowl for years to come!
Tips and Warnings
Tips
- If the bowl is filthy, soak it in a mixture of one part vinegar to four parts water for several hours before scrubbing with a soft brush.
- Be careful not to sand too deeply as this can damage the wood grain.
- If the bowl is discolored, you can try bleaching it with a solution of one part bleach to three parts water.
- Always finish by sealing the bowl with a food-safe oil or wax to protect it from moisture and staining.
Warnings
- Do not use harsh chemicals such as ammonia or bleach on the bowl, as these can damage the wood.
- If the bowl is cracked, do not try to repair it, as this can worsen the problem. Also, avoid using the bowl for hot foods or liquids, as this can cause the wood to warp or split.
- Do not use hot water to clean the bowl, as this can cause the wood to warp.
How Do I Season a Wood Bowl?
If your wood bowl has seen better days, don’t despair. You can restore it to its former glory with a little elbow grease and the right products. Seasoning a wood bowl is an essential part of the restoration process, as it helps to replenish the natural oils that have been lost over time. Here’s how to do it:
- Start by sanding your bowl with medium-grit sandpaper. This will help smooth any rough spots and prepare the surface for staining.
- Once you’ve sanded the bowl, apply a thin layer of mineral oil to the entire surface. You can find mineral oil at most drugstores or online.
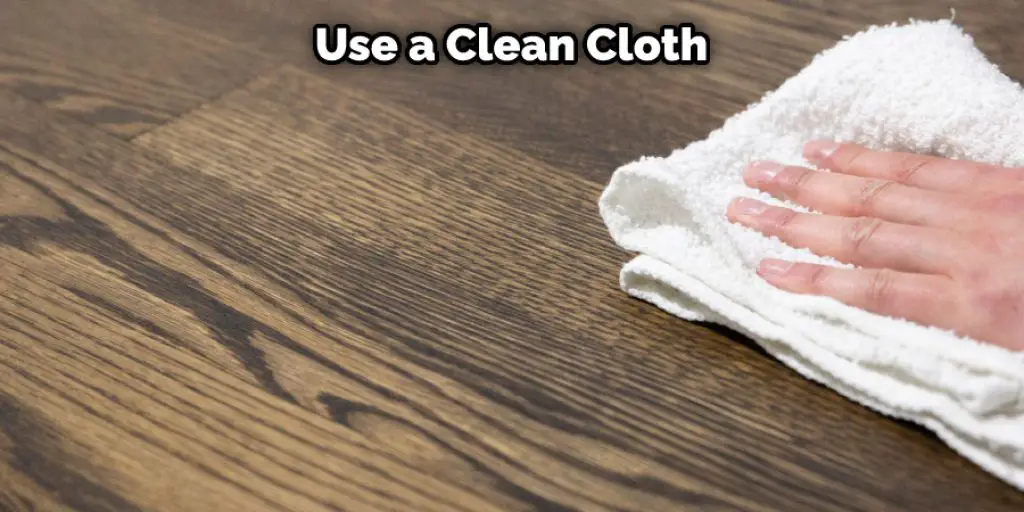
- Allow the mineral oil to soak in for at least 30 minutes, then remove any excess with a clean cloth.
- Finally, apply a coat of beeswax to the bowl. This will help to protect the wood and keep it looking its best.
With these simple steps, your wood bowl looks like new!
What Kind of Oil Do You Use on a Wooden Bowl?
The best oil to use on a wooden bowl is olive oil. Pour a small amount of oil onto a clean cloth and rub it into the circular bowl motion. Allow the oil to soak in for at least an hour before wiping off excess. You can also use mineral oil or beeswax to protect your bowl. These oils will help to keep the bowl from drying out and cracking.
It would help if you oiled your wooden bowl every few months or whenever you notice it starting to look dry. If you live in a dry climate, you may need to oil your bowl more often. Be sure always to use a clean cloth when applying the oil, and wipe off any excess oil before storing the bowl.
Can I Use Cooking Oil to Restore Wooden Bowls and Utensils?
The short answer is yes; you can use cooking oil to restore wooden bowls and utensils. However, it is essential to note a few things you need to consider before embarking on this restoration project.
First of all, it is essential to ensure that the bowl or utensil you are planning to restore is made of wood compatible with cooking oil. Some woods, such as cherry or walnut, are not recommended for use with cooking oil as they can develop a rancid smell over time. If you are unsure whether your bowl or utensil is made of a compatible wood, it is always best to err on the side of caution and consult with a professional before proceeding.
Do Wood Bowls Need Routine Maintenance?
Wooden bowls are a popular choice for both decorative and functional purposes. Unlike plastic or metal bowls, they add a warm, natural touch to any setting. But while they may be aesthetically pleasing, wooden bowls require a bit more care than other types of bowls. With proper care, however, they can last for many years.
Most wooden bowls need to be oiled regularly to prevent drying out and cracking. The frequency with which you need to oil your bowl will depend on the type of wood it is made from and how often it is used.
Bowls used daily should be oiled once every week or two, while those used less frequently can be oiled once a month. When applying oil to a wooden bowl, always use a food-safe option like olive oil or mineral oil. Apply the oil evenly with a clean cloth, reaching all bowl areas. Allow the oil to soak in for at least an hour before using the bowl again.
Wooden bowls can also benefit from occasional polishing. This will help protect the wood from scratches and other wear and tear. You can use any furniture polish for this purpose, but make sure to choose one that is safe for use on food-contact surfaces. Apply the polish with a clean, soft cloth and buff it until the wood is shiny.
If you notice any cracks or chips in your wooden bowl, don’t panic! These can usually be repaired relatively easily. Start by sanding down the area around the damage to create a smooth surface. If the damage is severe, you may need to fill it with wood putty before sanding. Once the area is smooth, apply a thin layer of wood glue to the damaged area and allow it to dry. Finally, sand the area again and oil or polish as usual.
With proper care, your wooden bowl will last for many years!
Conclusion
Bowl restoration is a great way to reuse an old, damaged bowl and give it new life. This process is cheaper than buying a new bowl, but it’s also a fun way to show your creativity and craftsmanship. If you’re interested in restoring a wooden bowl, follow these simple steps on how to restore a wooden bowl to get started.


