Cable installation can be a daunting task, but it can be a breeze with a few tips. This article will show you how to run cable from basement to second floor. We will also provide information on how to avoid common pitfalls.
Running cable through the walls can be a daunting task. In addition, it can be challenging if you are trying to run a cable from the basement to the second floor. So, whether you are a beginner or an experienced installer, read on for some helpful information!
Tools and Materials
- One or Two Plastic Wire Conduits
- Cable Tray
- Glue Gun and Glue Sticks
- Drill (Preferably) or a Screwdriver (If you’d like to make the job go much faster)
- Wire Cutters/Strippers.
- Electrical Tape.
- Hammer and Nails (Optional)
- Safety Goggles (Highly Recommended)
- Cable Pulling Lubricant (Optional)
A Step by Step Guide on How to Run Cable From Basement to Second Floor
Step 1: Check Building Code Regulations
Before you do any work on your home, you must check building code regulations. This will ensure you know all safety precautions and how to run cable from basement to second floor following them. If you are not sure where to find this information or have questions about building codes, please contact your local city office or visit their webpage for more details.
Step 2: Design Your Cable Run
Now that you have figured out all your job requirements, it’s time to design your cable run. How you want to run the cables will depend on where they are coming from and their destination. For example, running a cable from the basement to the second floor is easy if you understand the electrical theory, but if you don’t, be sure to contact a professional for help.
Step 3: Second Floor Brace
Next, brace the joists on the second floor, so they don’t give under pressure while the wire pulling machine pulls on it. The easiest way to do this is by running a series of three strong nails through each side of the joist into the studs, holding them up. Make sure when bracing the joists that you do not cause any of them to sag. In addition, they must be completely secure before pulling wire through. If the joists are not appropriately secured, it may cause damage to your home or harm someone in your household.
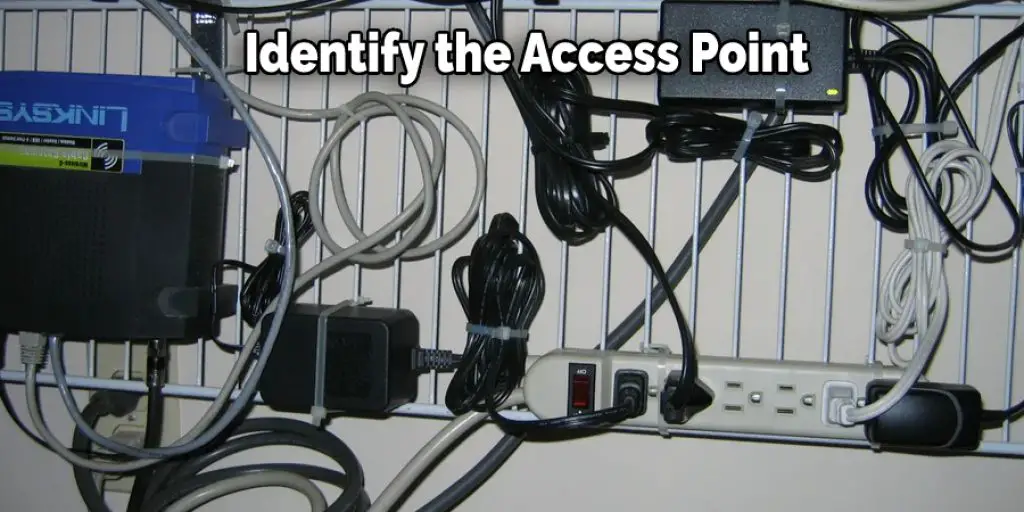
Step 4: Identify the Access Point
Once you have found the location for your access point, it’s time to find the best way to run a cable from the basement up to the second floor. How you plan on doing this will depend significantly on which conduit or wire pulling lubricant you choose, if any at all.
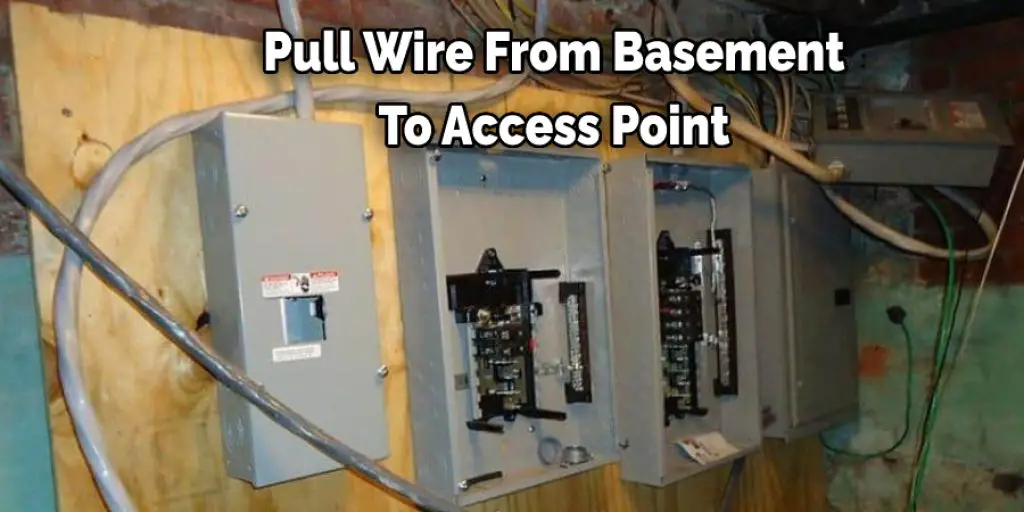
Step 5: Pull Wire From Basement To Access Point
Now that your wire is pulled through and secured in place, you can start labeling wires and ensuring they are easy to understand once installed. How to pull wire through conduit is done by providing no snags or kinks throughout the whole process of running cables from the basement up to the second floor.
Once everything looks good, it’s time for insulation! Use electrical tape (or heat tape) around all the wires, and your job will look professional and be ready for its final installation. Anyone with some basic knowledge of electrical wiring can know how to wire a plug.
Step 6: Run Cable Tray
Once braced, run the cable tray from the basement up to the second floor. Ensure this is done evenly, so none of the cables get caught under pressure when pulled by a machine meant for large cables like phone lines and electrical wires. Sometimes tightening some screws on the cable tray can help adjust how tight it goes into each hole, making it easier to string throughout your home without kinking or getting stuck anywhere else along the way.
Step 7: Drill Holes in Studs
Drill holes between each stud on the second floor where you wish to put your cables. How you drill these depends entirely upon what kind of cables you are running, how many of them there are, and what kind of cables they are (example: low voltage-compact fluorescent lights or medium voltage-refrigerators). Ensure that whatever is being mounted to the wall using cable is secure before drilling.
Step 8: Pull Cables Through
Now it’s time for the easy part. Use a wire pulling machine with large capacity jaws to pull your cable through all your drilled holes in one go. How this works is pretty simple. You feed the line into the bottom jaw of the machine and then screw down a wheel on each side of it.
The wheel compresses the cable between them, making it round and elongating the strands inside. Once you have done this, you can control how your cable is pulled through using a wheel near where you’ve fed it in. How fast to remove depends entirely on what kind of cable you draw, but most quality wire pulling machines can handle about 1″ per minute.

Step 9: Testing
Finally, once all your cable has been run, test it thoroughly by plugging one end into an electrical source and touching the other with something metal. If there is any electricity running through, it will be grounded safely. If everything works out, you’re done and if not, do it all over again until it does! How to run a cable from the basement to the second floor is a lot easier than many people assume once you know what you’re doing.
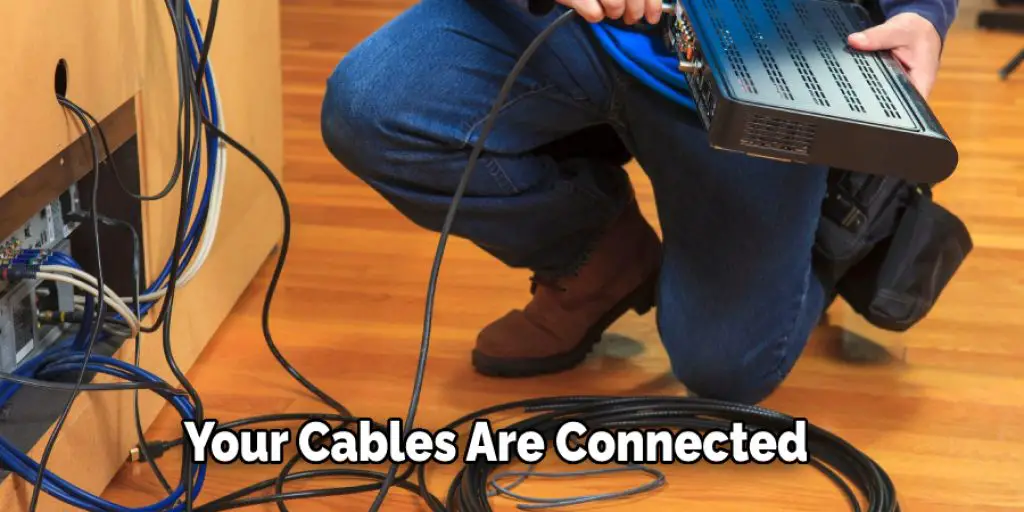
Step 10: Complete the Connection
After getting it to work, return to the basement and connect your cable to the other end. How you do this will depend a lot on your cable installation kit, but it’s pretty simple for most. First, strip away a tiny amount of insulation from the tips of each wire with a utility knife or wire stripper and make sure they are bare metal before connecting them. Of course, how to connect wires varies from one connection to another.
Still, it usually involves twisting two ends together and then covering them in electrical tape so that they stay together securely until plugged in. How much length should be between plugs depends on what kind of wiring you’re using (low voltage vs. medium voltage). Usually, it’s about 2-3″ connecting low voltage cables and 3-4″ using medium voltage.
Step 11: Patch Holes
Once all your cables are connected to the other end in the basement, you can patch up all your holes with wood or any material that will hold screws securely. How to wire a plug is essential because once you attach all these cords, it will be challenging to reaccess them without making new holes in the wall.
How to mount cables on drywall or plaster can damage paint or use too long nails and poke into neighboring rooms-be careful!! Running the line from the basement to the second floor must be done carefully not to damage anything around it.
Tips and Warnings
- Wire cable can be expensive; do not buy more than you need.
- Only run cable that is necessary for your application. For example, if you aren’t running line to the attic, there is no reason to run it up into the basement ceiling.
- Installing wire can be very dangerous. Ensure all cables are correctly secured; avoid stretching them taut or suspending them in midair with wire hangers or string.
- When drilling holes through walls and joists, remember to keep wire hidden at least one inch away from all studs and joists. Once cut, the wire should not jut out by more than 1/4″ beyond its opening to prevent injuries and to snag of clothing on protruding wire.
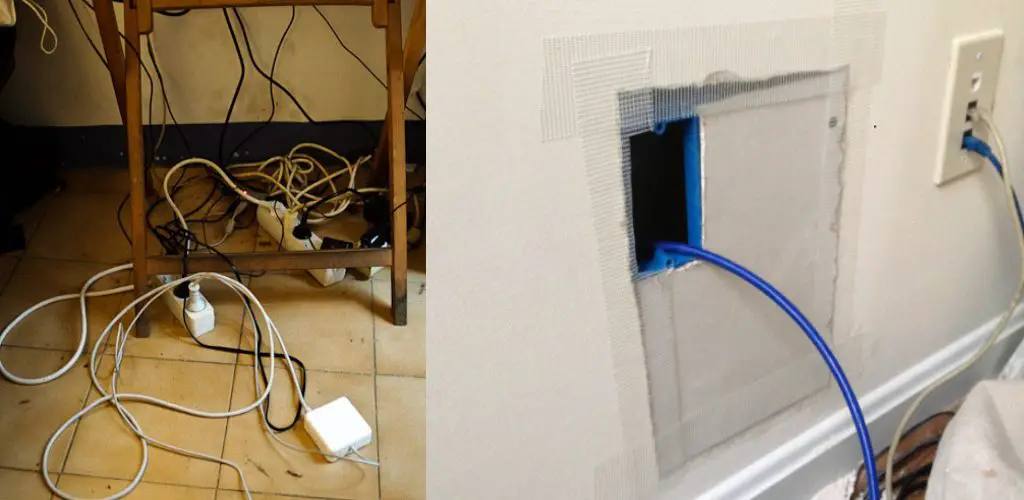
- When installing cable in walls, you will need to trim away part of the wall covering (drywall or plaster) to get access to the studs. Unless your budget allows for sheetrock repairs and painting, installing cables where they will not be seen (e.g., in a corner) is best. Otherwise, try using cable trays and wire molding.
- For extra protection when running cable through joists, staple wire mesh or metal lath strips around the cable bundle(s). This will keep insulation from tearing apart and fraying wires from poking out.
- When planning your installation, consider how much weight the wire can bear before breaking; this is usually stated on the packaging or the manufacturer.
- Ensure to overload the wire with no more than 15-20% of its total weight carrying capacity.
- Keep in mind that most cables come with an extra amount of slack built into the line; make sure to leave some space at each end. You can use this for future repairs or changes without buying a new wire.
- When you are finished, fill all holes with wood putty and repaint if necessary.
Conclusion
This article has discussed how to run cable from the basement to the second floor and what you need to know before running cable from your basement to the second floor of a house. Remember that most homeowners will likely want a cat 5e or better for speed and distance purposes. If you are unsure whether these tips will work in your home, always consult an electrician first!
You may also red it: How to Run Ethernet Cable Through Floor


