Sanding a ceiling can be a daunting task, but it’s a breeze with the right tools and techniques! This blog post will show you how to sand a ceiling without making a mess. Follow these simple steps, and you’ll be done in no time! When filing a ceiling, it’s important to do so without making a mess. You don’t want to get sawdust and debris all over your floors and furniture. By following the steps in this blog post, you can sand your ceiling without messing!
Tools Required
- Dust mask
- Safety goggles
- Respirator
- Sandpaper (120 grit)
- Bucket
- Ladder
- Extension cord
- Vacuum cleaner
Materials Required
- Ceiling fan
- Pole sander
- Sandpaper (120 grit)
If you don’t have a ceiling fan, you can use a pole sander to help you sand the ceiling. A pole sander is a long-handled tool that allows you to reach the ceiling without climbing a ladder. It also makes sanding the ceiling much easier and less tiring. Make sure to use sandpaper that has a grit of 120 or higher. This will help you achieve a smooth finish.
How to Sand a Ceiling Without Making a Mess Step by Step Guide
Step 1: Gather All Materials
Before sanding the ceiling, make sure that you have all of the required materials. Some things to consider when gathering your supplies are: how big is the room, how long will it take to complete, how much money do I want to spend? You should purchase the necessary tools and materials based on how large your room is and how much time and money you have. This includes a dust mask, safety goggles, respirator, bucket, ladder, extension cord, and vacuum cleaner.
Step 2: Put on Protective Gear
Put on your dust mask, safety goggles, and respirator before sanding the ceiling. This will protect you from the dust and debris created during the sanding process. If you don’t have a respirator, ensure that your dust mask and safety goggles are securely in place.
Step 3: Turn off the Power to the Ceiling Fan
If you’re using a ceiling fan to sand your ceiling, shut it off now! When sanding a ceiling with a ceiling fan, be extremely careful as the fan blades can spin at a very high rate of speed. Ensure that the fan is no longer spinning before continuing with the next step.
Step 4: Remove Ceiling Fan Cover
Many ceiling fans come with a cover held in place by screws. Remove the screws and lift the cover off. Some covers are designed to be painted, while others may have a foam gasket that should stay attached to the fan.
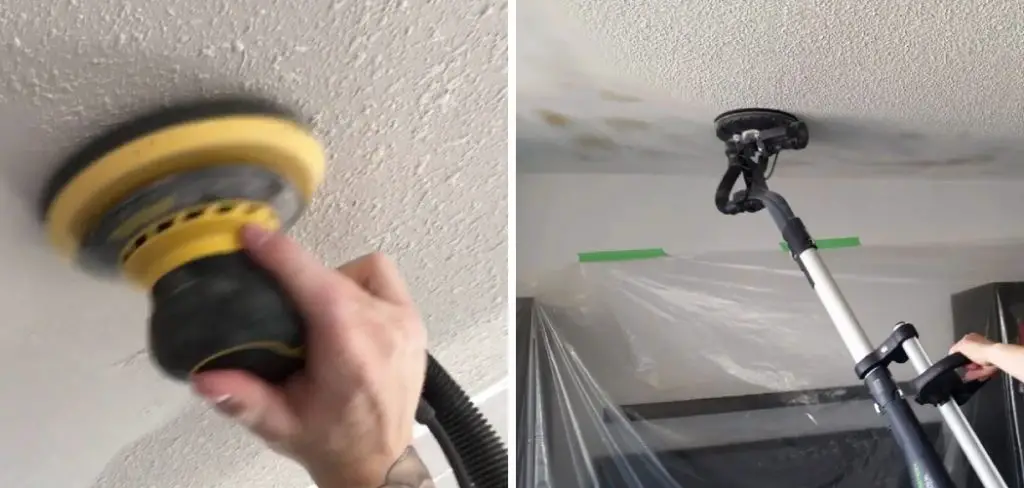
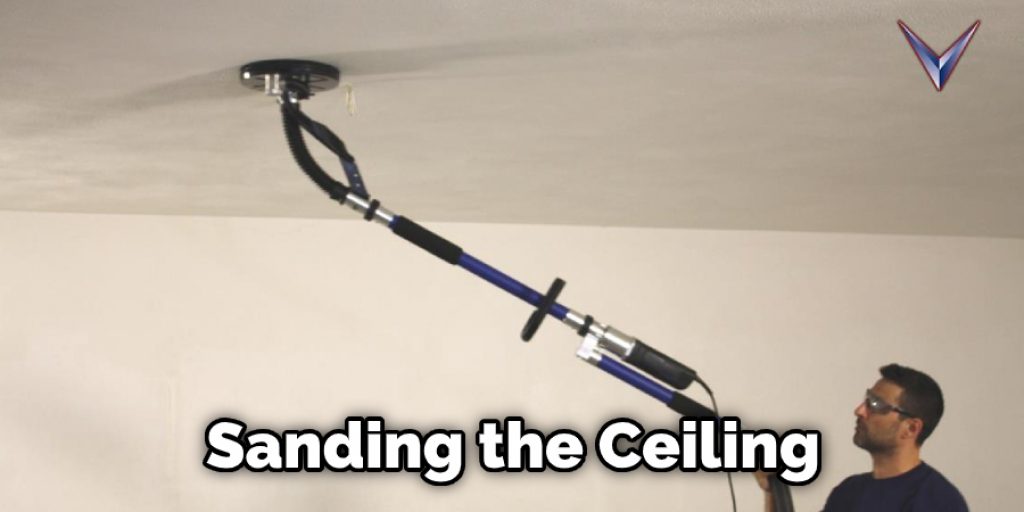
Step 5: Sanding Process
Install a new abrasive pad on your palm sander and put on some protective eyewear. Next, mix a small amount of floor wax with the paint thinner to create a slurry, then dab it onto the ceiling using a roller paintbrush. The slurry will protect your fan from scratches as you work.
Sand out any flaws in the sprayed-on ceiling paint. You can start this job by hand or use a palm sander with fresh sanding pads to work through the surface of the sprayed paint.
Tip
Don’t mix up more than you think you’ll need–the slurry will only last about 10 minutes before it starts too dry to apply.
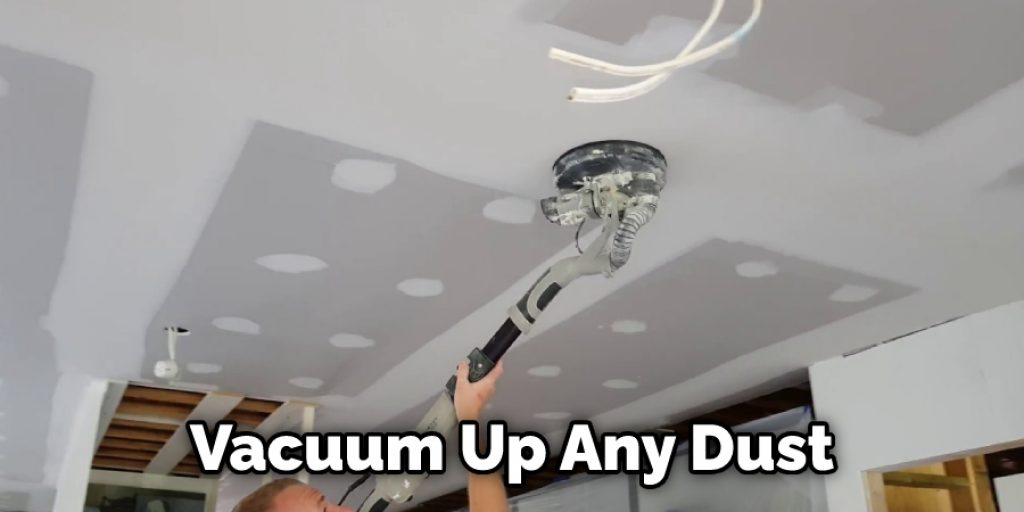
Step 6: Vacuum the Dust
Vacuum up any dust left after you’re done sanding the ceiling. This will help ensure that your floor and furniture stay clean and free of debris.
Step 7: Wipe Up
Once you’ve sanded the surface of the ceiling paint, wipe up the dust with a damp rag. You may need to use your fingers or a wire brush if there is any excess material left over once you’ve wiped everything down.
Step 8: Reattach Fan Cover
Reattach the fan cover and screw it in place. Let it dry for 24 hours before switching on your ceiling fan again.
Step 9: Apply Ceiling Paint
So how do I sand a ceiling without making a mess? Start by putting on your protective gear and vinyl gloves because you’ll be spraying paint to smooth out any bumps in the surface of your textured ceiling. Stir the texture-control paint thoroughly, so it’s the consistency of milk, and use a roller paintbrush to apply it onto your ceiling.
Let it dry for about one hour before using the palm sander; if you wait too long, the texture control paint will start to skin over, which doesn’t allow enough material through the sanding pad. Use very light pressure on the sander and maintain a speed of at least one foot per second. Keep the sander moving to prevent creating any visible patterns in your textured ceiling.
Step 10: Happy Ceiling Sanding!
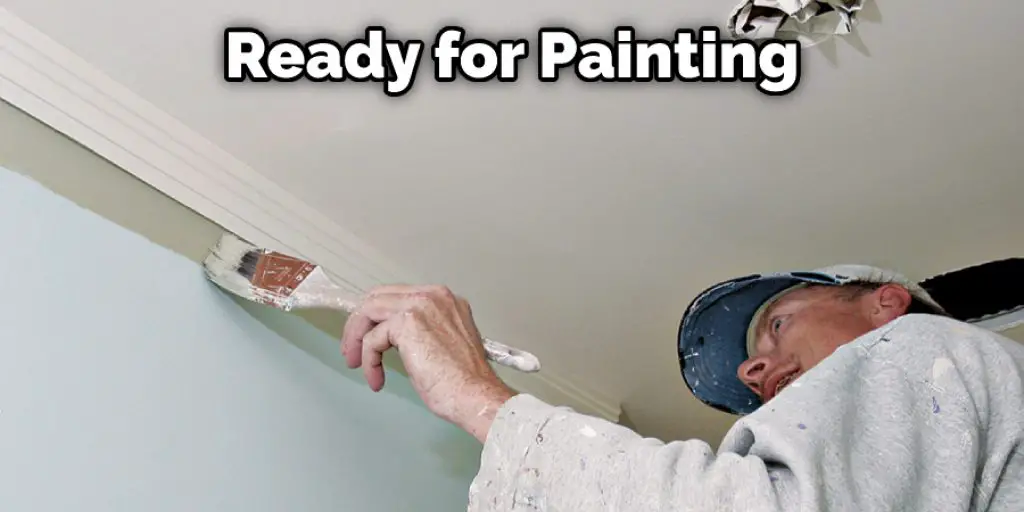
Once you have completed the steps above, your ceiling should be sanded and ready for painting. Next, apply a coat of ceiling paint in the desired color, let it dry, and then apply a second coat. Congratulations, your ceiling is now finished!
In addition to protective gear, you will also need a ladder, bucket, extension cord, and vacuum cleaner. Finally, you can sand your ceiling in a way that won’t leave behind unsightly marks and dust particles. When it comes to how to sand a ceiling without making a mess, there are many ways to keep things neat and tidy while protecting yourself from the hazards of this kind of work.
The best way to sand a ceiling is to turn off the power to your ceiling fan and remove its cover before beginning any work. Once this has been accomplished, you can use an electric palm sander with fresh sanding pads or hand-sand areas that are too difficult to reach with the sander. Next, use floor wax with paint thinner as a slurry to fill in holes and erase scuff marks.
After completing these steps, the only thing left is to vacuum up any dust, wipe away excess wet paint, and reattach the fan cover. Within 24 hours, you should be ready to turn your ceiling light back on!
Which Kind of Sandpaper Should I Use and How Much of It Should I Buy?
When it comes to how to sand a ceiling without making a mess, there are many ways to keep things neat and tidy while protecting yourself from the hazards of this kind of work.
The best way to sand a ceiling is to turn off the power to your ceiling fan and remove its cover before beginning any work. Once this has been accomplished, you can use an electric palm sander with fresh sanding pads or hand-sand areas that are too difficult to reach with the sander. Use floor wax with paint thinner as a slurry to fill in holes and erase scuff marks. Consider buying extra sandpaper to allow you to change it often.
Frequently Asked Question
How Do You Sand Indoors Without Making a Mess?
There are a few ways to sand a ceiling without making a mess. One is to turn off the power to your ceiling fan and remove its cover before beginning any work. You can also use an electric palm sander with fresh sanding pads or hand-sand areas that are too difficult to reach with the sander. Another way to prevent making a mess is to mix a small amount of floor wax with the paint thinner to create a slurry, then dab it onto the ceiling using a roller paintbrush. The slurry will protect your fan from scratches as you work.
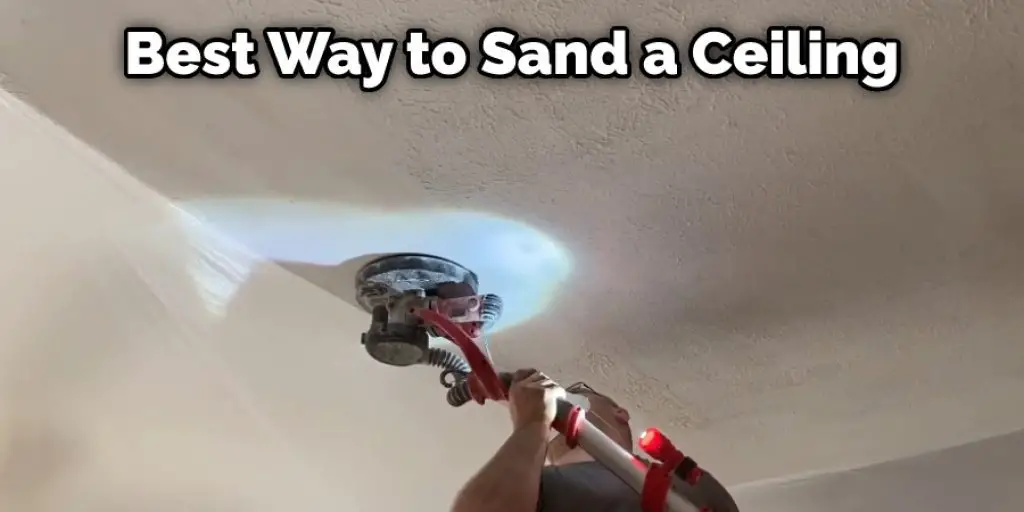
What Is the Easiest Way to Sand a Ceiling?
The easiest way to sand a ceiling is to use a handheld electric sander. This will allow you to reach all the areas of the ceiling without having to climb a ladder. Make sure to use a fresh sanding pad and light pressure when sanding.
How Do You Reduce Dust When Sanding?
There are a few ways to reduce the amount of dust when sanding a ceiling. One is to turn off the power to your ceiling fan and remove its cover before beginning any work. You can also use an electric palm sander with fresh sanding pads or hand-sand areas that are too difficult to reach with the sander.
Another way to prevent making a mess is to mix a small amount of floor wax with the paint thinner to create a slurry, then dab it onto the ceiling using a roller paintbrush. The slurry will protect your fan from scratches as you work.
How Do You Sand Down a Ceiling?
There are a few ways to sand down a ceiling. One is to use a handheld electric sander. This will allow you to reach all the ceiling areas without having to climb a ladder. Make sure to use a fresh sanding pad and light pressure when sanding. Another way to prevent making a mess is to mix a small amount of floor wax with the paint thinner to create a slurry, then dab it onto the ceiling using a roller paintbrush. The slurry will protect your fan from scratches as you work.
What Are the Best Tools to Use for This Job?
There are a few tools that you will need to complete this job. You will need a ladder, bucket, extension cord, and vacuum cleaner. In addition, you will need an electric palm sander with fresh sanding pads or hand-sand areas that are too difficult to reach with the sander.
Conclusion
Ceiling sanding can seem daunting, but it’s a breeze with the right tools and a little preparation. Follow these tips, and you’ll be on your way to a smooth, dust-free ceiling! Thanks for reading our post about how to sand a ceiling without making a mess.


