Corrugated plastic roofing is a common material used to cover roofs. In some cases, it can be found as an underlayment for asphalt shingle roofs or as the entire roofing material. The corrugations help shed water and snow, making it a suitable option for high precipitation. Although corrugation provides many benefits, the installation process may seem daunting at first glance.
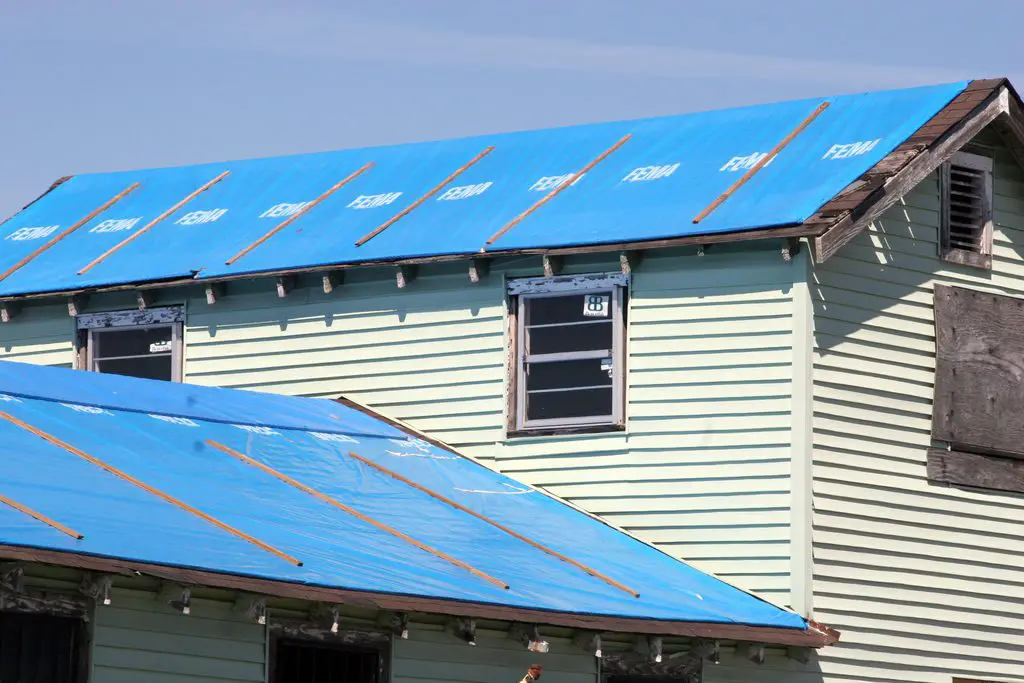
This blog post is about how to seal corrugated plastic roofing so that it won’t leak. Corrugated plastic roofing is a common material used to cover roofs. It can be found as an underlayment for asphalt shingle roofs or as the entire roofing material. The corrugations help shed water and snow, making it a suitable option for high precipitation.
Step by Step Guide on How to Seal Corrugated Plastic Roof
Step One: Find the Leaks
To find the leaks, have an assistant hold a hose sprayer in each location that you think might leak. Then, turn on the water and look for places where water is coming in through the roof. To fill up your entire roof with holes, you will need to have your helper stay in one location for about 10 seconds until you’re sure that there is no water coming in.
Then you will want to move on to the next hole and repeat this process until all of your holes are identified. Ensure to check the inside of all seams, corner pieces, and anywhere else you can think of where water might get in. Once you have made it through your entire RV and checked all of the caulking, if there are any areas that you believe need more caulking, now is the time to apply it.
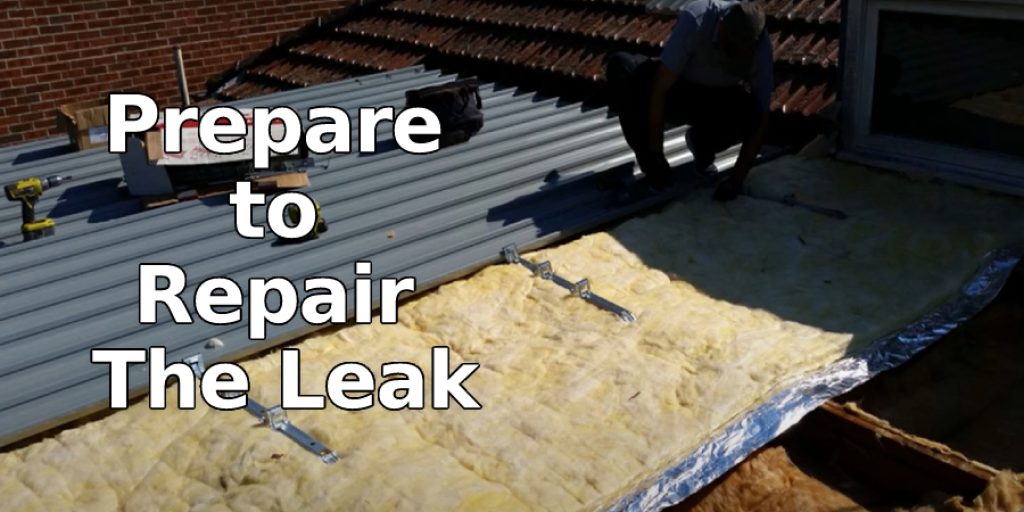
Step Two: Prepare to Repair the Leak
Once you have found all of your leak points, you should prepare to fix them. You will need to buy a silicone sealant and a caulk gun which can be purchased at any hardware store. Go ahead and buy the correct size as well, since roofing jobs can vary greatly in size. Once you have the tools, you will need to make sure that your roof is completely dry before applying the sealant. In order to do this, you can use a soft cloth or a brush to remove any leftover moisture.
Once you have purchased the materials, go ahead and gather all of the tools you need to fix your holes. First, you will need a drill with a ‘hole saw’ bit that is the same size as your leaks. Make sure to get one that has an adjustable guide so that you can use it on any size hole up to 6 inches. In addition to the drill, you will also need an adjustable wrench. Next, you will need to turn off the main water supply to your home or business. Once that is done, go ahead and open up all of the faucets in your home or business so that the water can drain out of the lines.
Step Three: Seal the Leaks
Now that you have prepared your material and gathered your tools, you can begin to seal up all of your leaks. Start by marking the hole on each side of the roof, and then drill a pilot hole into the center. Don’t go too deep, though, since you don’t want to hit any metal. After your pilot hole is drilled, go back and hammer in the nails along the edge of the tar. Start at the bottom and work your way up to the top.
Once you have drilled the holes, go ahead and use your hole saw to drill the actual leak. To do this, you will want to apply several short bursts of pressure instead of one prolonged pressure from a fully depressed caulk gun. This will allow for smoother sealing without gaps in between layers.

Once you have drilled all of your holes, put some sealant into each of them. You don’t have to go crazy with the amount, just enough so that it squishes out when you push on it. Go ahead and seal all of your holes this way, or until you run out of sealant.
Step Four: Finish Up
Once you have finished sealing all of your leaks, let the sealant sit until it has dried. After this, you will want to go ahead and caulk around the perimeter of each hole to give an added barrier against any further leaks. This is easy for anyone, but you might need someone else to hold one side while working on the other side.
Once you have caulked all of your holes, it is time to test out the roof again. If there are still any leaks after this process, they will be much easier to spot and fix since they will become smaller due to all of the added barriers against them. If you want to find out more about how to seal corrugated plastic roof, keep reading.
You Can Check It Out to Put a Rug Under a King Size Bed
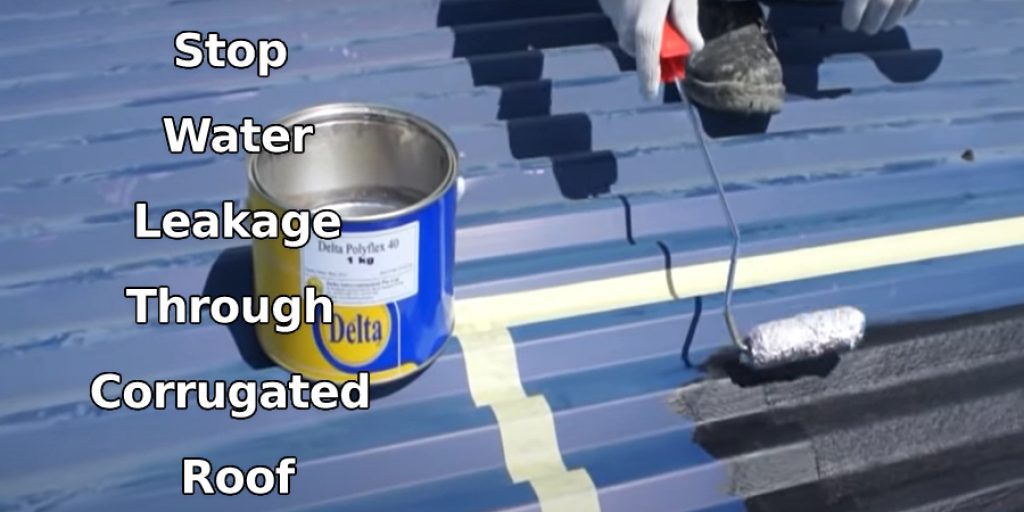
How Do You Stop a Plastic Corrugated Roof From Leaking?
Some products may cause the plastic to crack, which can result in water getting into your roof. In addition, many of these products are not compatible with each other and should be used carefully when trying to seal or repair your corrugated roof. It would help if you were sure that whatever materials you are using are compatible with corrugated plastic.
If you are using the wrong materials, your roof will most likely not seal properly, if it seals at all. This can cause more problems for you in the form of future leaks and costly repairs. When you are trying to seal a corrugated plastic roof, you can use a 100% silicon caulk. This works the best and is the safest product to use during repairs on your roof if previously sealed or painted.
Using a silicone caulk will not cause any of these problems that other products may have when used to seal a corrugated plastic roof. Silicone caulk is also perfect if you want to ensure that the color of your existing paint will match perfectly. When using silicon, no other products will need to be mixed in with it, and you can get the same results every time it is used on a different section of your roofing.
Frequently Asked Question
Can You Seal Corrugated Roof?
Yes, you can seal a corrugated roof. The process of sealing a corrugated roof is not difficult. There are many companies that offer professional services for this service. The first step in the process is to find a company that specializes in corrugated roofing and have them do an inspection on your home to determine if it needs any work done on it or not.
Next, they will provide you with a quote for the job and schedule when they will come out to do the work, which should be no more than two weeks from now. The next step would be for you to decide whether or not you want them to seal your roof themselves or if you want them to hire someone else, such as a contractor who specializes in this type of work and has experience with doing so.
Is Flex Seal Good for Roof Leaks?
Flex Seal is a highly recommended roof repair solution that can be used for fixing leaks and small punctures in the roof. It is safe to use on metal, wood, or vinyl roofs.
If you are looking for a long-term solution, then it is advisable to get your roof professionally repaired. If you want to try something more temporary, then Flex Seal can help as it provides leak protection until your roof gets fixed by a professional.
Can You Seal a Leaking Roof From the Inside?
If you have a leaking roof and you are unable to access the area, then it is possible to seal the roof from the inside.
To do this, you will need to get an airtight foam kit that includes foam tape, a caulking gun, and silicone caulk. Then apply silicone caulk around the edge of your window and around the top of your door frames. Next, use a caulking gun to attach foam tape to your window sills or baseboard molding.
Once done with that step, wrap insulation on both sides of your window frames or baseboard molding and place an additional piece of tape over it. Finally, put another layer of insulation on top of that and secure it with screws.
Why Is My Roof Leaking When It Rains?
The most common cause of a leaking roof is water damage. The culprits are usually large tree roots or an improperly installed gutter system.
If you suspect that your roof has been damaged by these causes, the first thing to do is make sure there is no standing water on the roof. If it rains, the best option would be to take the necessary precautions to prevent any further damage and then call a professional contractor who can assess and repair the problem.
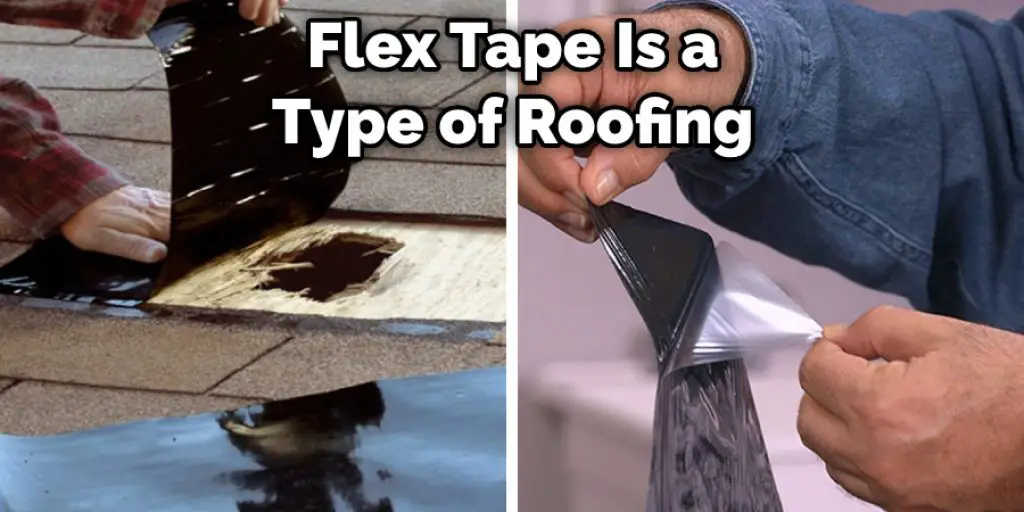
Can You Use Flex Tape on a Roof?
Flex Tape is a type of roofing that is designed to be installed on both new and existing roofs. It can be used on flat, low slope, and high slope roofs. It can also be used in any weather condition because it has a rubberized coating that makes it waterproof.
Conclusion
The blog post is about how to seal corrugated plastic roof. It starts with introducing what a corrugated plastic roof is and why it needs to be sealed. Then, there are several steps on how you can go about sealing your own corrugated plastic roof at home.
The conclusion paragraph wraps up by providing different reasons that might cause leaks in your corrugated panel roofs and possible solutions for those issues as well! This provides readers with enough knowledge to know what options they have if their leaky panels start causing problems, whether it’s fixing them themselves or hiring someone.
You may also like – How to build a ridge beam roof.


